Stop Motion Animation
Let's Get Started - Boone's class
We're going to create a stop motion animation movie that shows the transfer of energy within a food chain in the biome you studied with Ms. Boone. This group will be using iStop Motion and iPads instead of SAM and the cubie cameras for their projects.
Step 1: You'll be working with your partner. As you look at the sample movies below you're looking for what works and what doesn't work (or what could be improved). Make a list on your whiteboard and be ready to discuss this with the class. (We created a list of what worked and what could be improved and then we categorized the items on the list and developed a checklist of criteria to be used with our own animations.)
Looking at samples
As you watch the following movies think about what you see in the movies. How do they tell the story? What materials are being used? How was the stop motion animation created?
What is Stop Motion Animation?
Take a look at the samples below done by students on the iCreate website. (more samples: http://icreatetoeducate.com/student-creations/science/)
1 - Plant Cells | 2 - The Butterfly Cycle | 3 - Brain Freeze | 4 - The Digestive System
We're going to create a stop motion animation movie that shows the transfer of energy within a food chain in the biome you studied with Ms. Boone. This group will be using iStop Motion and iPads instead of SAM and the cubie cameras for their projects.
Step 1: You'll be working with your partner. As you look at the sample movies below you're looking for what works and what doesn't work (or what could be improved). Make a list on your whiteboard and be ready to discuss this with the class. (We created a list of what worked and what could be improved and then we categorized the items on the list and developed a checklist of criteria to be used with our own animations.)
Looking at samples
As you watch the following movies think about what you see in the movies. How do they tell the story? What materials are being used? How was the stop motion animation created?
- Wind Blades 2 (whiteboards, pipe cleaners, blades)
- Chickens Out (print pictures and cut out, construction paper)
- Island of the Blue Dolphins (construction paper)
- A Story in Whiteboard Bits (whiteboard, post-its, cutouts)
What is Stop Motion Animation?
Take a look at the samples below done by students on the iCreate website. (more samples: http://icreatetoeducate.com/student-creations/science/)
1 - Plant Cells | 2 - The Butterfly Cycle | 3 - Brain Freeze | 4 - The Digestive System
|
|
|
|
|
The Digestive System from Debi Tisdell on Vimeo. |
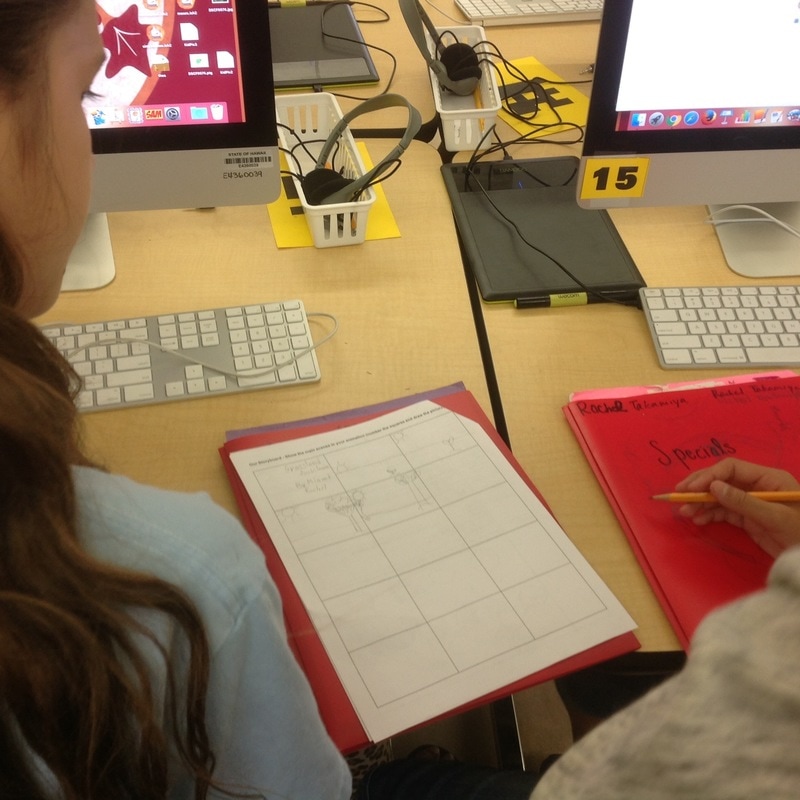
Step 2: You and your partner will complete your planning sheet. This is where you decide how to divide up the work you'll need to do to prepare for making your movie.
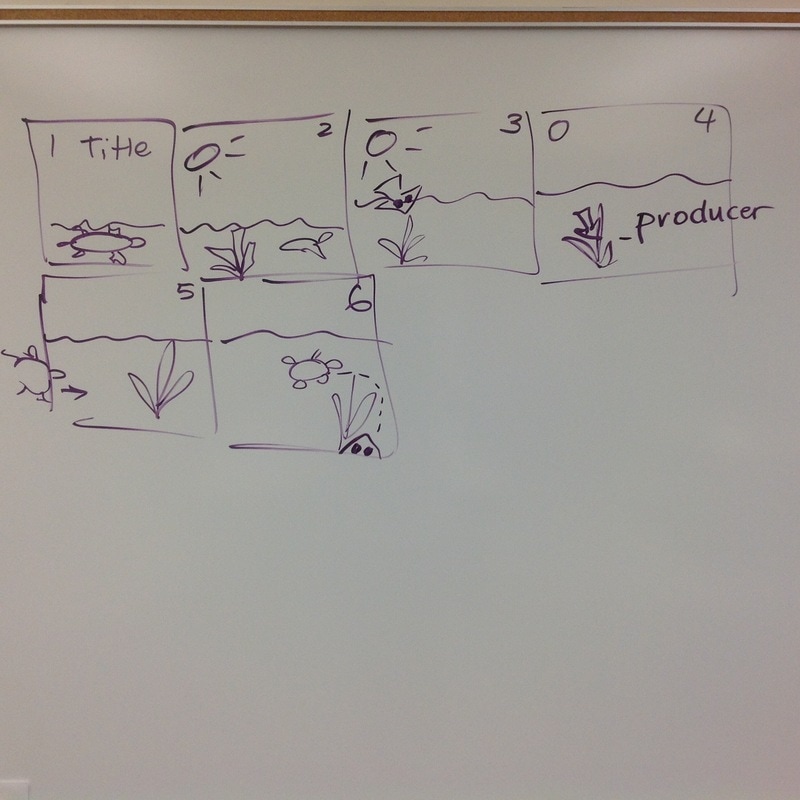
Step 3: On the back side of your planning sheet there's room for you to create your storyboard. This must be done before you begin using the iPad to create your movie.
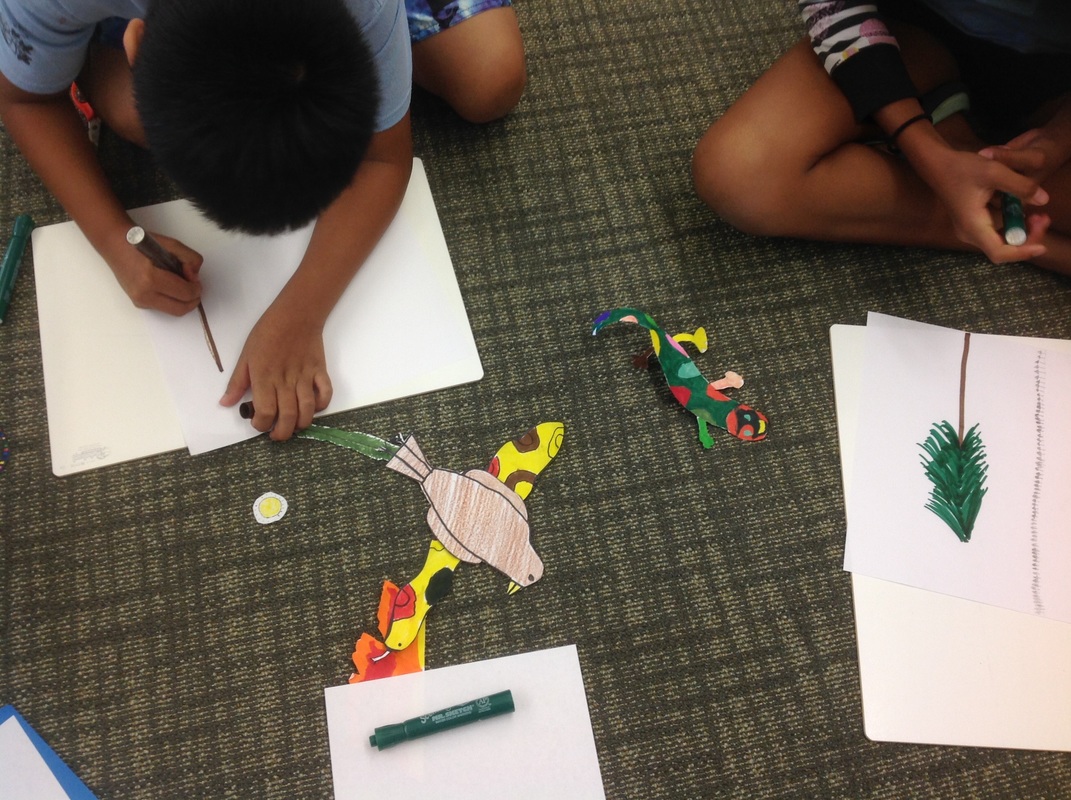
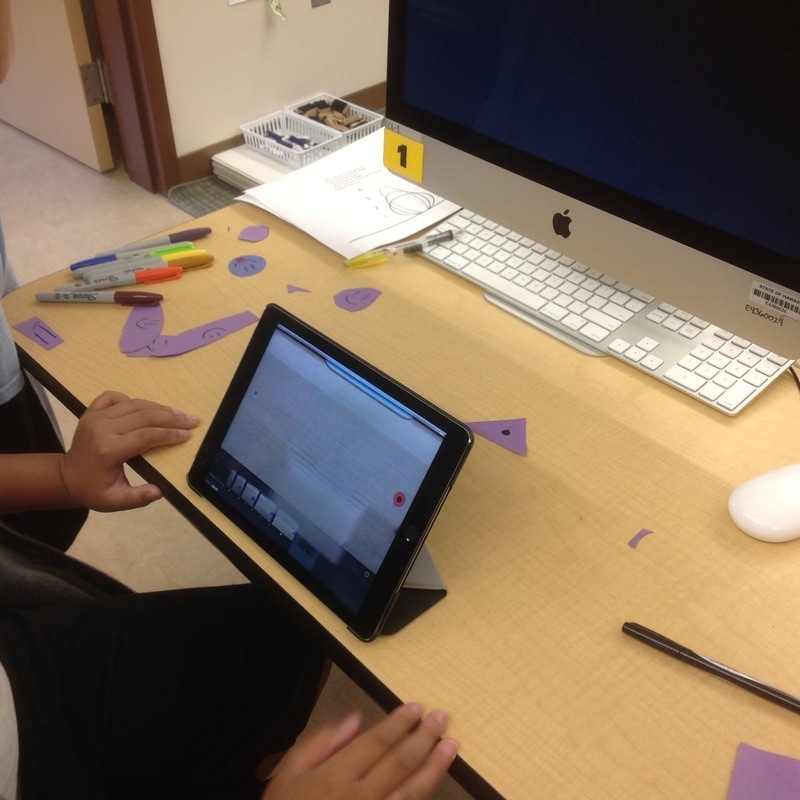
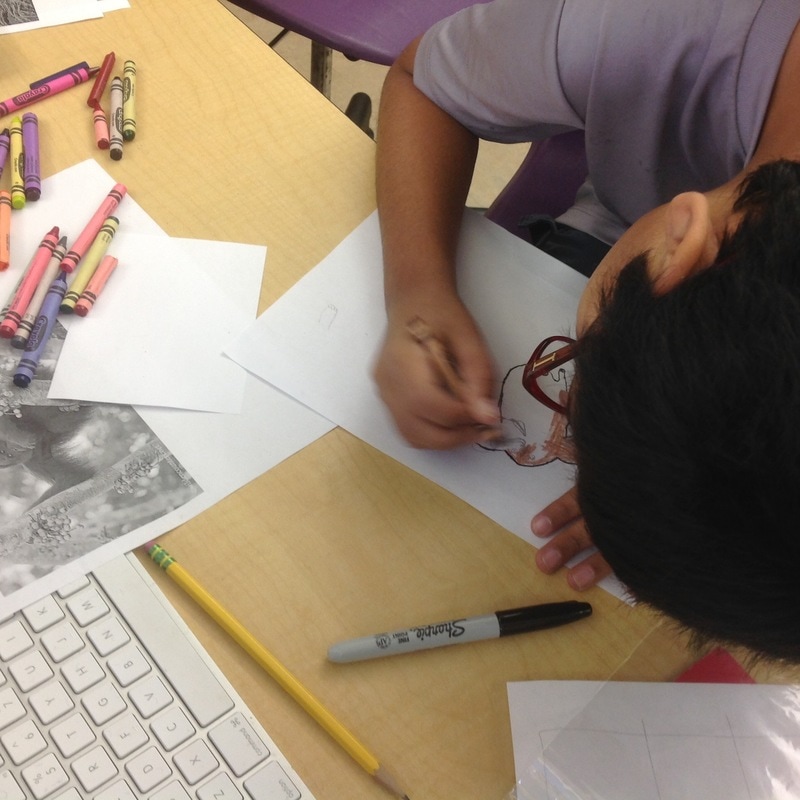
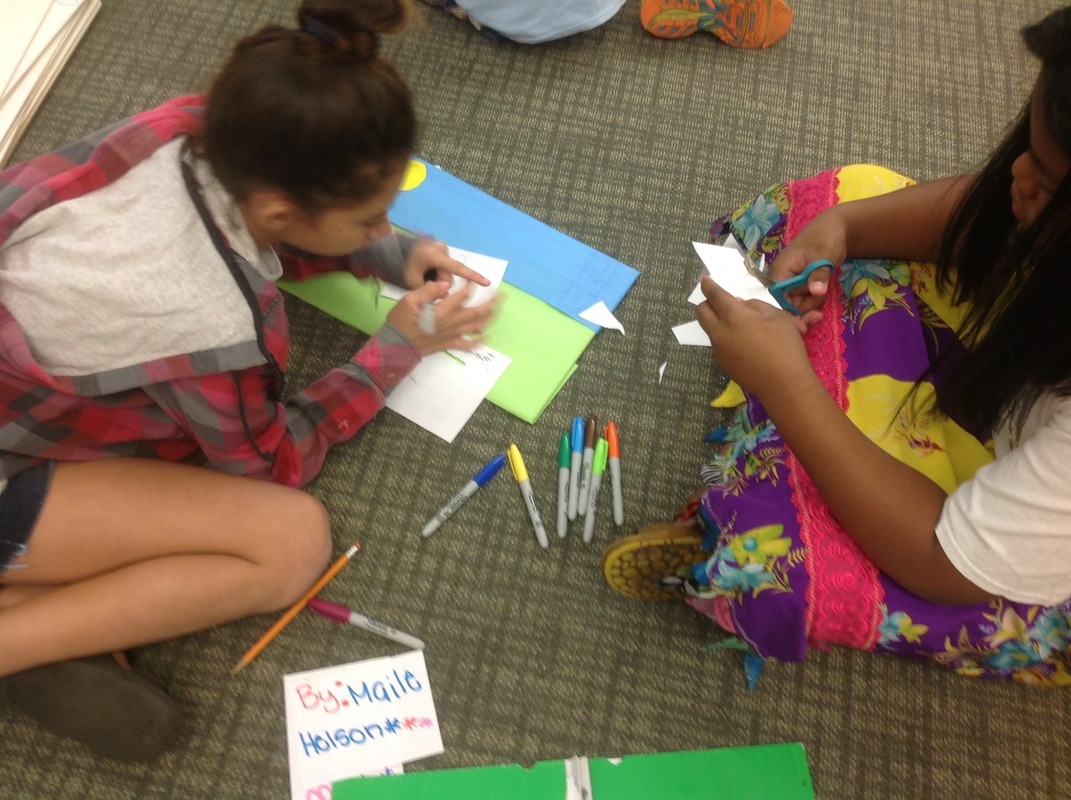
Step 4: Create your characters. Each character should be no bigger than 1/4 of a sheet of copy paper. This is homework for you. Have your characters ready for our next computer class. You can store your characters in a zip-lock bag from the supply table.
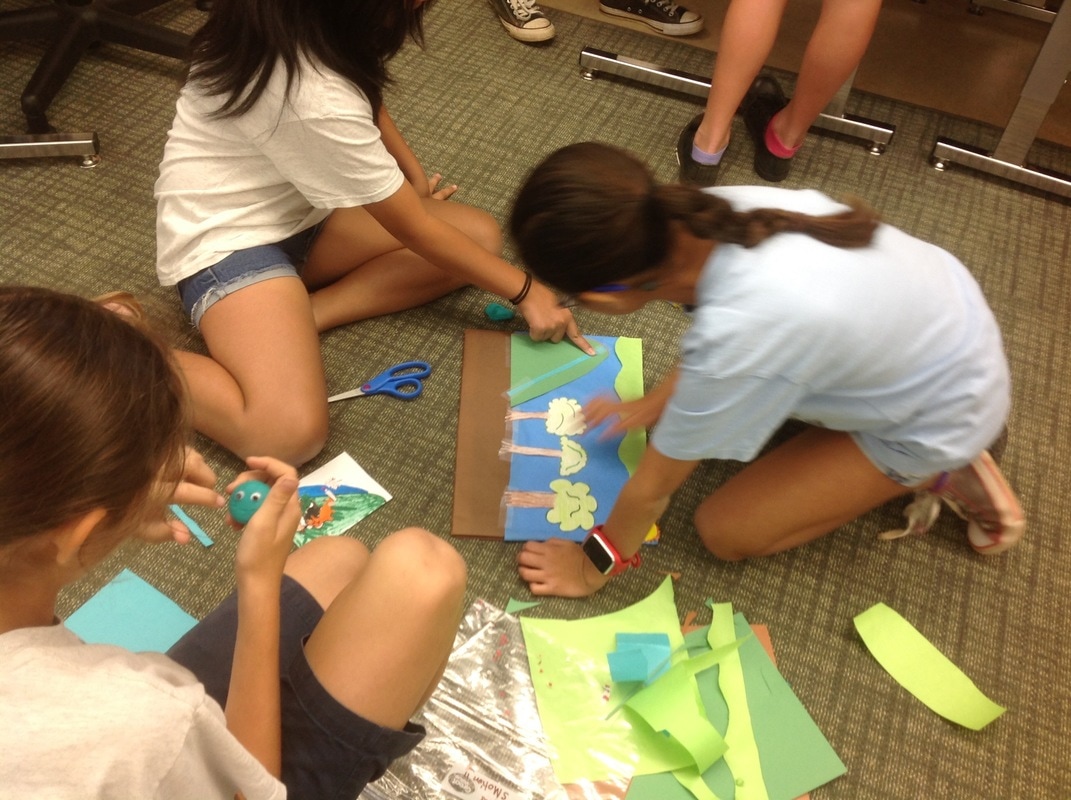
Step 5: Plan (draw on a white sheet of paper) and Create your background. This should clearly show your biome. You will be making your background on one of our small whiteboards.
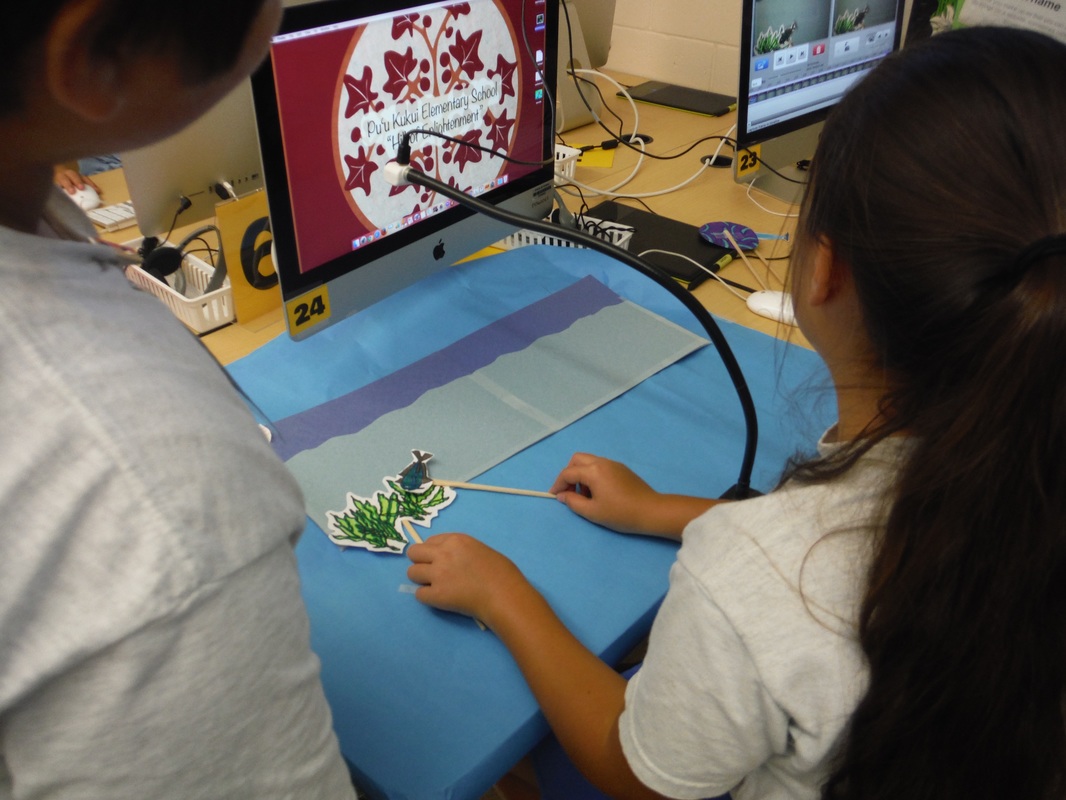
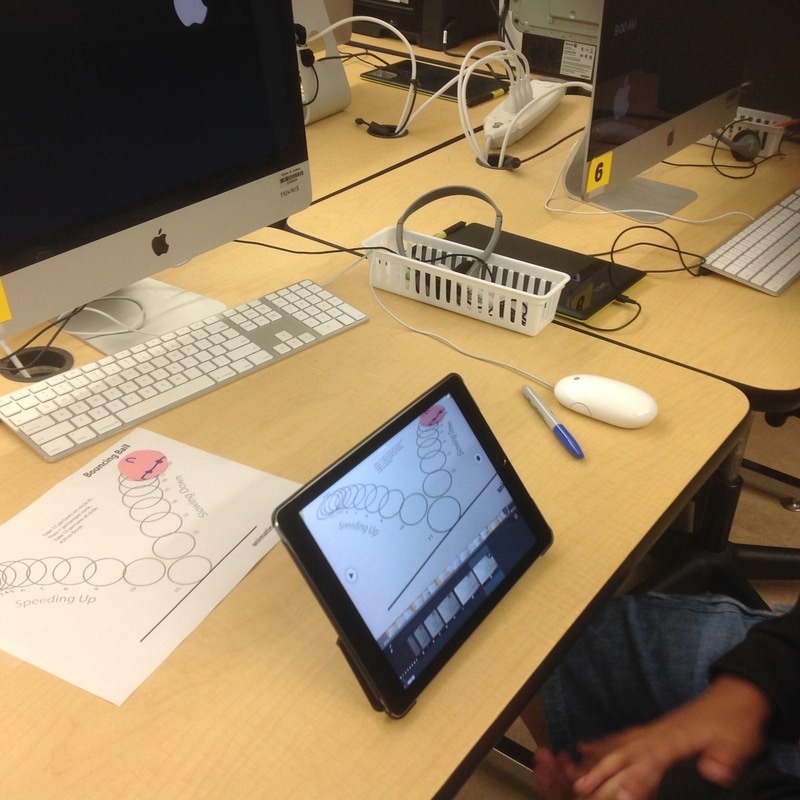
Step 6: Practice with animating your arrow or whatever you're going to use to show the energy. You'll be using a blob of clay and googly eyes for your energy character. (shake, quiver, speed up, slow down, squash & stretch with a follow through, jump with a wind up, through, blinking, talking -lip synching, camera positions)
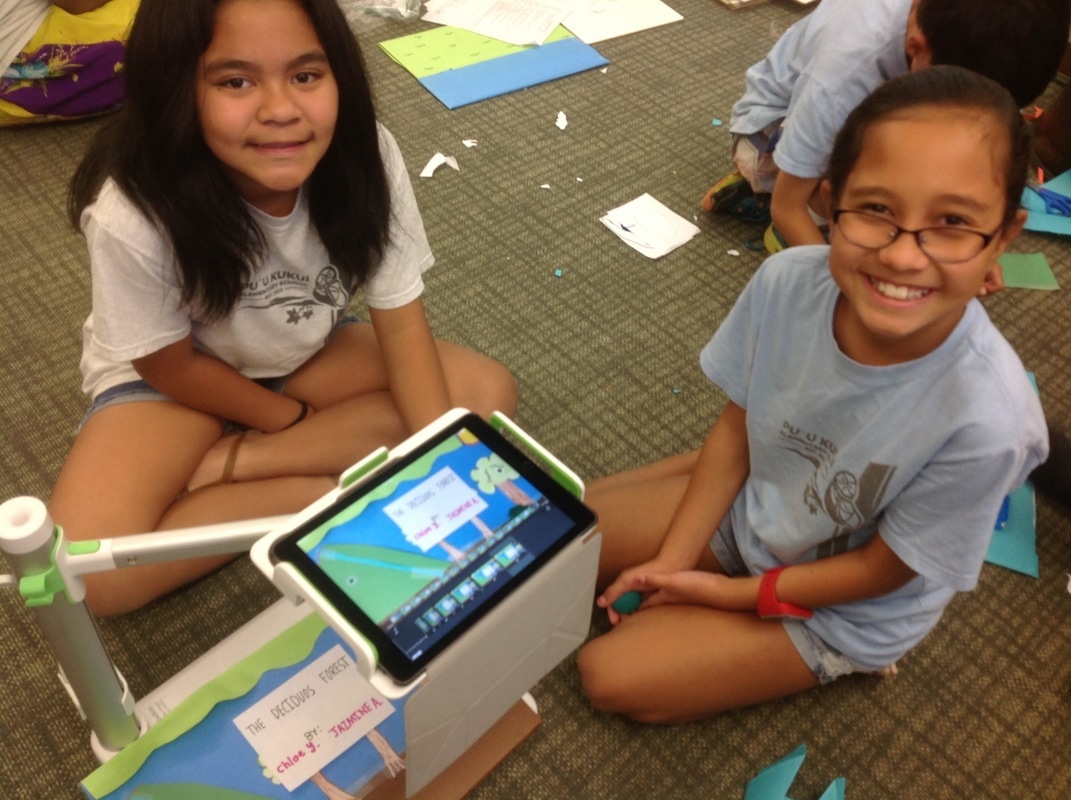
Step 7: Create your animation (you can use sound effects)
Step 8: Choose a backing track (background music) or narration. If you want both you'll need to bring your movie into iMovie to add a backing track.
Step 9: Have someone check your animation to make sure it is understandable. Use our criteria sheet.
Step 10: Share the animation (upload to Vimeo).
Step 11: Reflection and feedback using the criteria sheet.
Step 3: On the back side of your planning sheet there's room for you to create your storyboard. This must be done before you begin using the iPad to create your movie.
Step 4: Create your characters. Each character should be no bigger than 1/4 of a sheet of copy paper. This is homework for you. Have your characters ready for our next computer class. You can store your characters in a zip-lock bag from the supply table.
Step 5: Plan (draw on a white sheet of paper) and Create your background. This should clearly show your biome. You will be making your background on one of our small whiteboards.
Step 6: Practice with animating your arrow or whatever you're going to use to show the energy. You'll be using a blob of clay and googly eyes for your energy character. (shake, quiver, speed up, slow down, squash & stretch with a follow through, jump with a wind up, through, blinking, talking -lip synching, camera positions)
Step 7: Create your animation (you can use sound effects)
Step 8: Choose a backing track (background music) or narration. If you want both you'll need to bring your movie into iMovie to add a backing track.
Step 9: Have someone check your animation to make sure it is understandable. Use our criteria sheet.
Step 10: Share the animation (upload to Vimeo).
Step 11: Reflection and feedback using the criteria sheet.
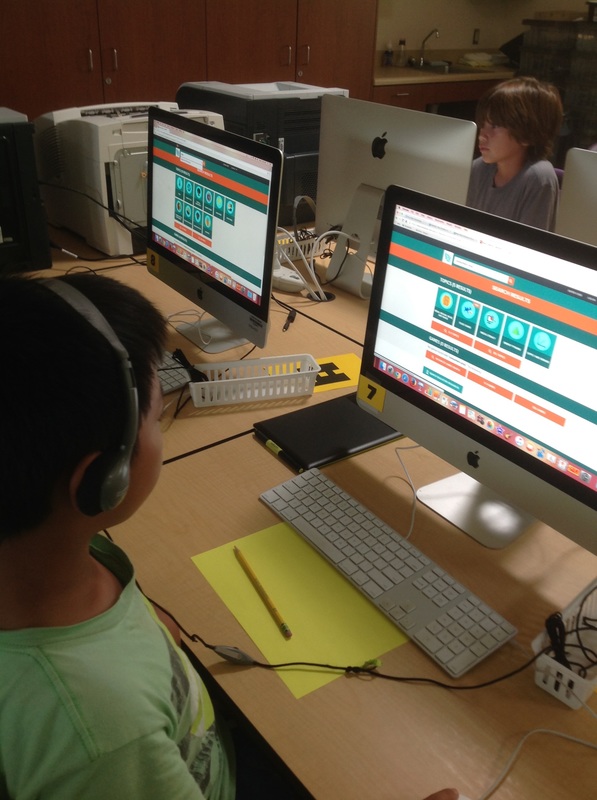
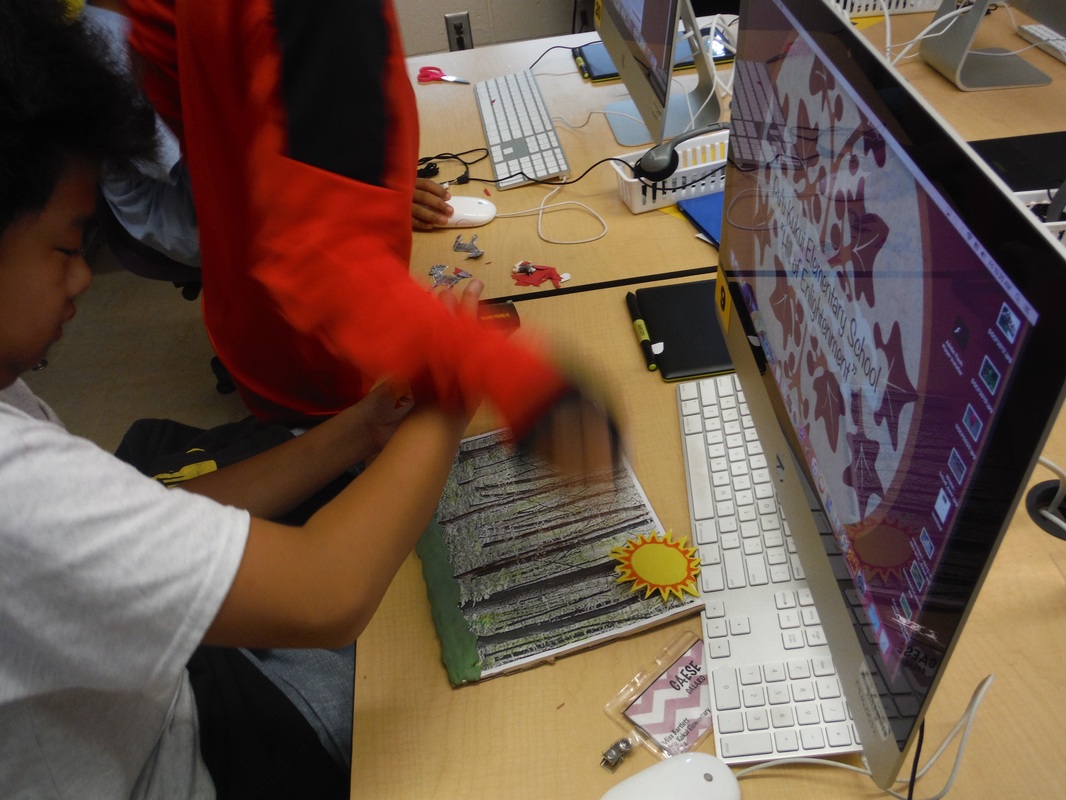
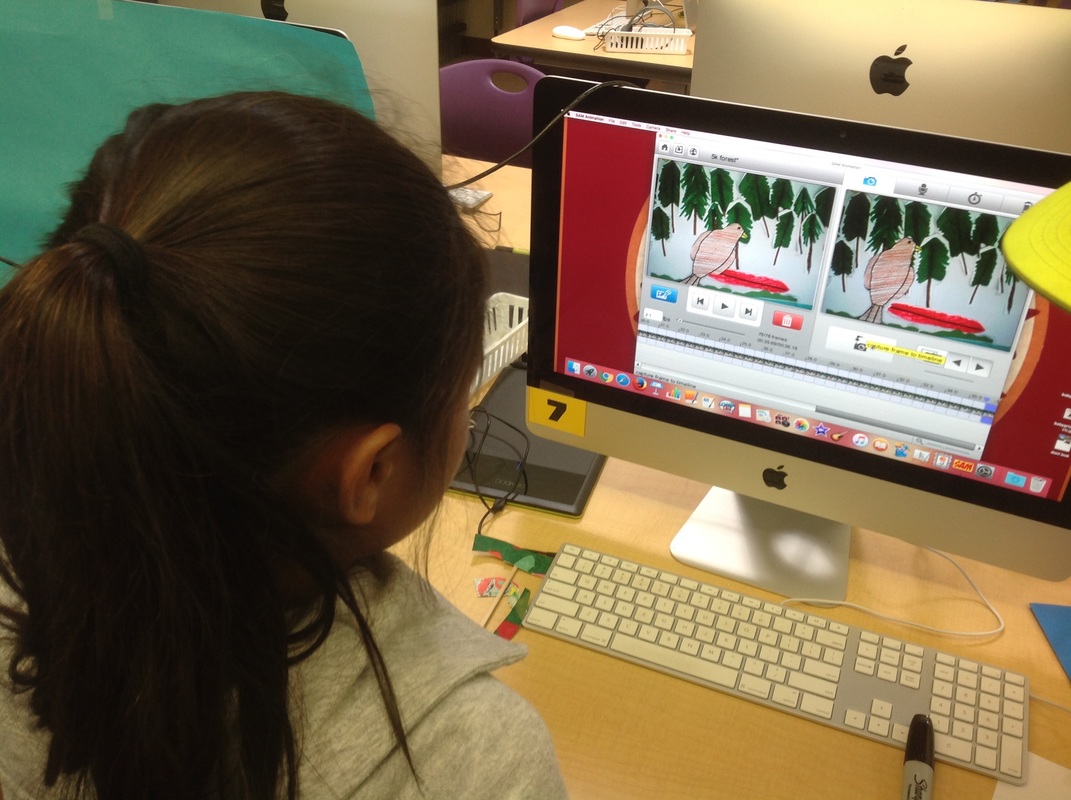
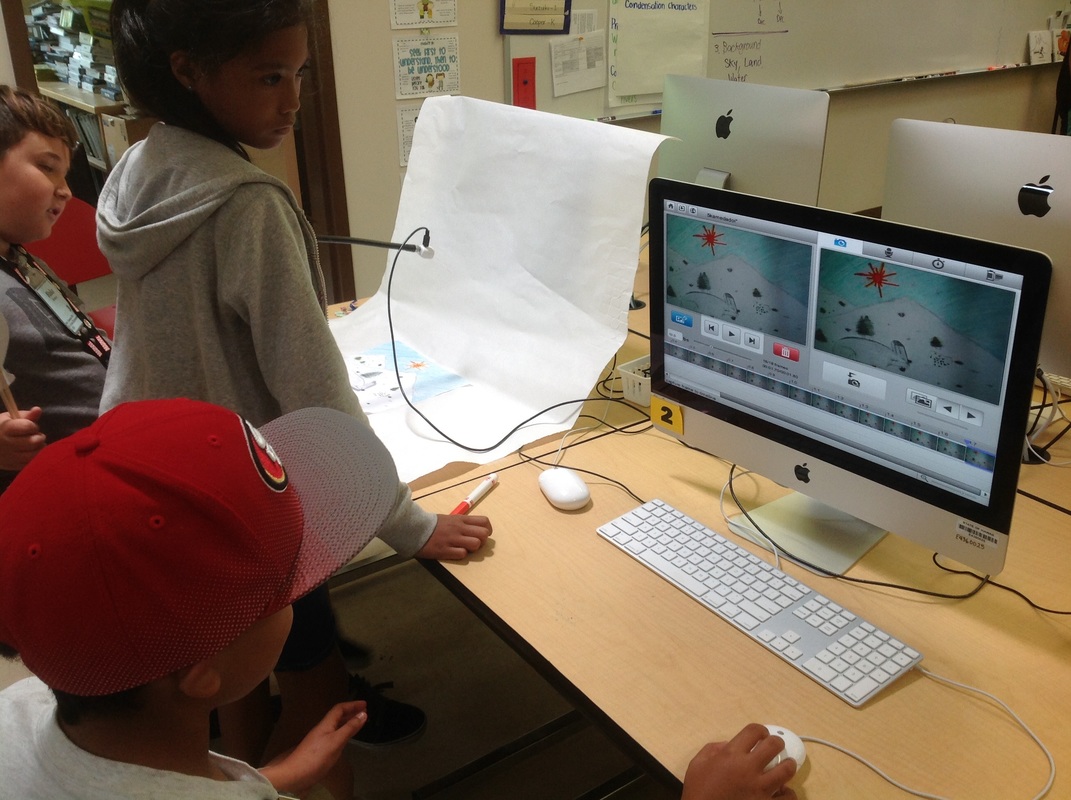
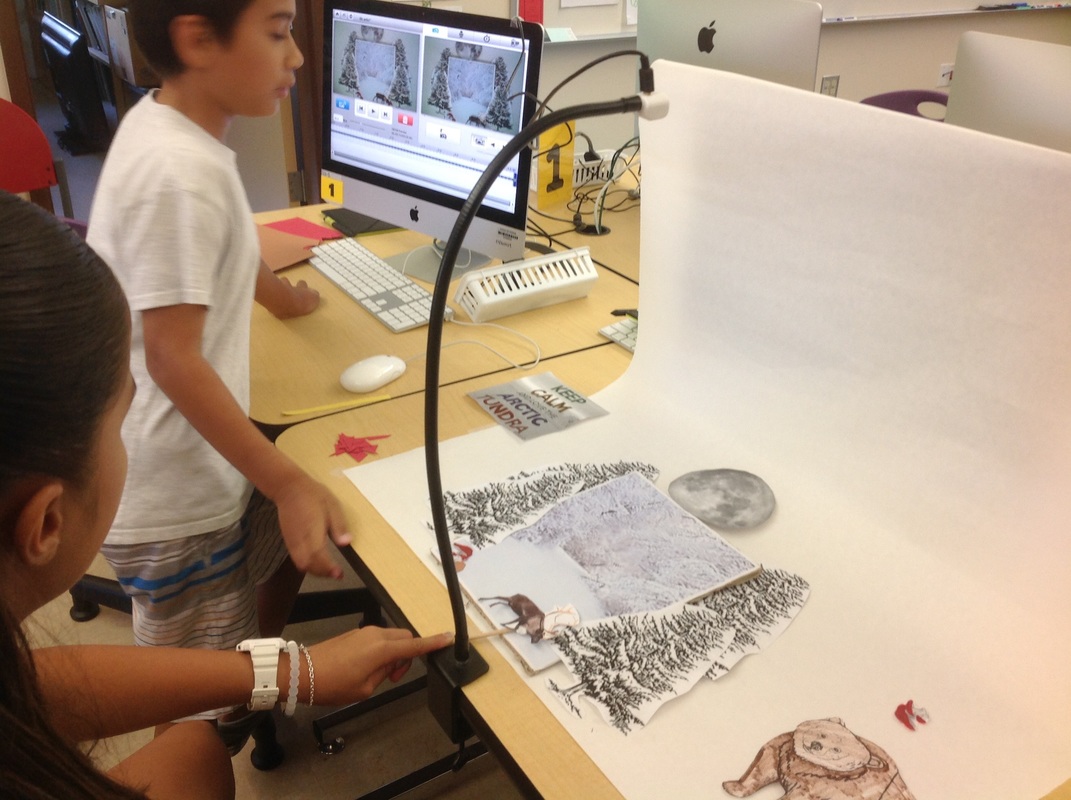
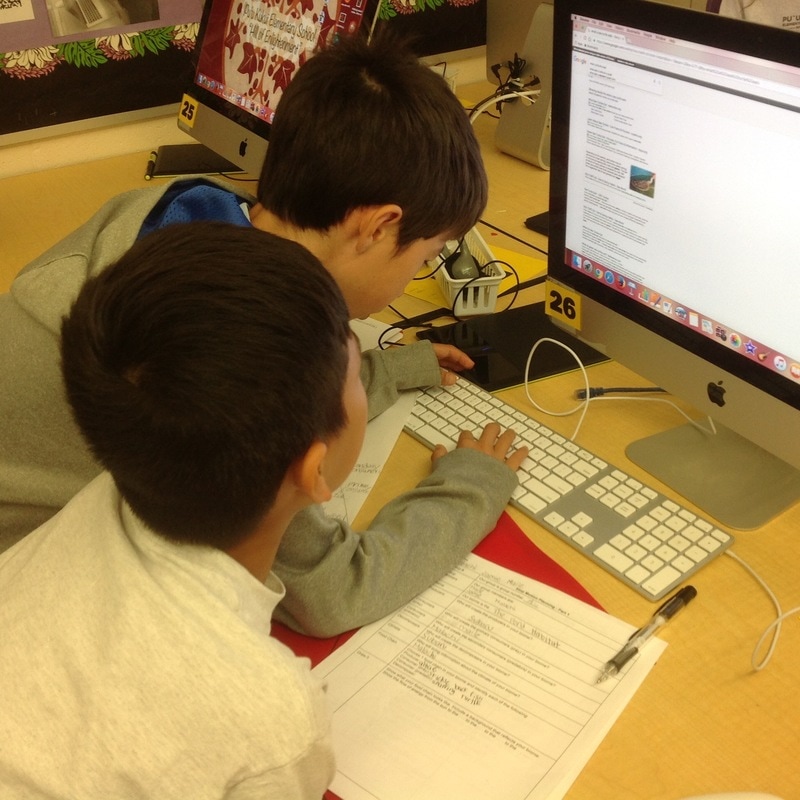
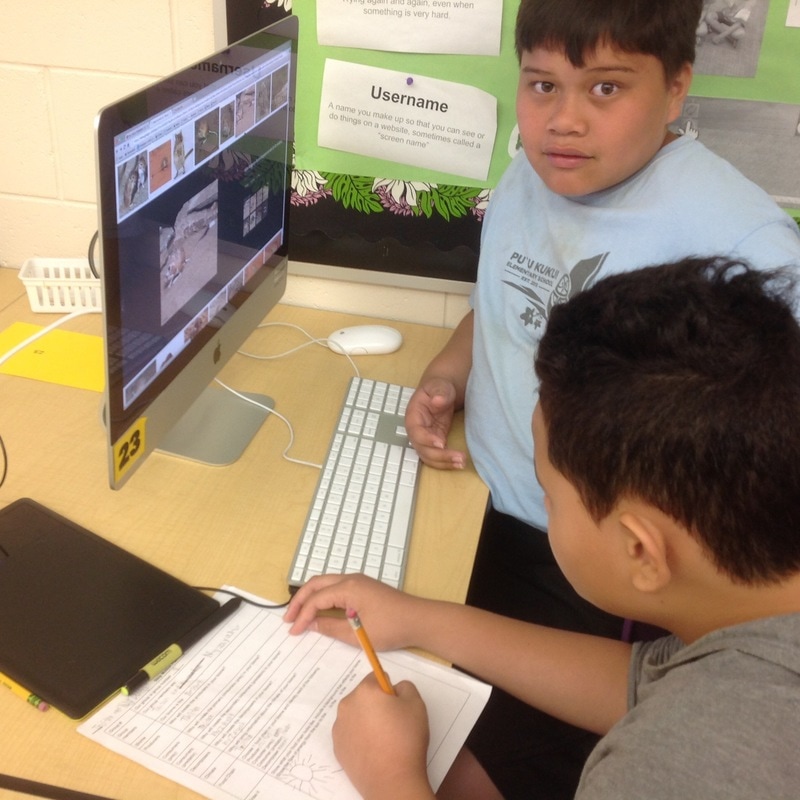
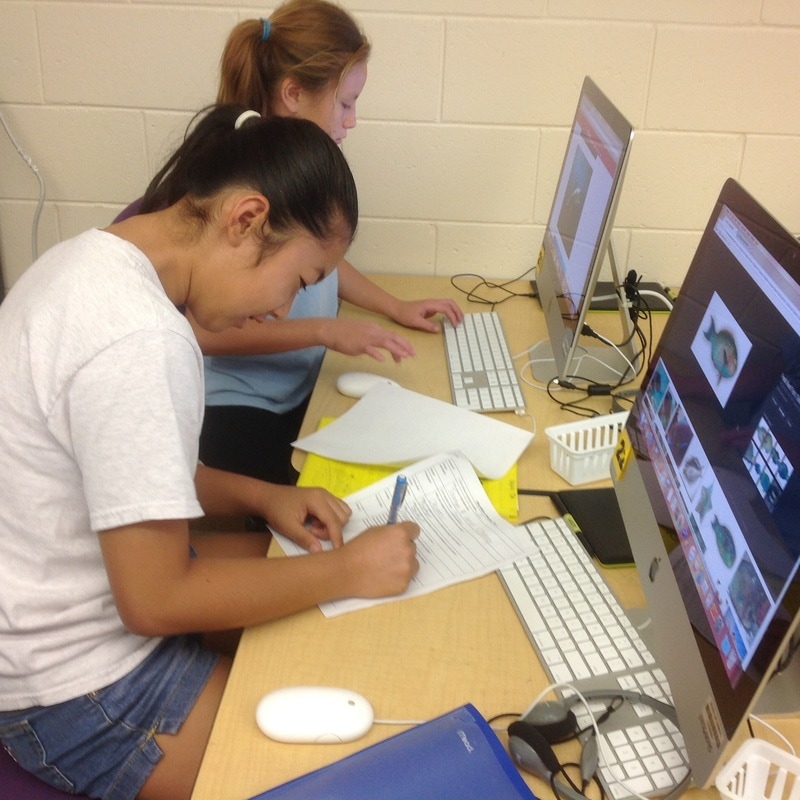
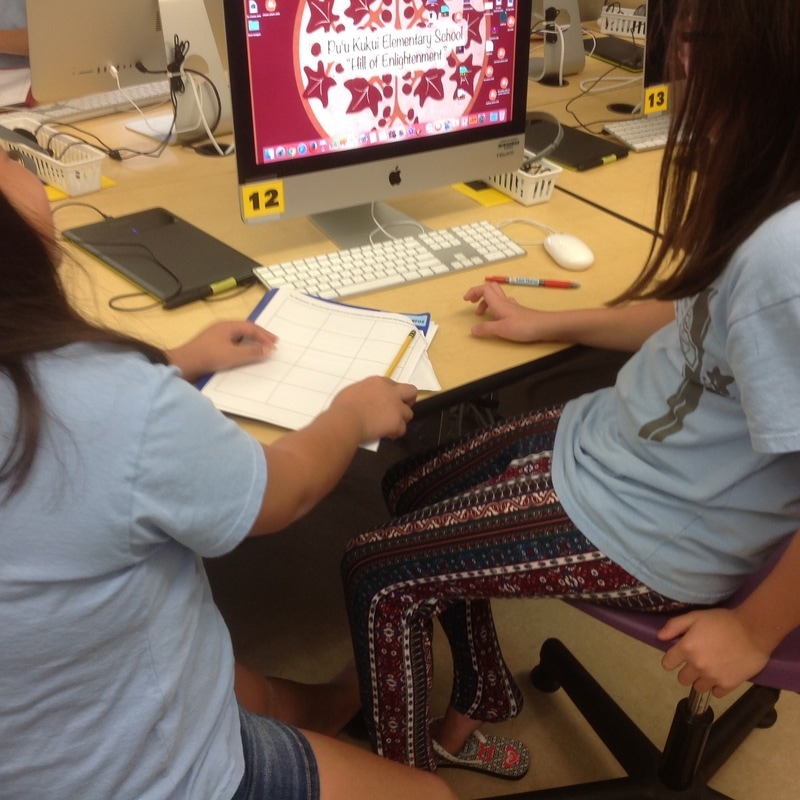
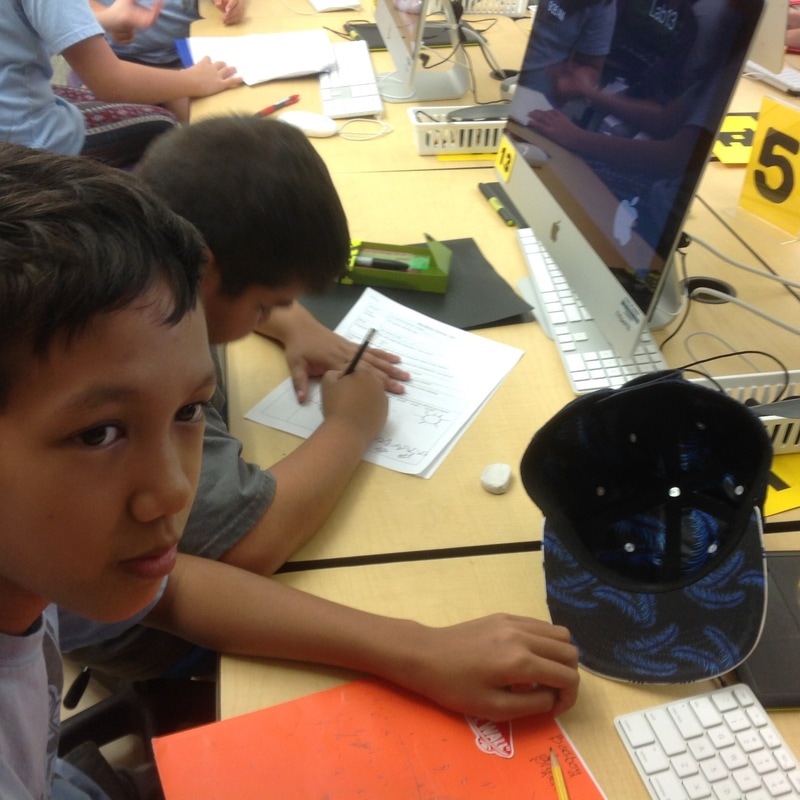
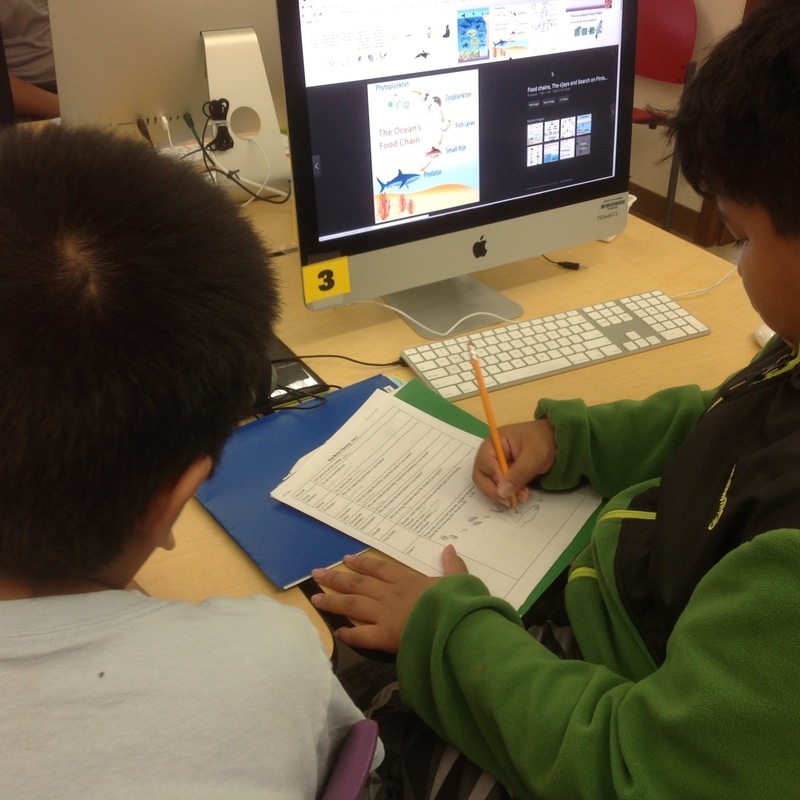
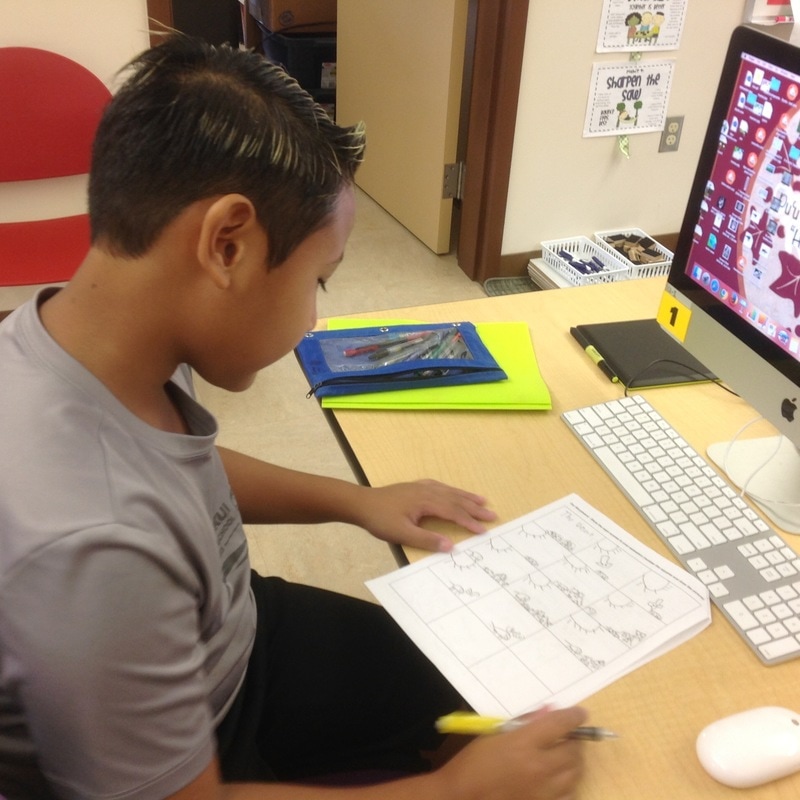
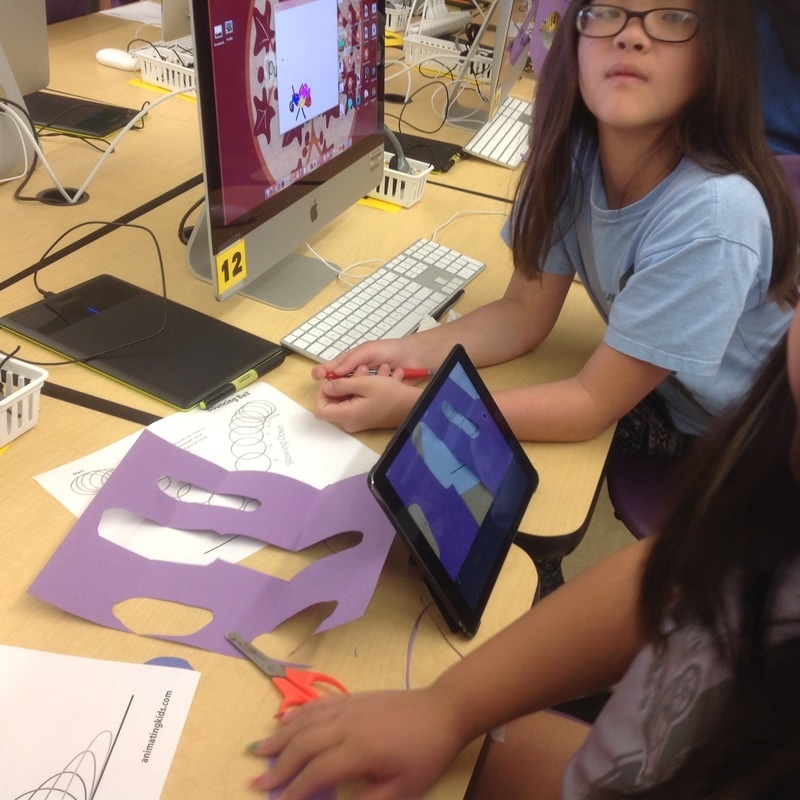
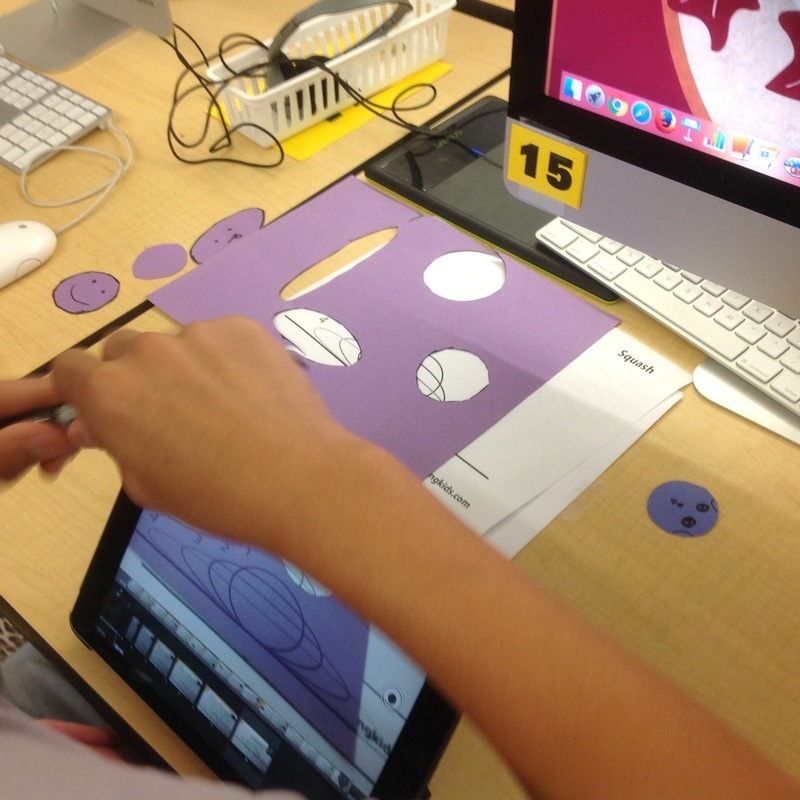
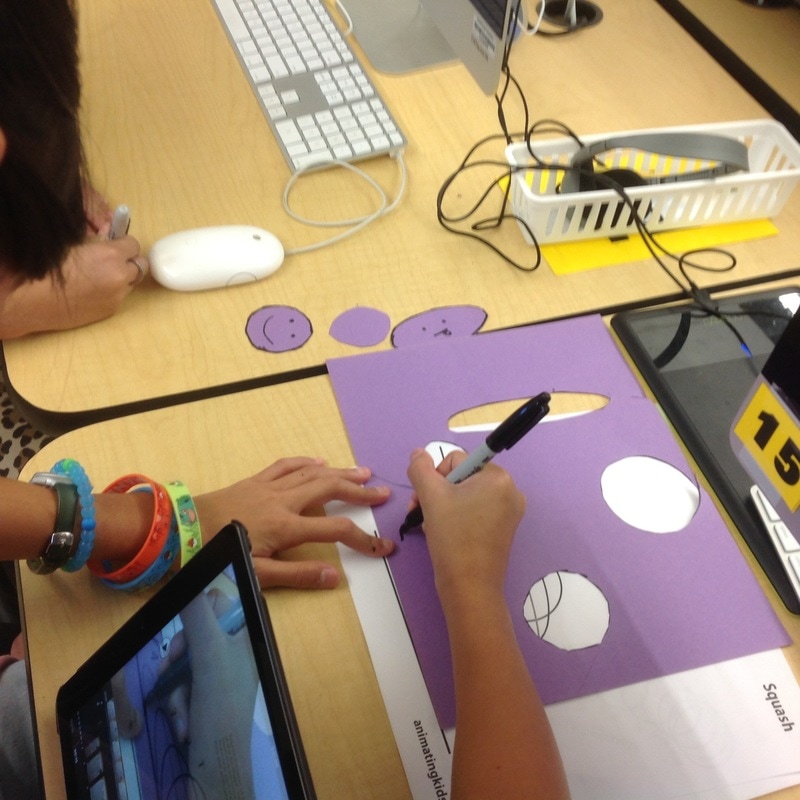
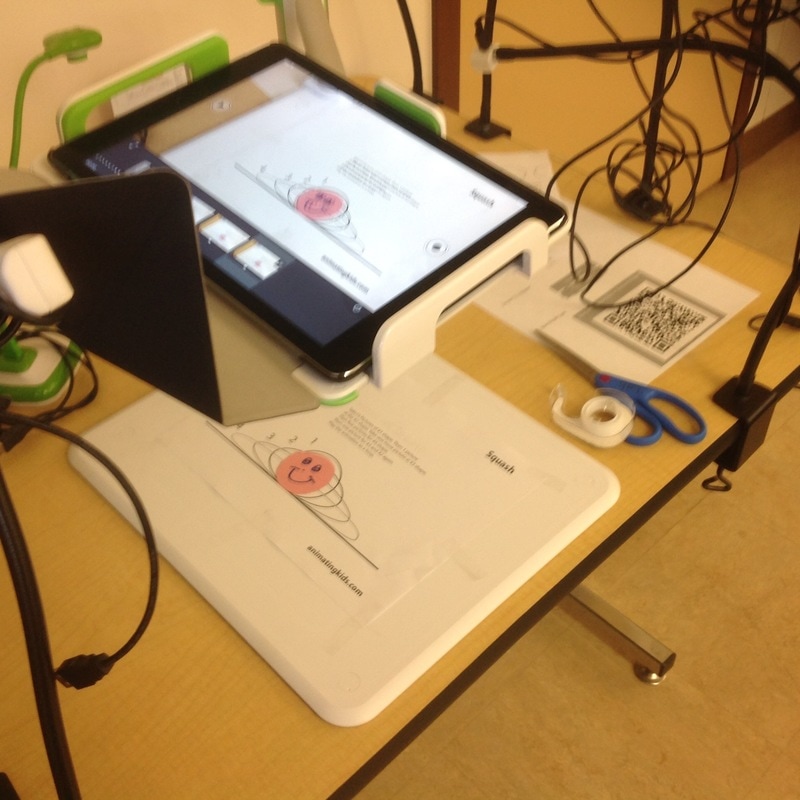
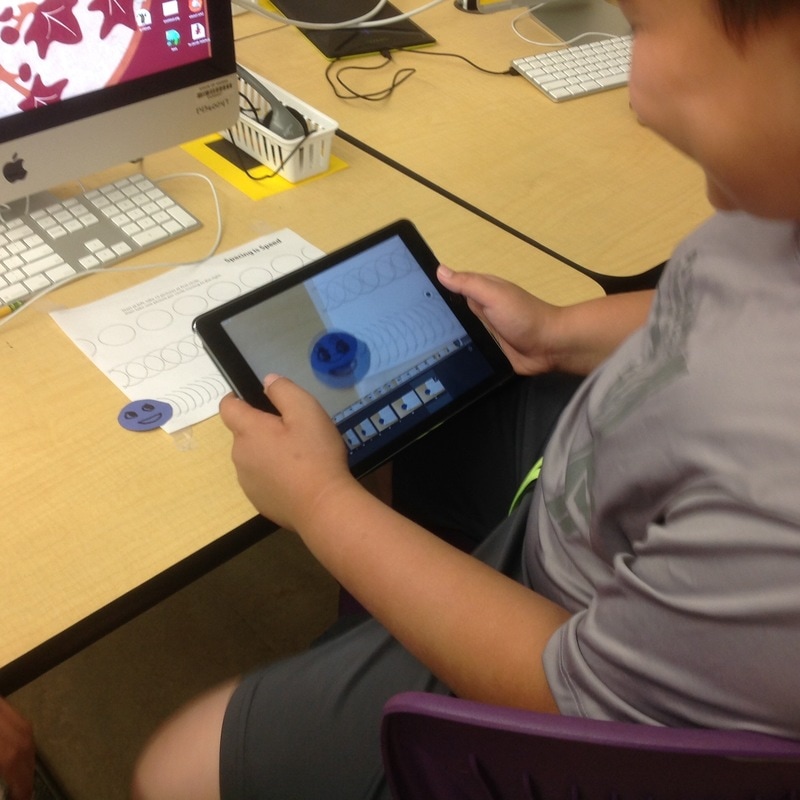
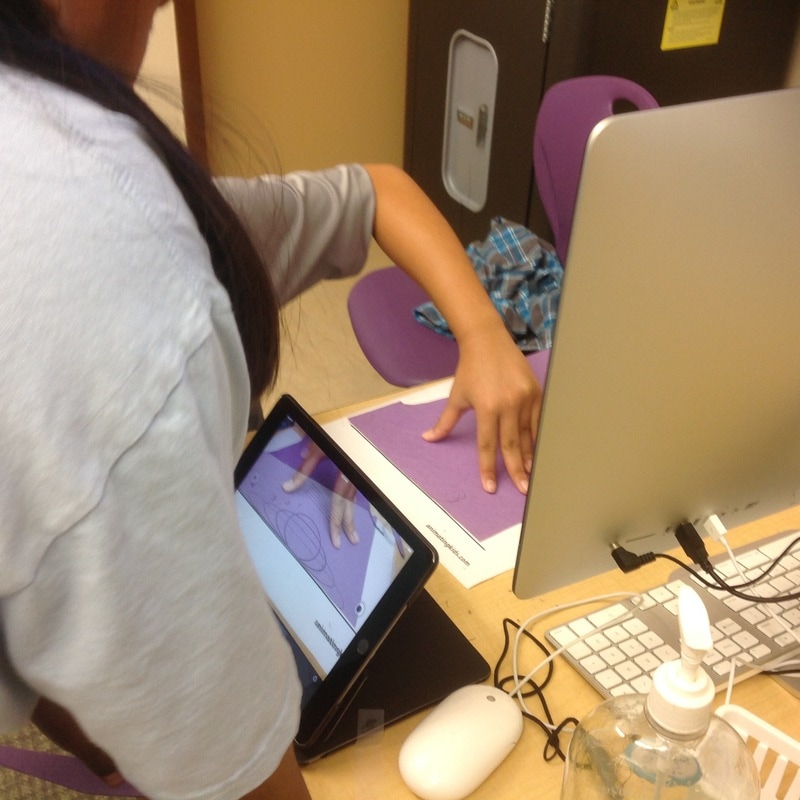
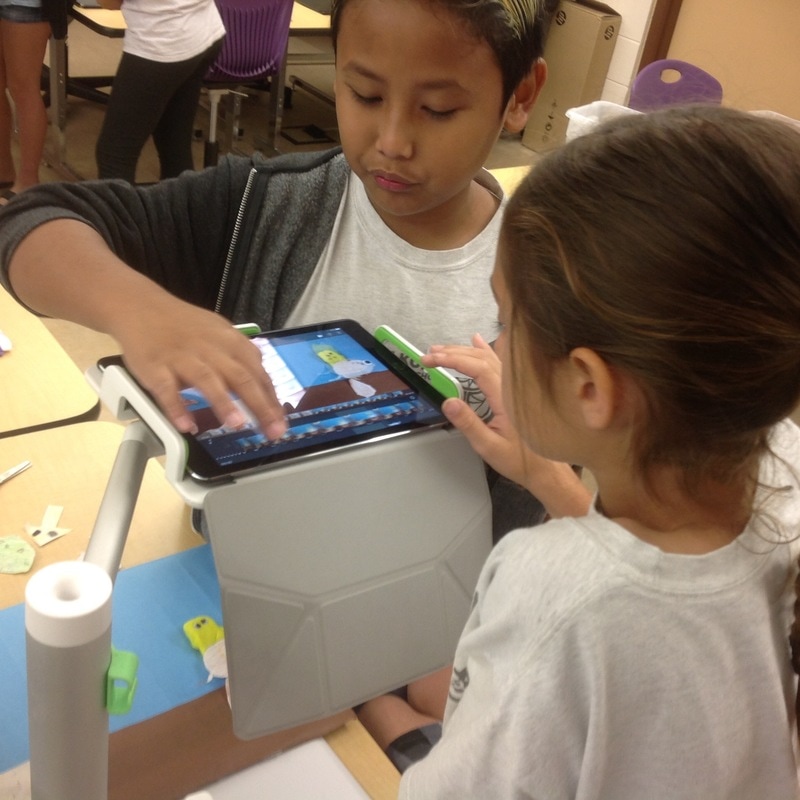
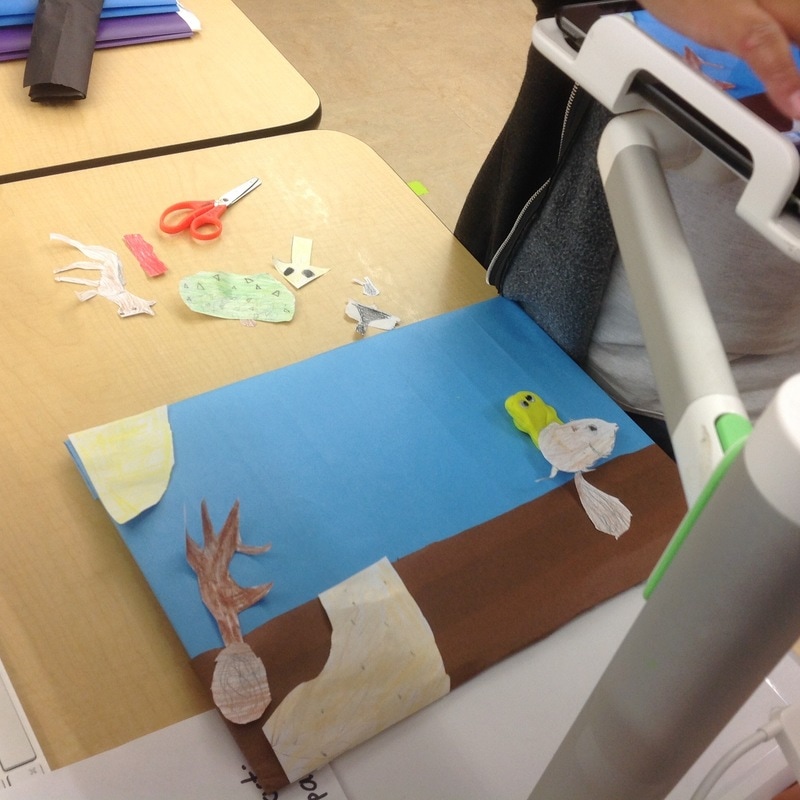
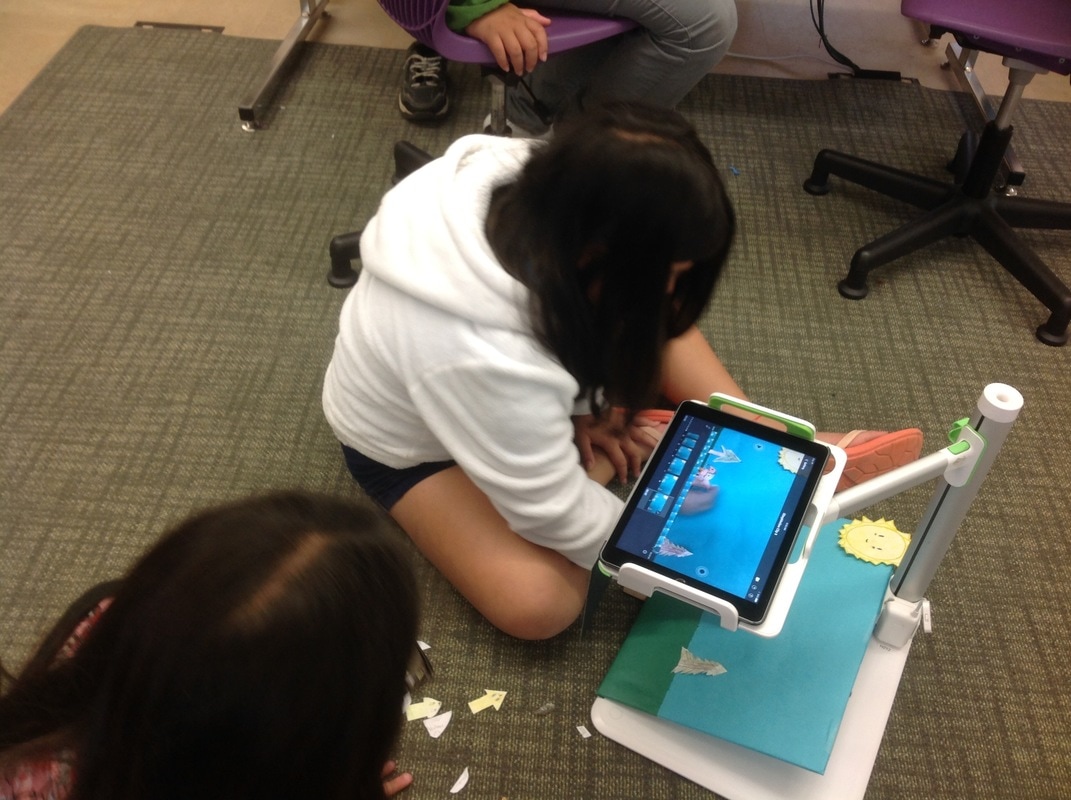
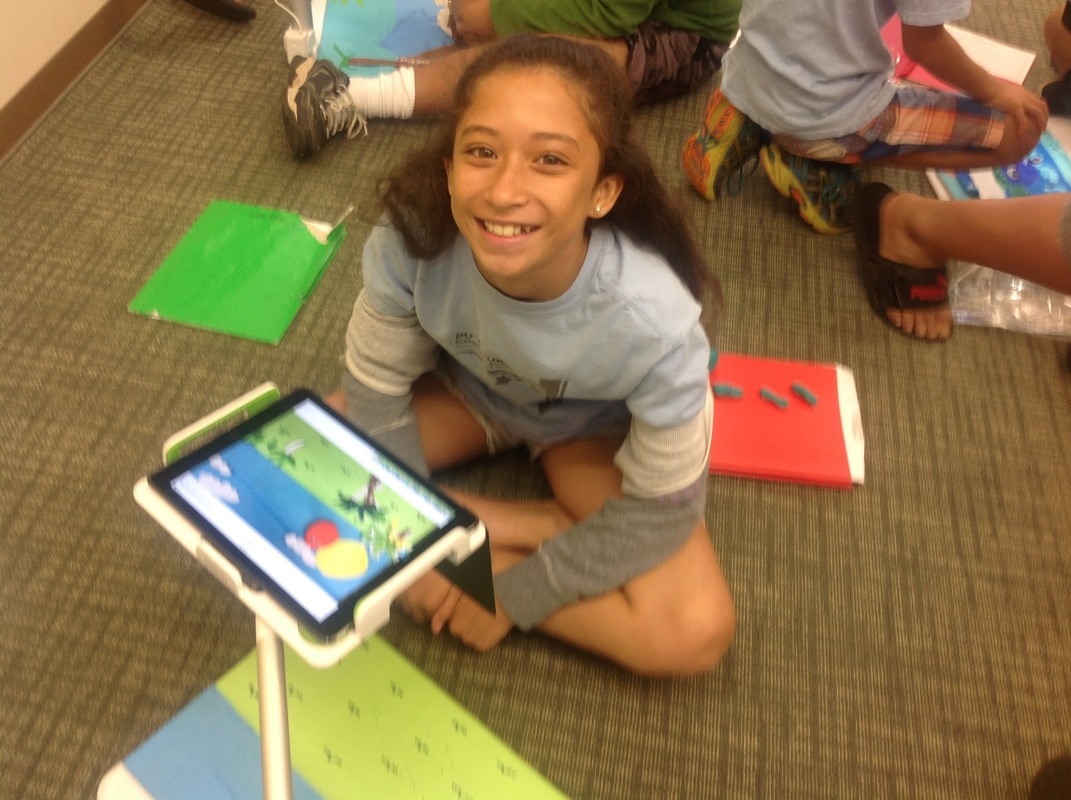
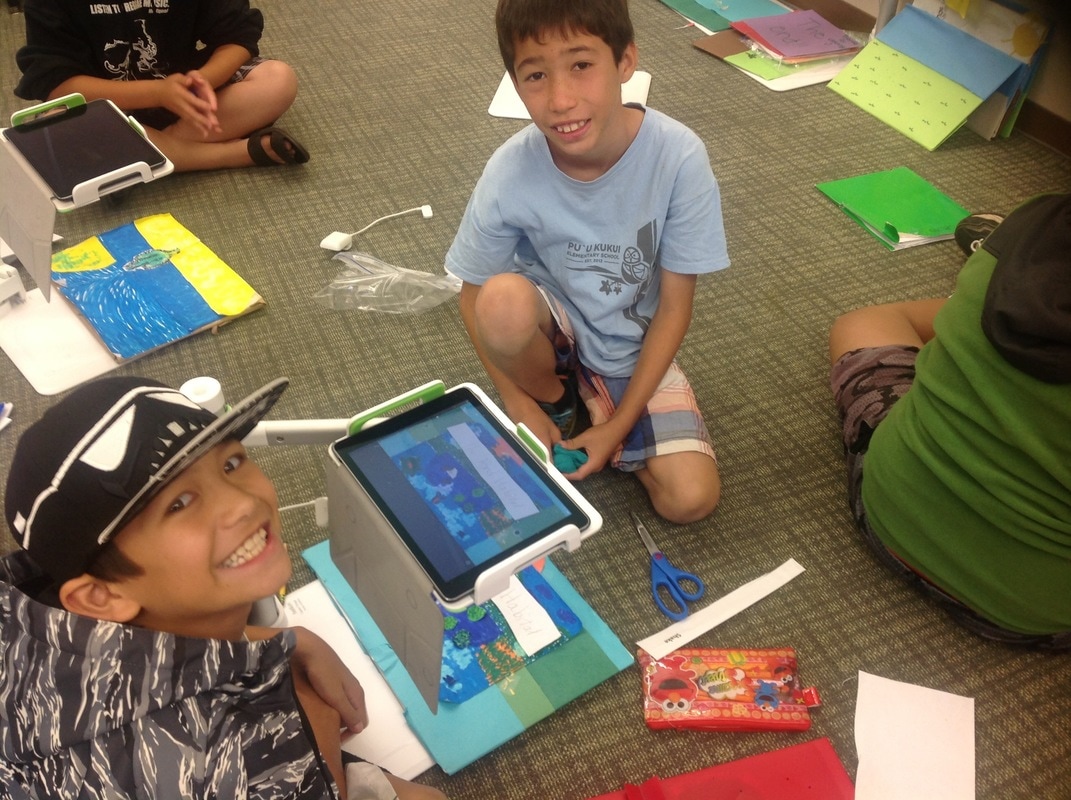
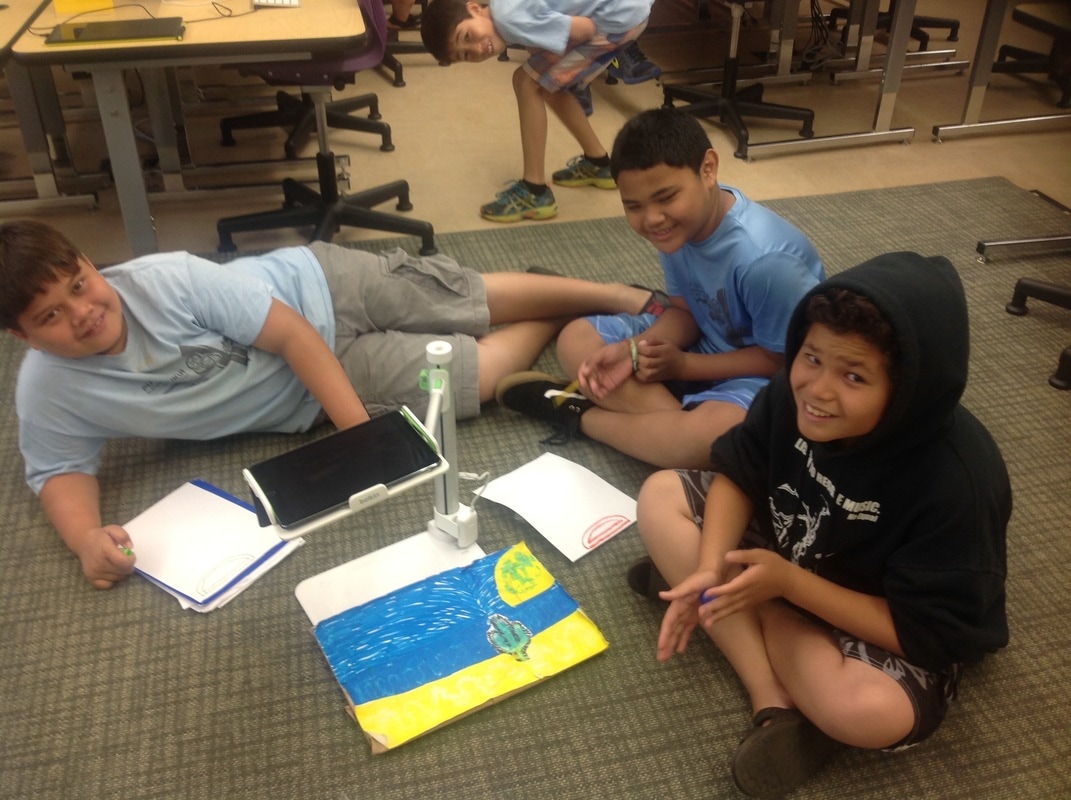
Here's what it looked like as we worked on our projects.
For independent fun: Visit the Draw a Stickman page to get some ideas about how animation can work.
Draw a stickman
Draw a stickman
H201, H103, H204 Process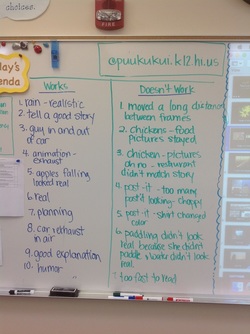
We'll be creating our own criteria for our movies. Here's a list of things that we came up with after we watched the videos above. These are things that we think work and don't work when you're creating a stop motion animation.
See our Stop Motion Animations:
H204 - Animations - now ready to view H201 - Animations - now ready to view H103 - Animations - now ready to view H104 - Animations - now ready to view 5-b Artic Tundra from Debi Tisdell on Vimeo. |
Our Process: Our goal is to create a stop motion animation showing how energy is transferred from the sun to producers, consumers and decomposers in different biomes.
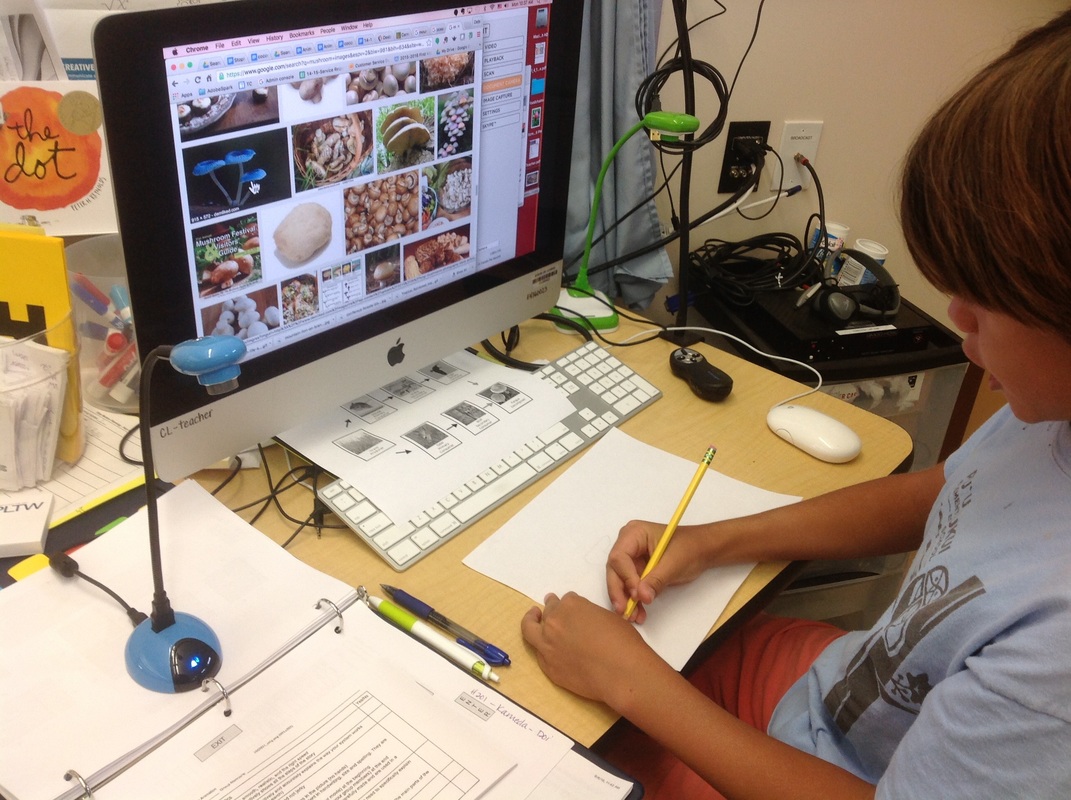
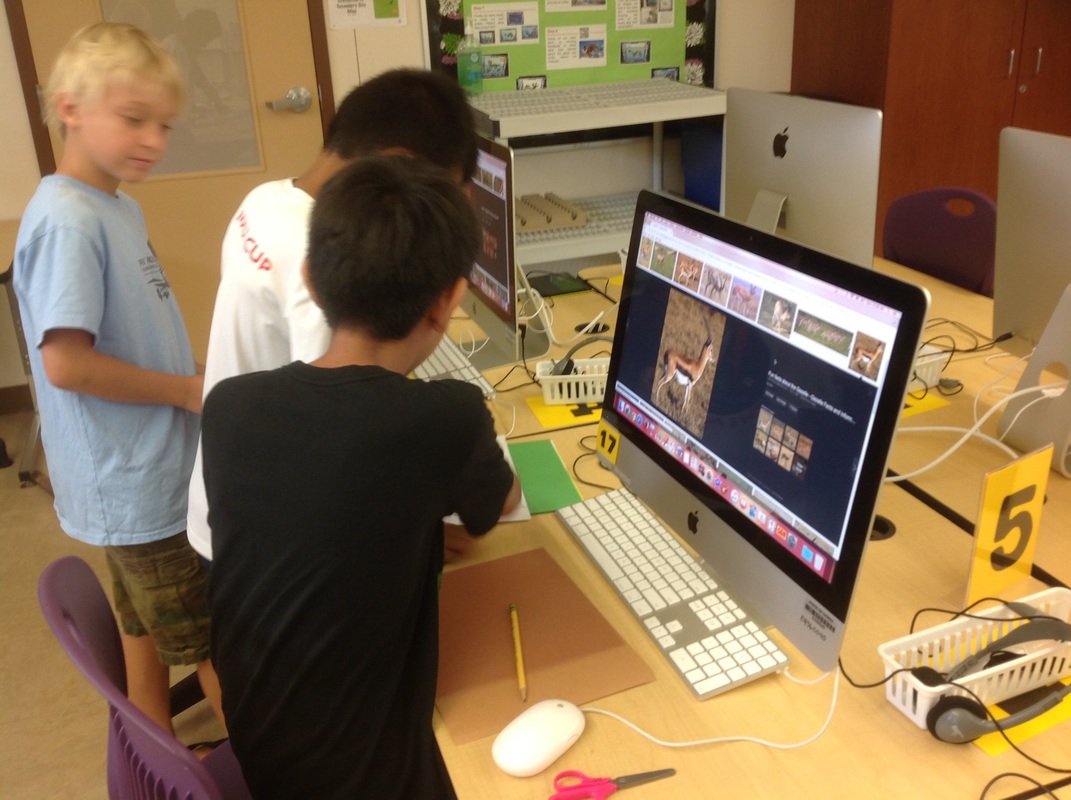
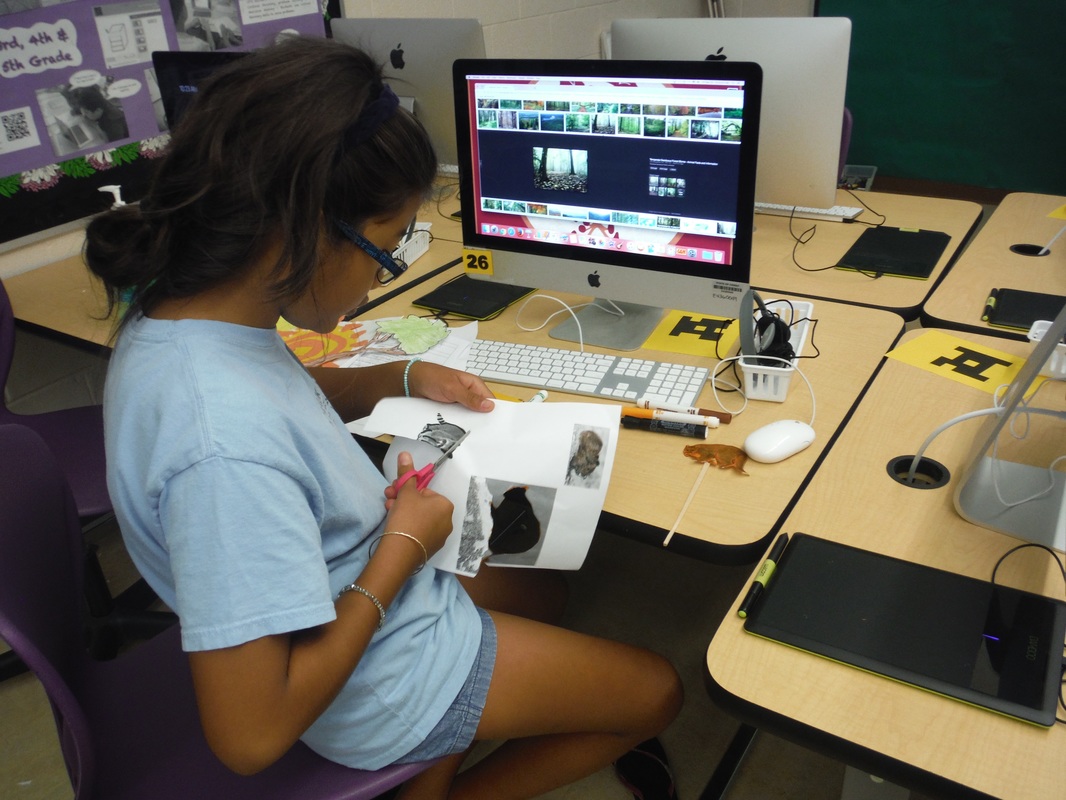
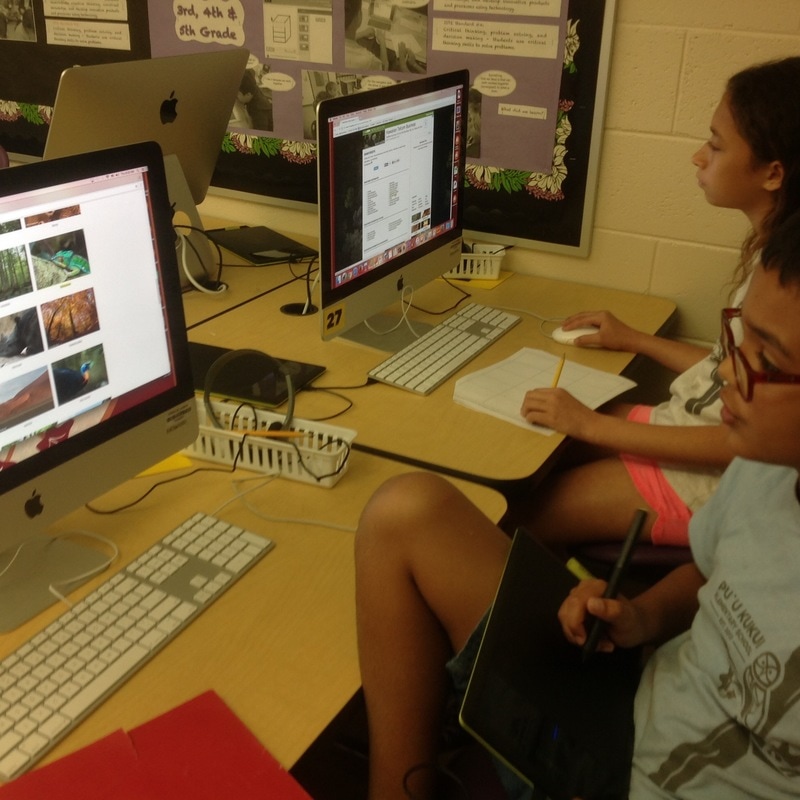
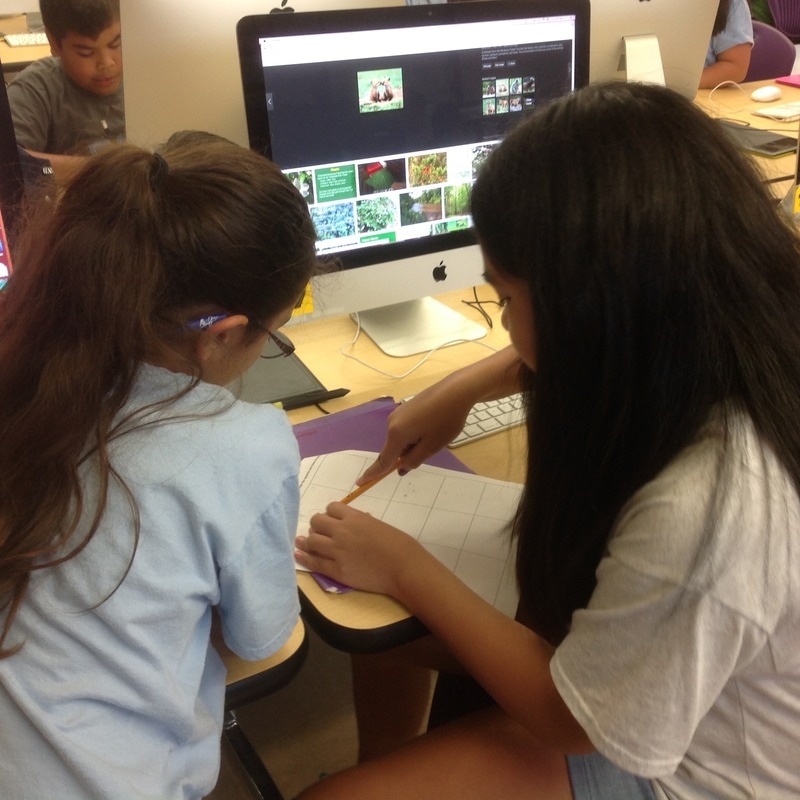
Step 1: Research phase - We looked at different sources where we could get information about our biome. (See blog post - this will open in a new window.) Step 2: Planning - Each group was given a biome to research. Using a planning sheet to guide each step of the process, each person in the group chose a character to create for the animation. Characters could be printed off and colored, or they could be created by hand using any of the resources available in the classroom (or brought in from home). Step 3: Whatʻs the story? Once characters were created (producers, consumers, decomposers, sun) students practiced telling the story of how energy is transferred. Step 4: Whatʻs the setting? Next came the creation of a background to be used in the animation. Step 5: Production - Lights, Camera, Action - students used SAM software and a portable web camera to create a stop motion animation of their story. Before moving to the next step they needed to answer yes to the following questions: 1. Does it show the transfer of energy in my biome? 2. Would the viewer be able to understand the story? Step 6: Backing track - Students chose from a list of possible songs for their backing tracks and they imported their favorite song to their movie and trimmed it to fit. Step 7: Sharing - Once the movie was complete, students exported it so that it was changed into a movie format that could be shared with others on the web. Step 8: Reflection and Feedback - When all our movies were complete and uploaded we had a gallery viewing and reflected on how well we met our goals. |