2016-2017
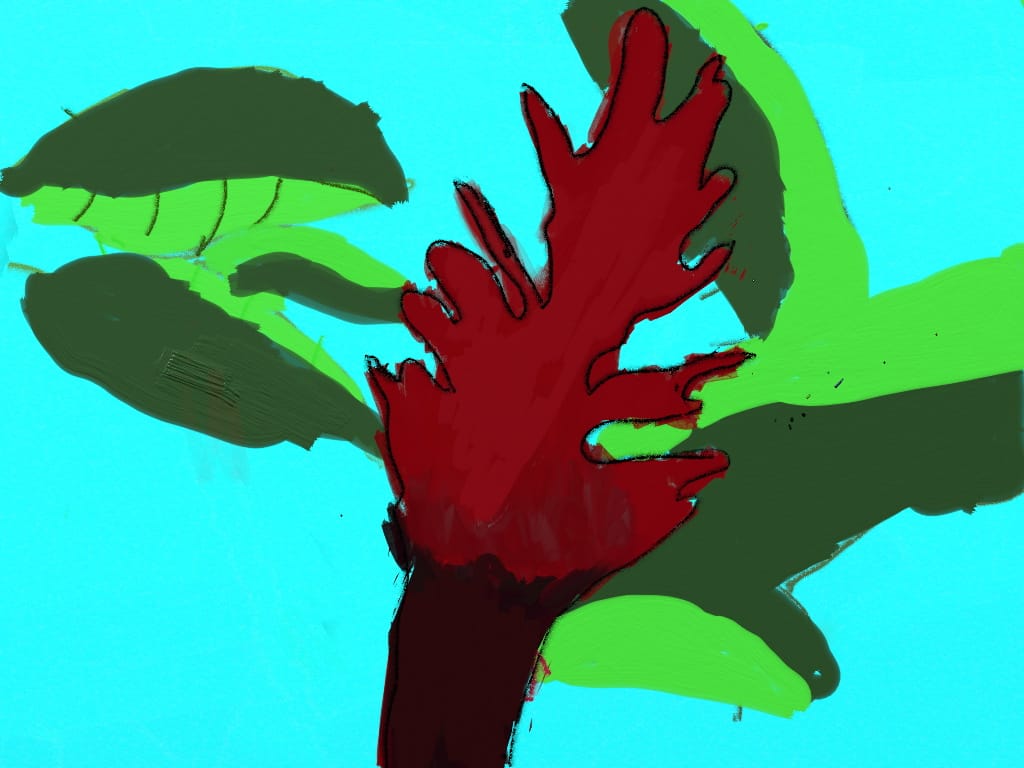
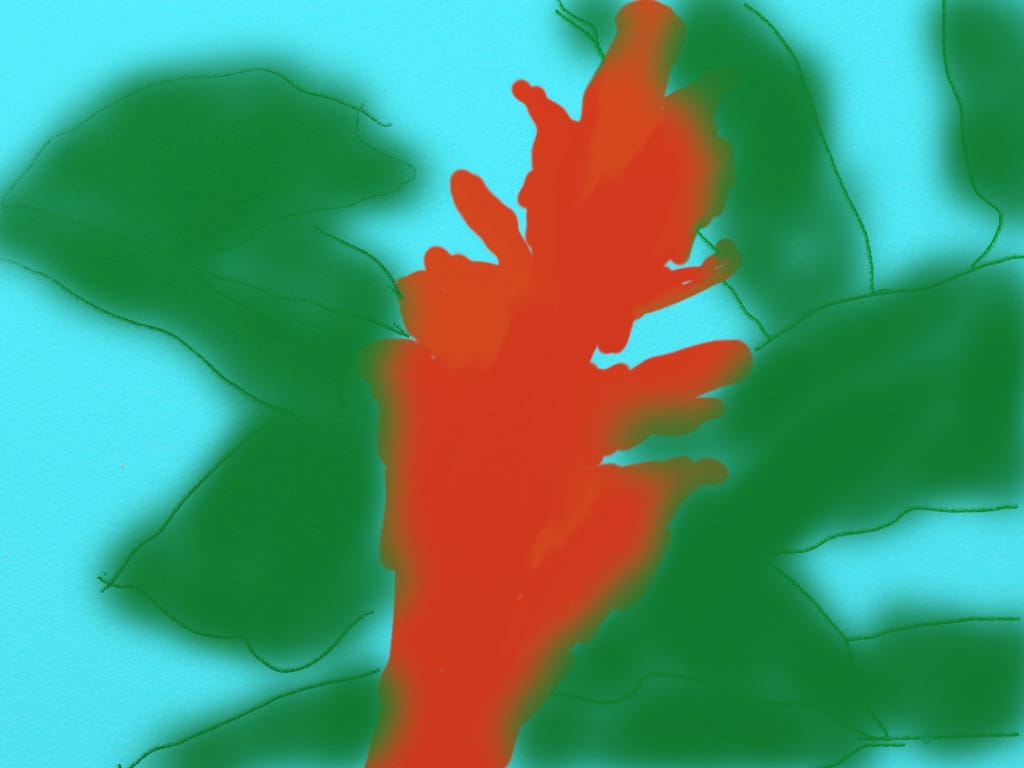
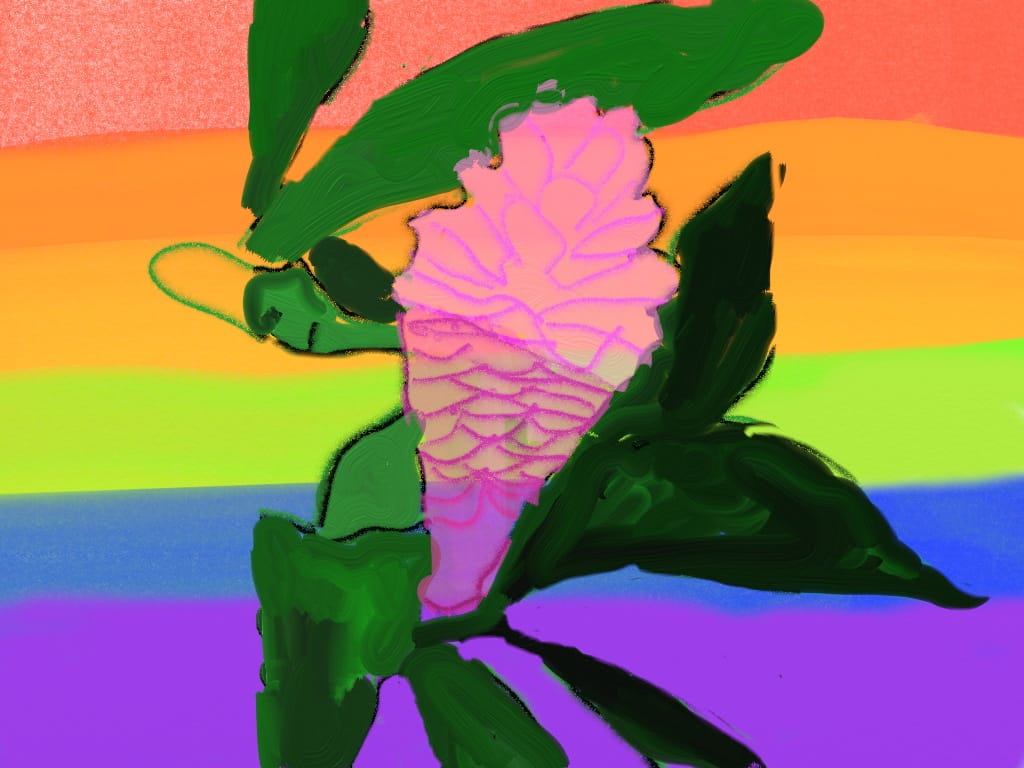
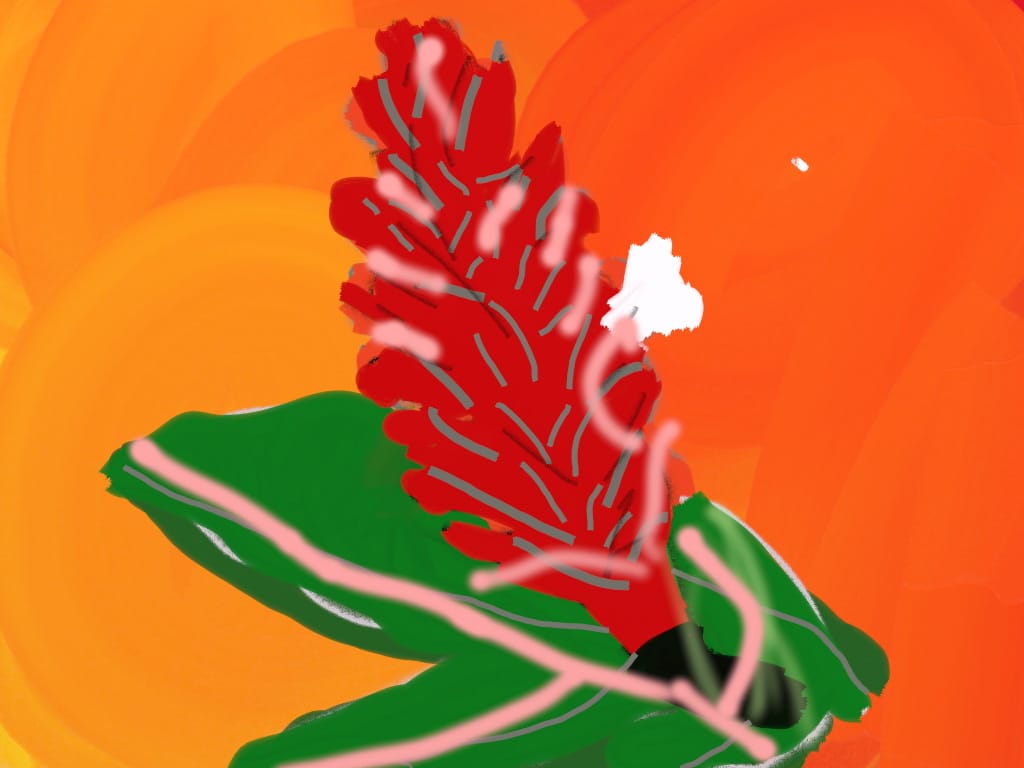
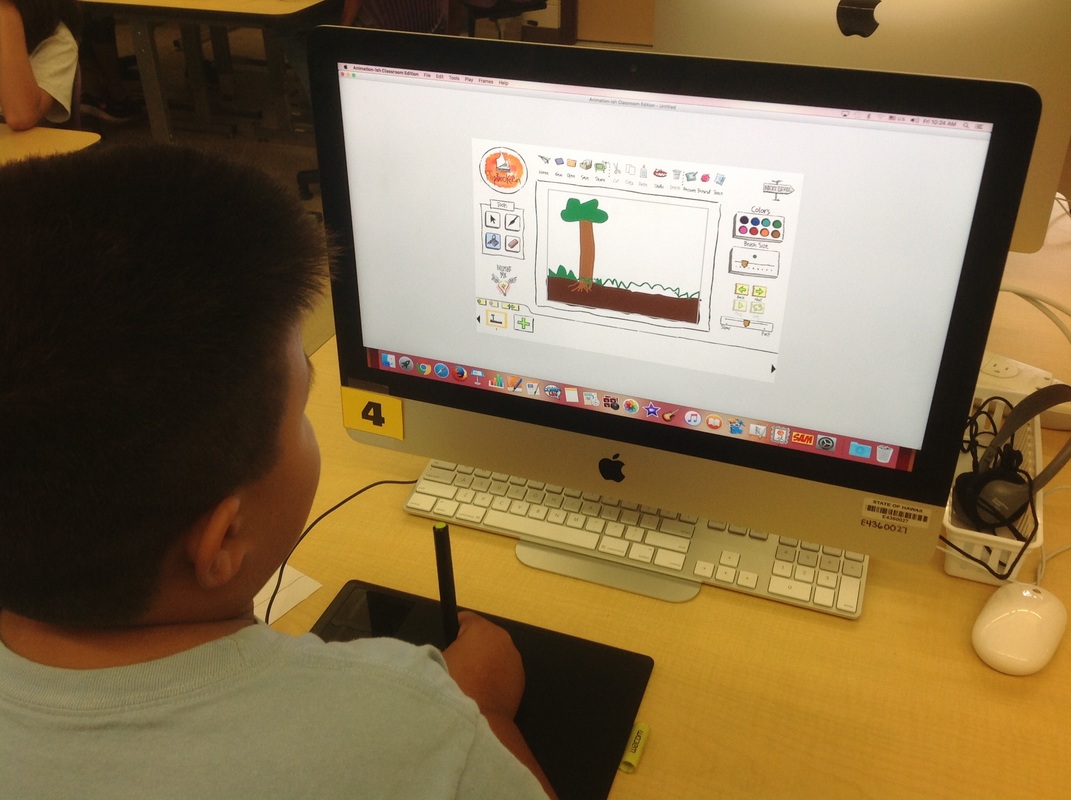
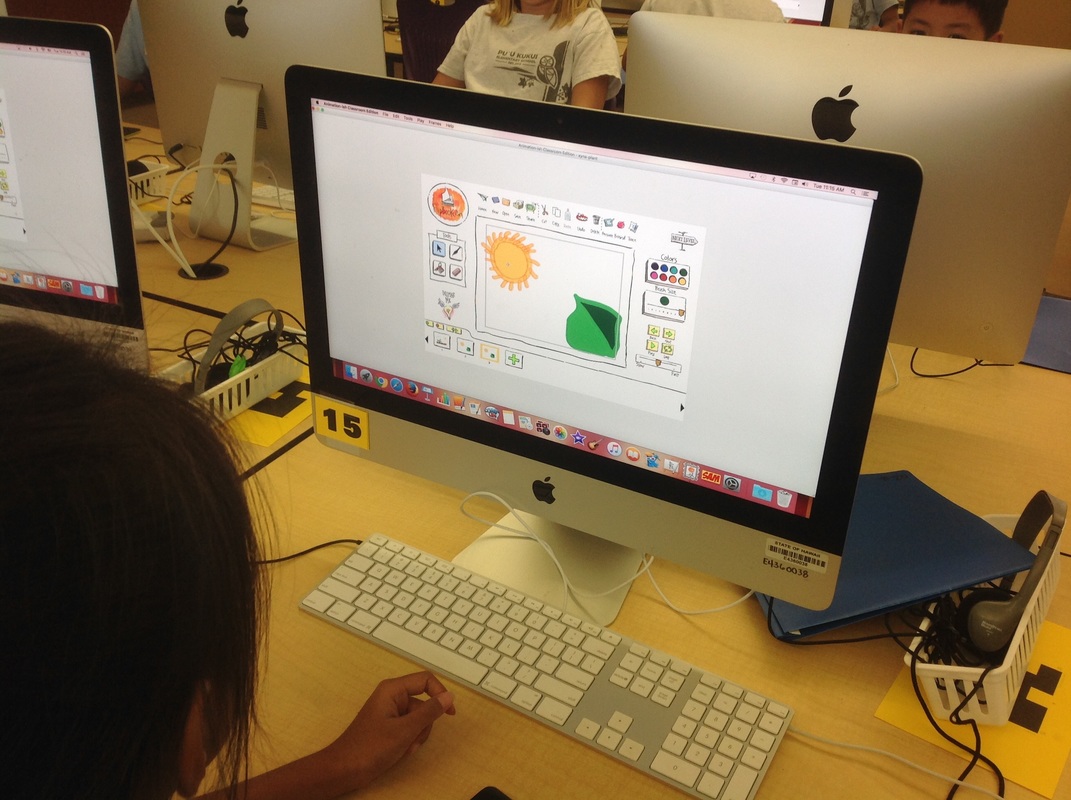
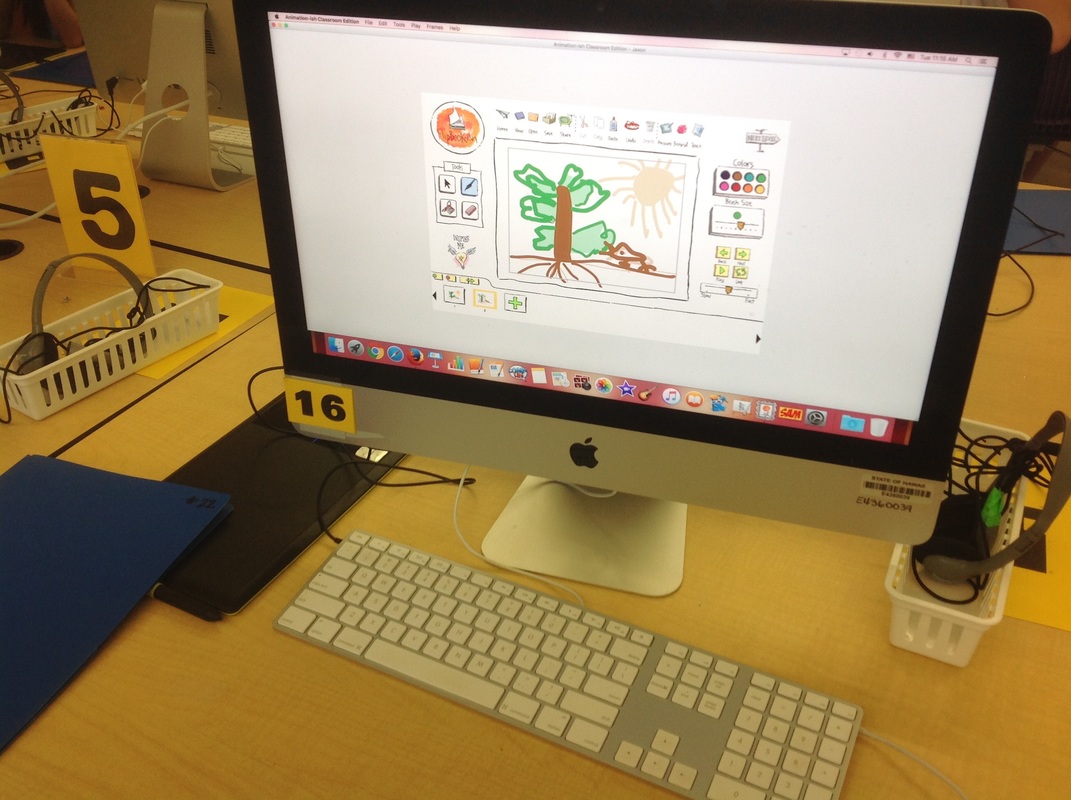
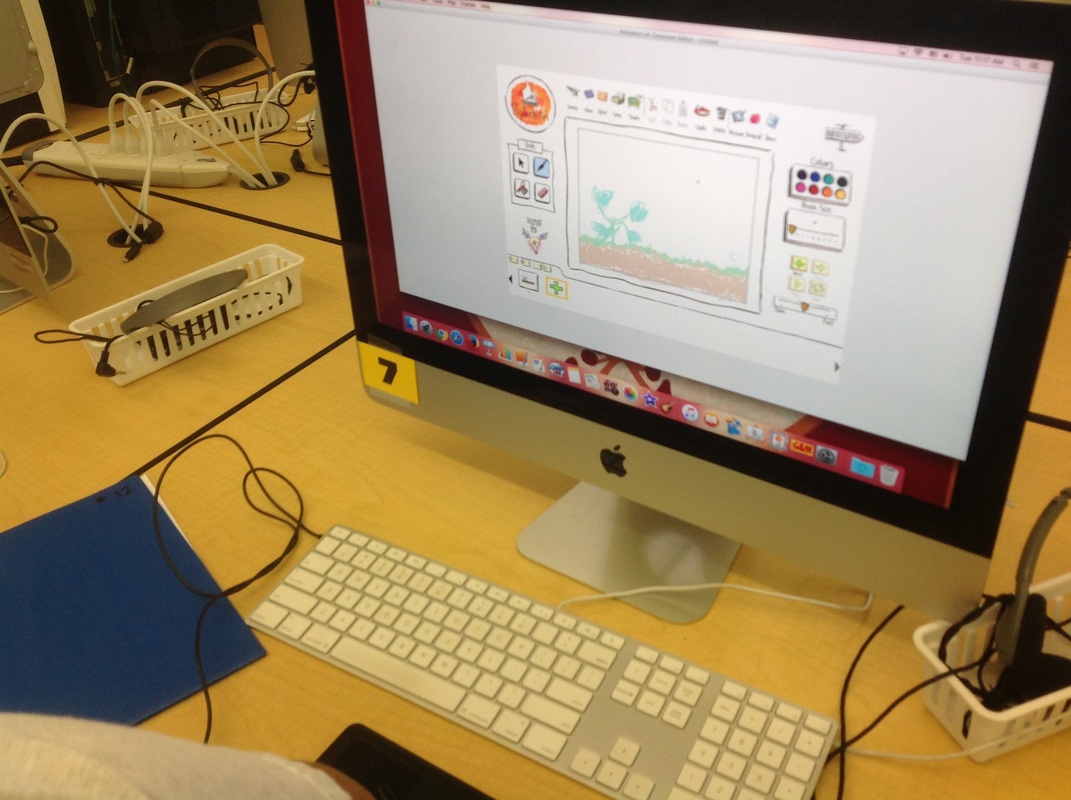
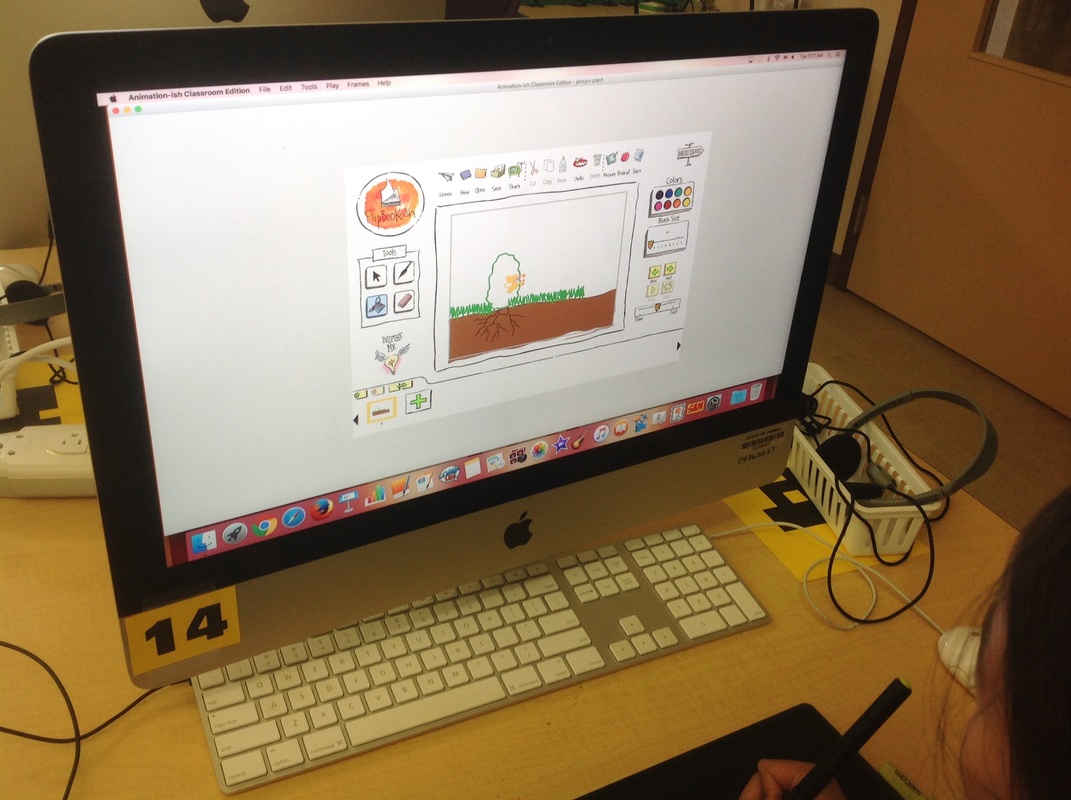
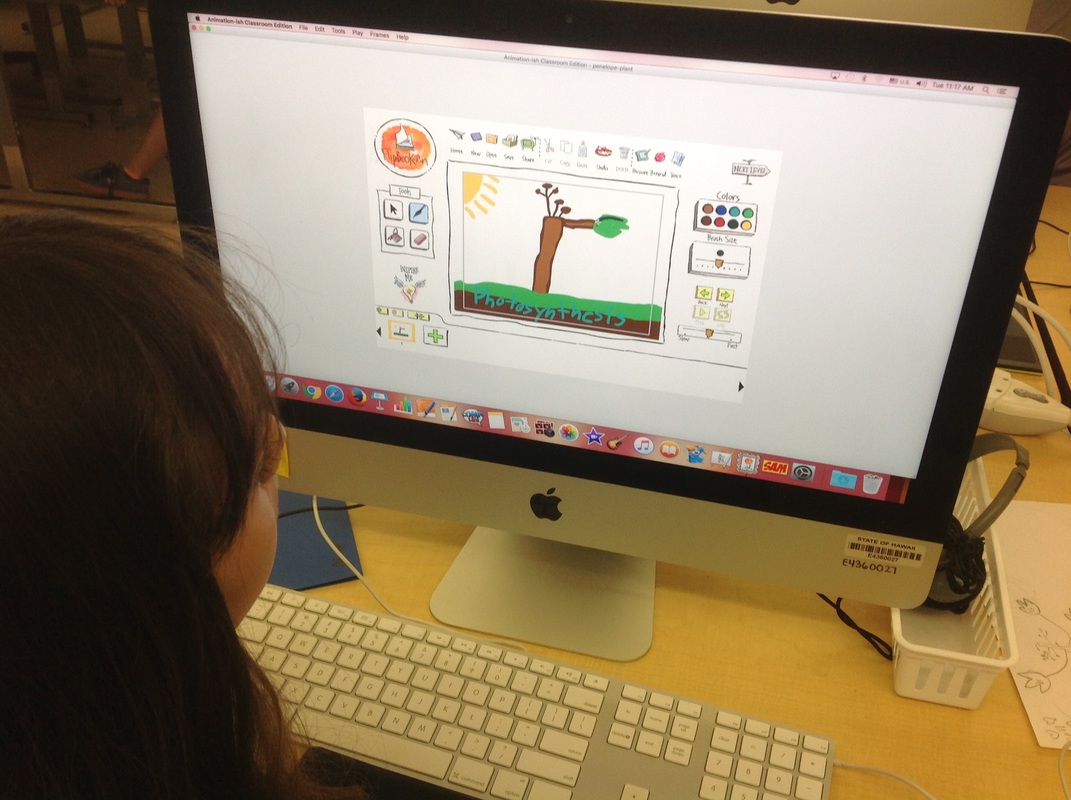
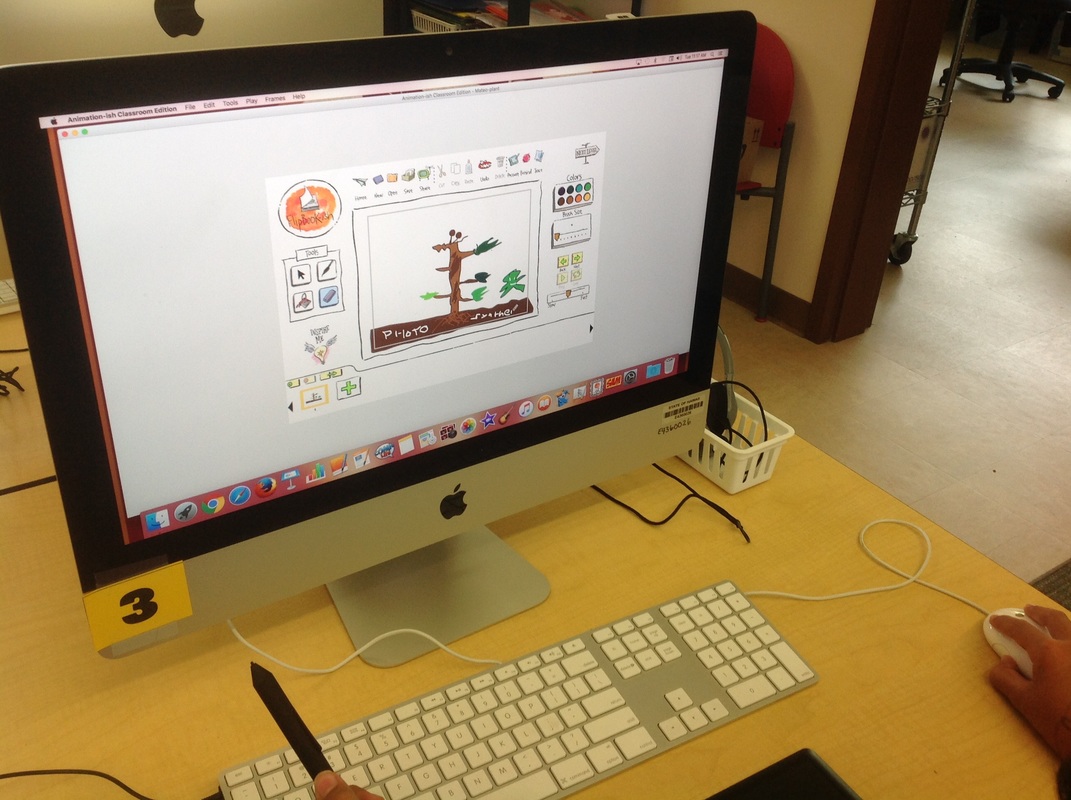
Our fourth grade classes worked with our various campus plants this year. Miss Kremmelʻs class used the digital cameras and photographed the plants. Then they used ArtRage to paint the plants. Mrs. Miyamotoʻs, Mrs. Pauoleʻs, Mrs. Plazaʻs and Mr. Perezʻs classes used Animation-ish to show how photosynthesis works inside a plant leaf.
Scroll down to see our gallery of plant paintings or click to see our animations.
Animations
Scroll down to see our gallery of plant paintings or click to see our animations.
Animations
|
4p-13-amaya2 from Debi Tisdell on Vimeo. |
4p-18-terina-plant from Debi Tisdell on Vimeo. |
Miss Kremmelʻs class
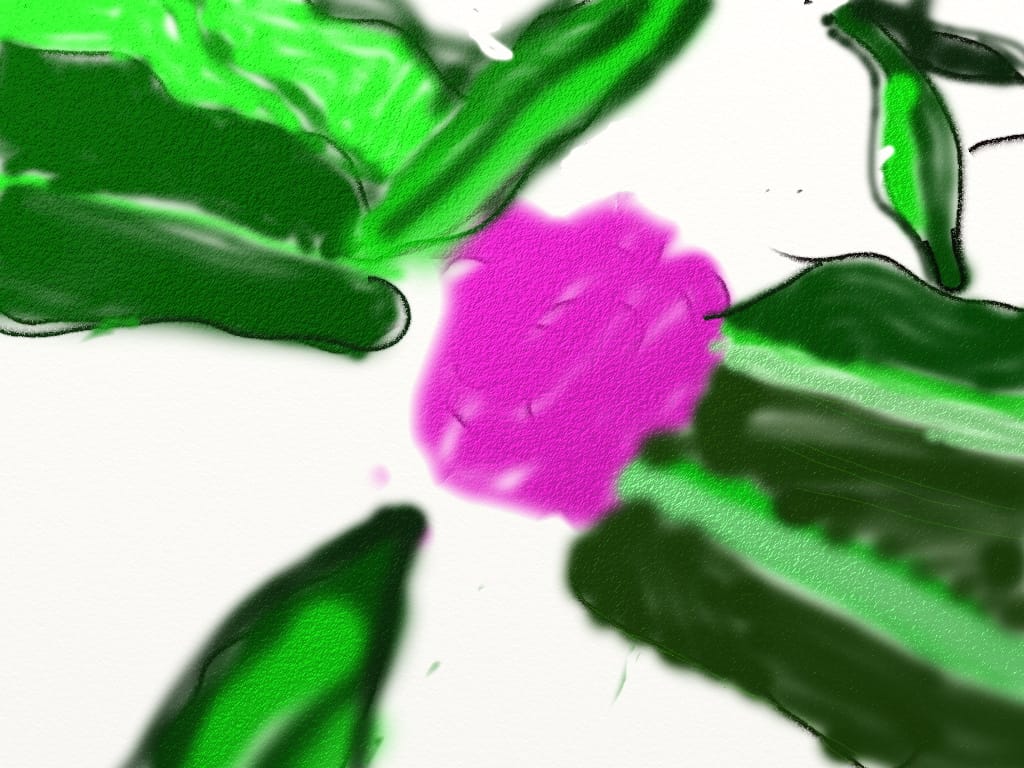
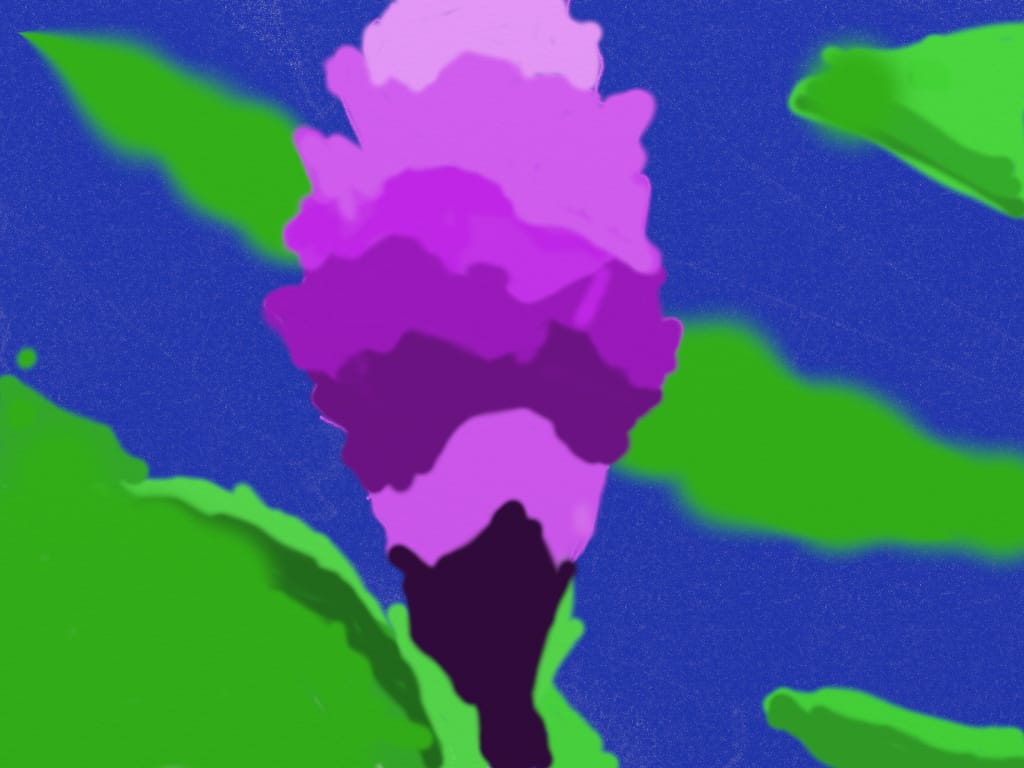
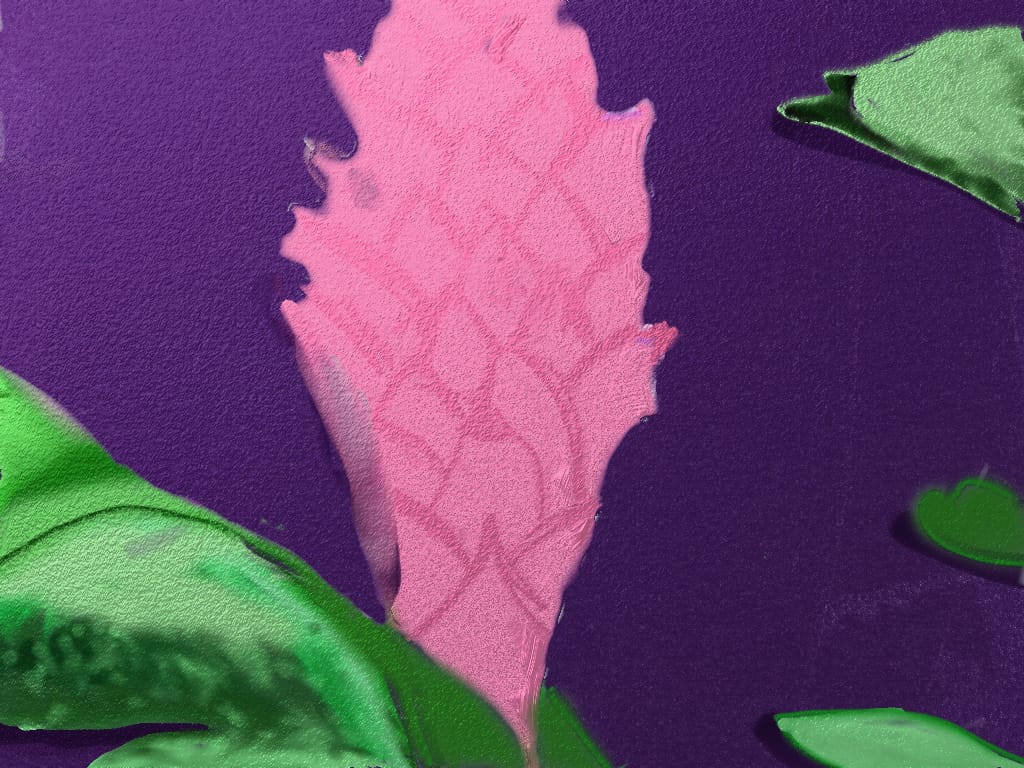
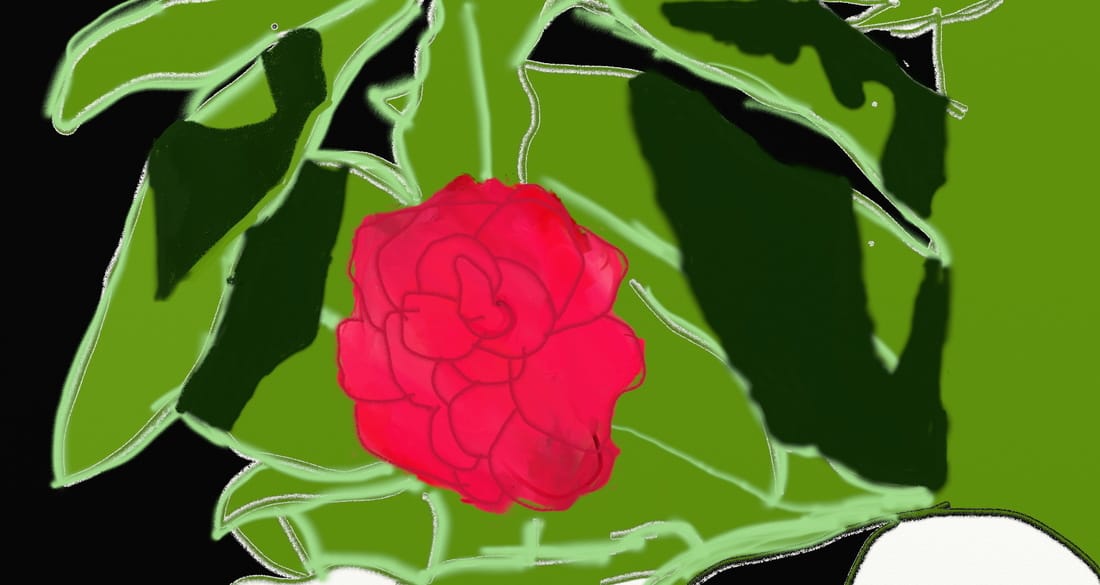
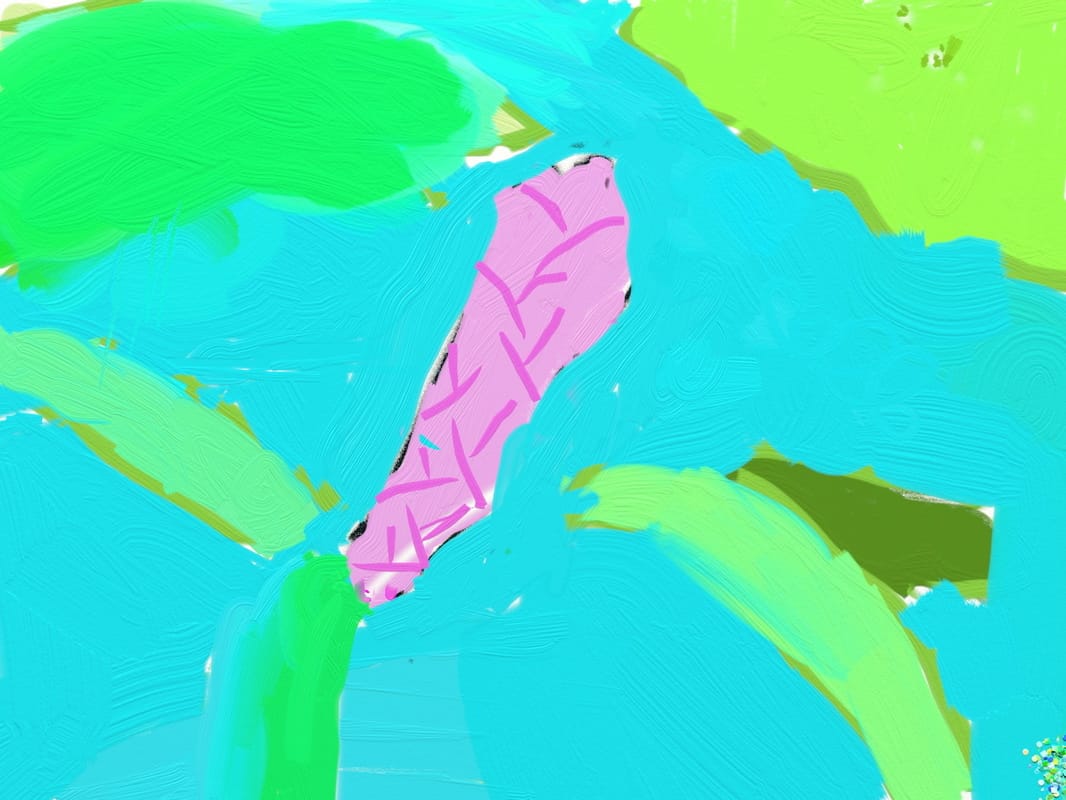
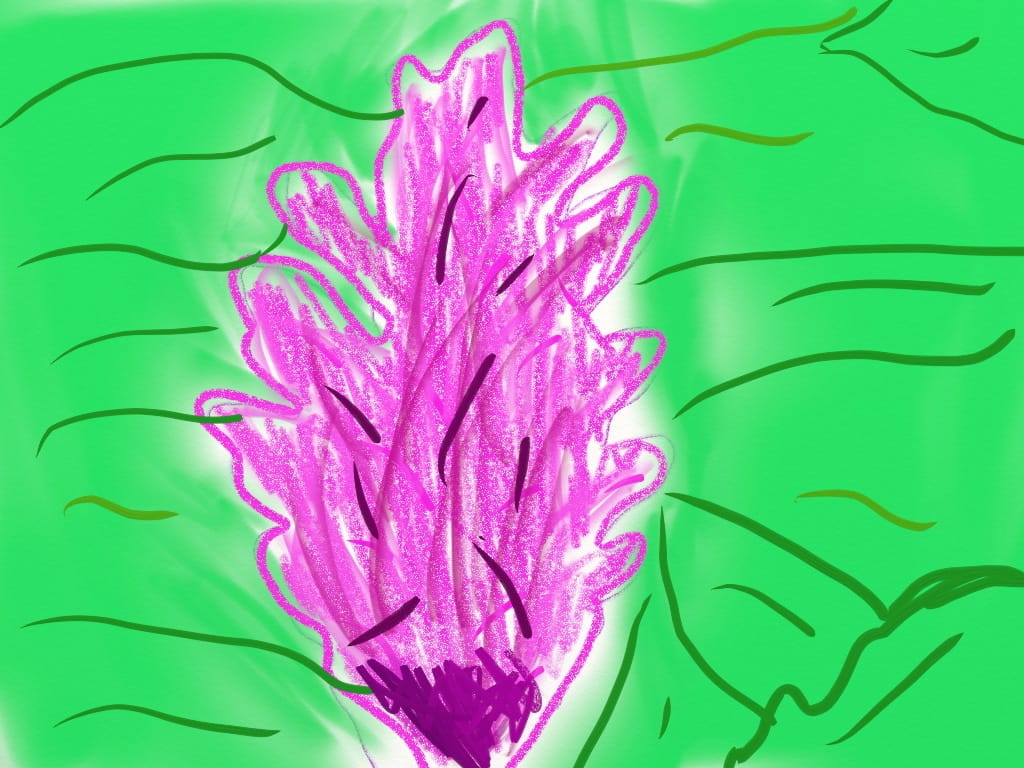
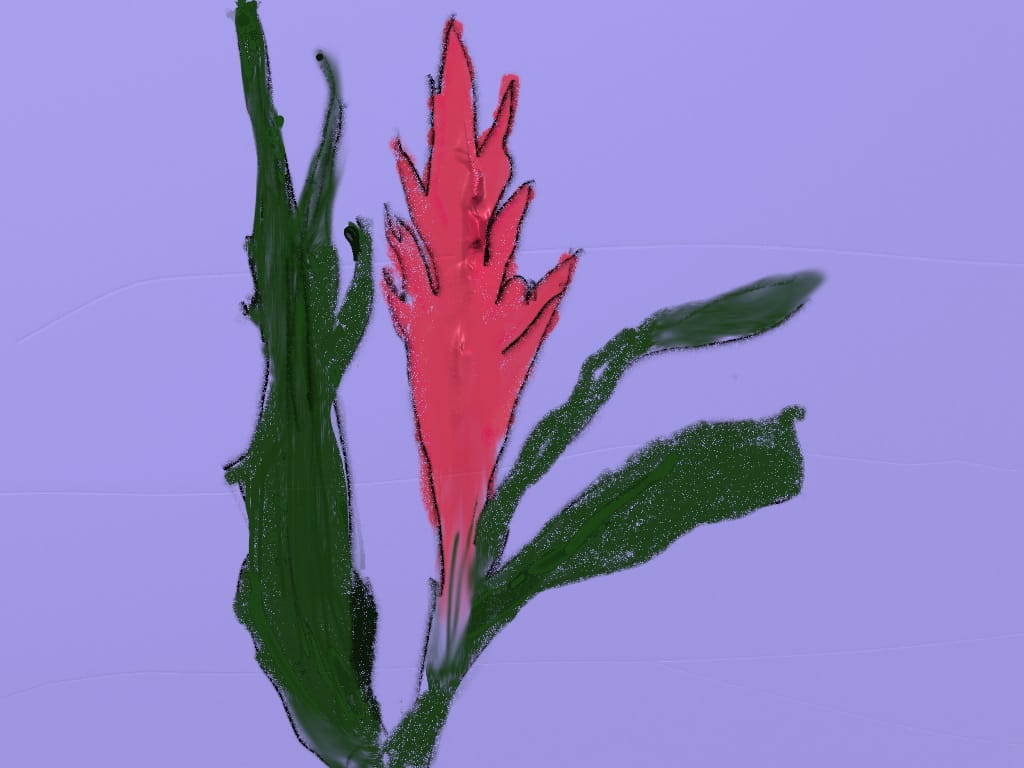
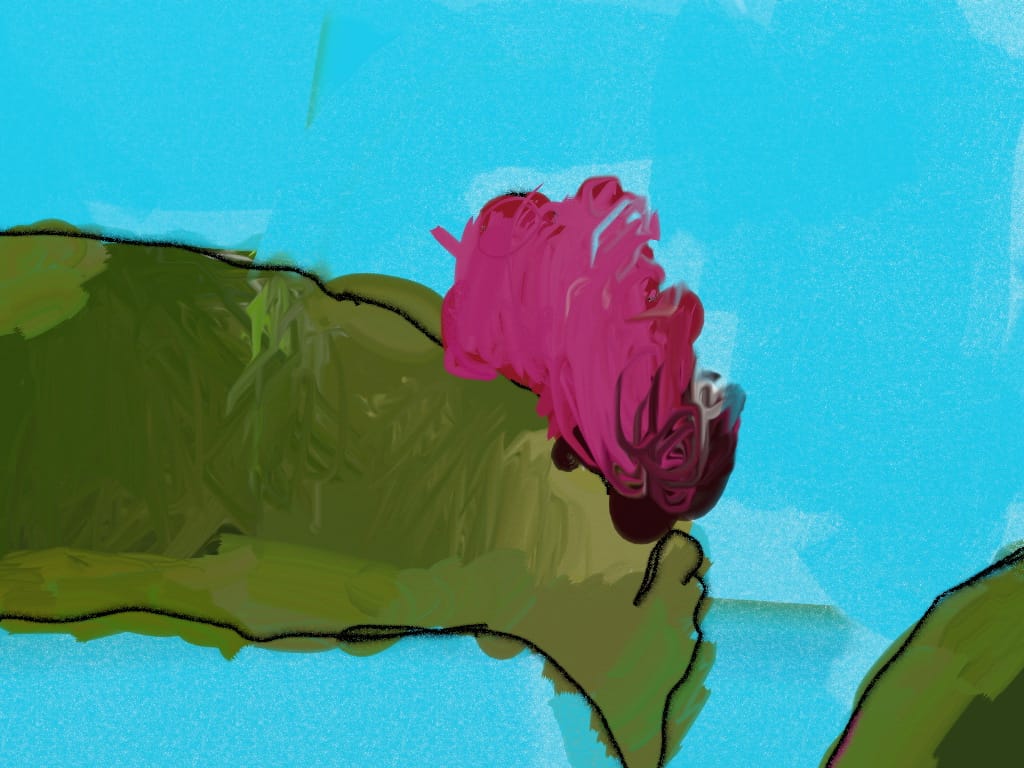
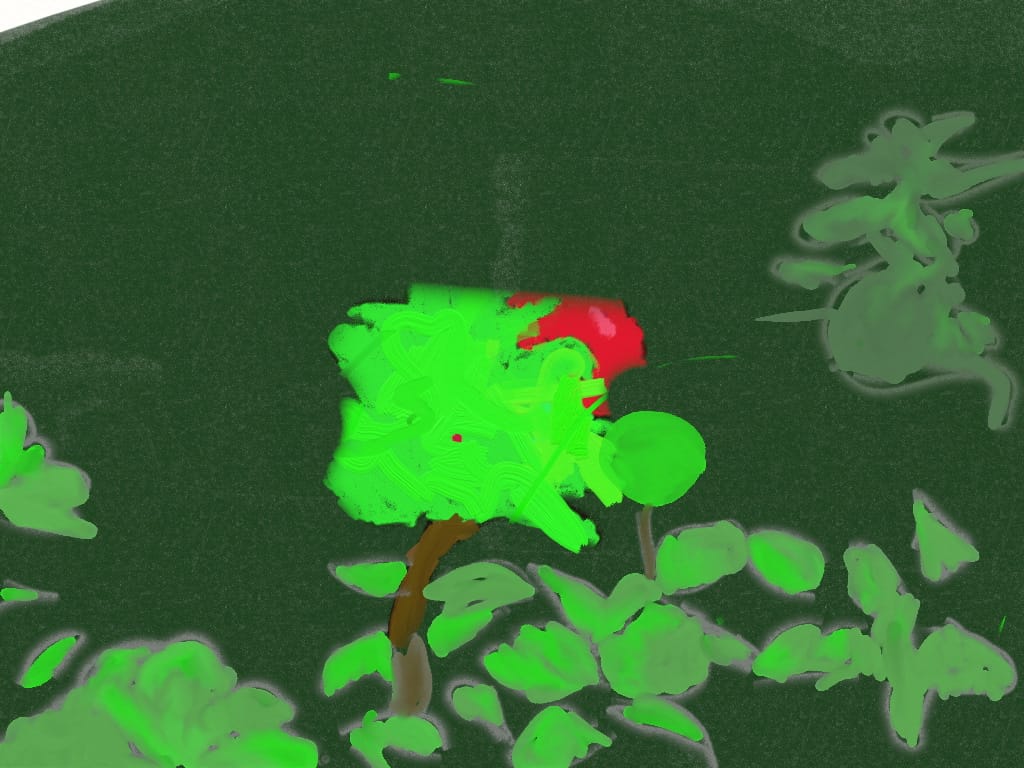
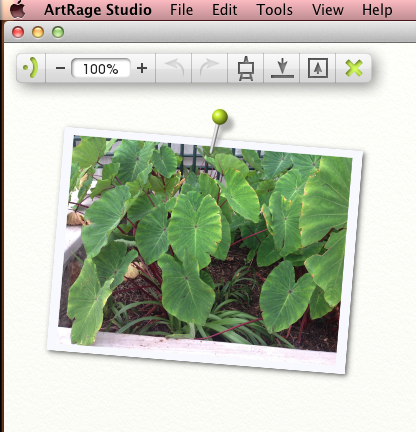
Miss Kremmellʻs 4th graders learned how to use the digital cameras and took pictures of some of our campus plants. They also worked hard to draw these plants, paying attention to details from the plants. They used the graphics tablets and ArtRage to create their images. Within Art Rage they learned to:
- Opened up a new paint file
- Practiced using the graphic tablet and the stylus - this was not easy
- Imported a photo to use as a trace image (to help us with the drawing of the flower
- Imported a photo to use a a reference image (so we could see what the colors were like)
- Used the pencil tool to sketch on one layer
- Used the layer tool to create new layers (one on top of the other)
- Moved layers around
- Used different paint tools (brushes, color picker, air brush) to create their flowers
- Added a layer and moved it to the bottom of the stack of layers - this was for the background
- Mixed colors
- Merged all layers into one main layer
- Exported their final picture as a .jpg file


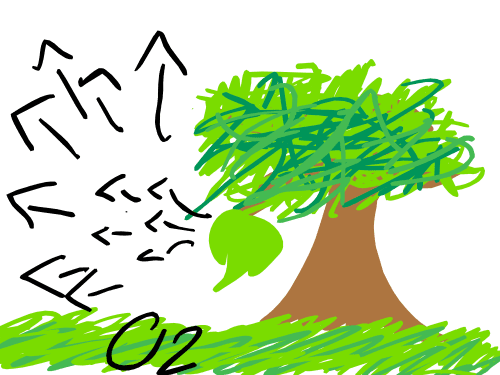
Some of our 4th grade classes will be working with Animation-ish to explain what they know about how plants use energy from the sun.
Our Essential Question: What would our lives be like without plants?
Day 1: Introduction
On our first visit to the computer lab we listened to the story Ish by: Peter H. Reynolds and we talked about how difficult it can be when we try to do something we have never done before. We liked the idea that things can be -ish- while we're practicing and learning to do something new and that would be OK.
Then we began working with the graphics tablets and stylus. We've used these tools before but we needed a few reminders like, "ribbon on the right" and how to easily get the stylus out of the ribbon.
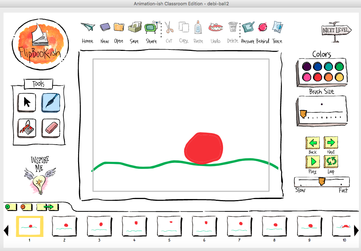
We opened up Animation-ish - a piece of software that Mr. Reynolds and his company created. Because it was a new piece of software we looked for tools that we'd seen before like:
Our Essential Question: What would our lives be like without plants?
Day 1: Introduction
On our first visit to the computer lab we listened to the story Ish by: Peter H. Reynolds and we talked about how difficult it can be when we try to do something we have never done before. We liked the idea that things can be -ish- while we're practicing and learning to do something new and that would be OK.
Then we began working with the graphics tablets and stylus. We've used these tools before but we needed a few reminders like, "ribbon on the right" and how to easily get the stylus out of the ribbon.
We opened up Animation-ish - a piece of software that Mr. Reynolds and his company created. Because it was a new piece of software we looked for tools that we'd seen before like:
- color chooser
- brush size
- paint brush, eraser and fill bucket
- undo guy
Day 2 - What do we know about plants
Today we began by discussing our essential question: What would our lives be like without plants?
What would our lives be like without plants?
Mrs. Miyamotoʻs class:
What do we know about plants:
Mr. Perezʻs class:
Today we began by discussing our essential question: What would our lives be like without plants?
What would our lives be like without plants?
Mrs. Miyamotoʻs class:
- We wouldn’t have clean air.
- We wouldn’t have much food.
- We won’t have enough oxygen.
- We wouldn’t be healthy because fruits and veggies are plants and those are the things that help us be health
- You would die because pretty much all the things that make us not able to survive.
- A lot of the houses we have wouldn’t be made because the trees and materials that we use are from plants.
- We would be dead .
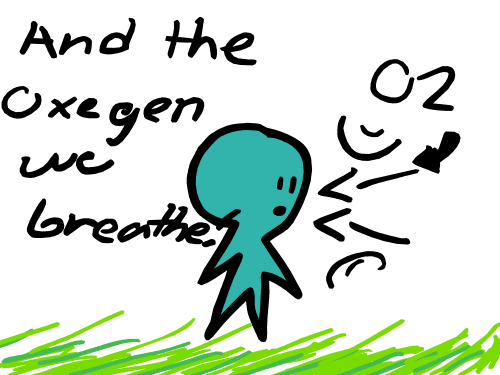
- We couldnʻt breathe because trees and green plants give us fresh air.
- Some of our fruits and veggies wonʻt be grown.
- Technically we wouldnʻt be alive because we wouldnʻt have oxygen.
- We would have more landslides than usual because the roots help the dirt stay still.
- We will starve to death.
- All the vegetarian animals would die because there would be no natural food to eat and the meat eaters would die because they would run out of food.
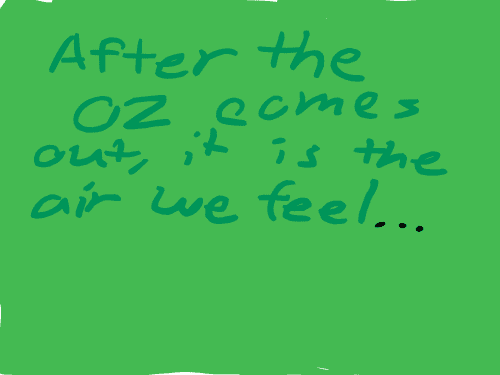
- Since plants make oxygen from carbon dioxide there would be a lot of carbon dioxide without all the plants. There would be no oxygen and we would all die.
- Earth would not have life on it.
- Earth from space would look like brown and blue and not green and blue.
- There would be no plants, food, and trees and apples for us to eat.
What do we know about plants:
Mr. Perezʻs class:
- They give us oxygen.
- It can help feed every living thing on earth.
- Plants give us fresh air to breathe instead of dirty air.
- They give off air.
- It gives us food.
- Plants help us live.
- They make our food healthy.
- They are green (most of them)
- They prevent landslides.
- They keep the earth from turning brown.
- They grow roots.
- They give us oxygen.
- They give us shade.
- They help us survive by making things we need.
- They give us food.
- They need water to grow.
- We can eat healthy.
- They give us wood to make for our houses.
- We wouldn’t have enough resources to build houses and bridges.
- Some hold water.
- They give us clean air.
- They keep us alive.
- They help us make money.
- Some traditions will be ruined if we don’t have plants because some people use the plants for traditions = for example the bamboo dance in the Philippines.
- We use plants to make paper.

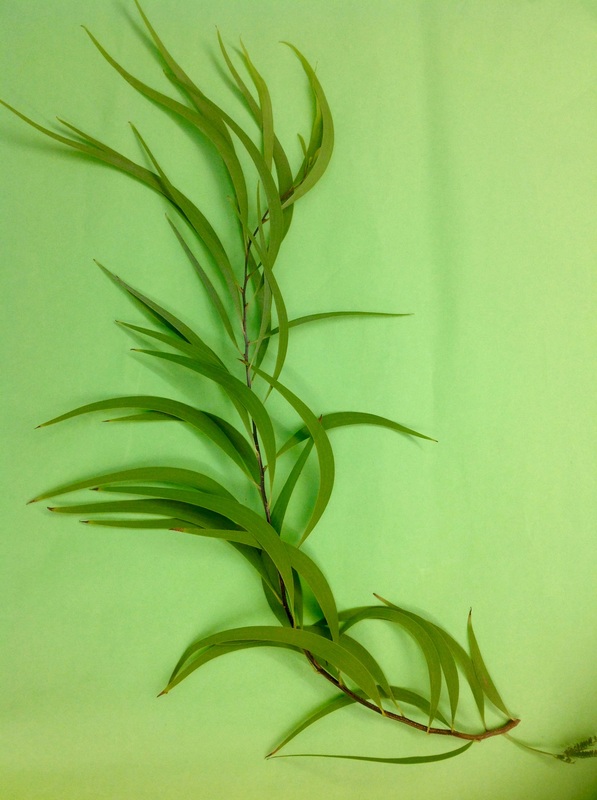
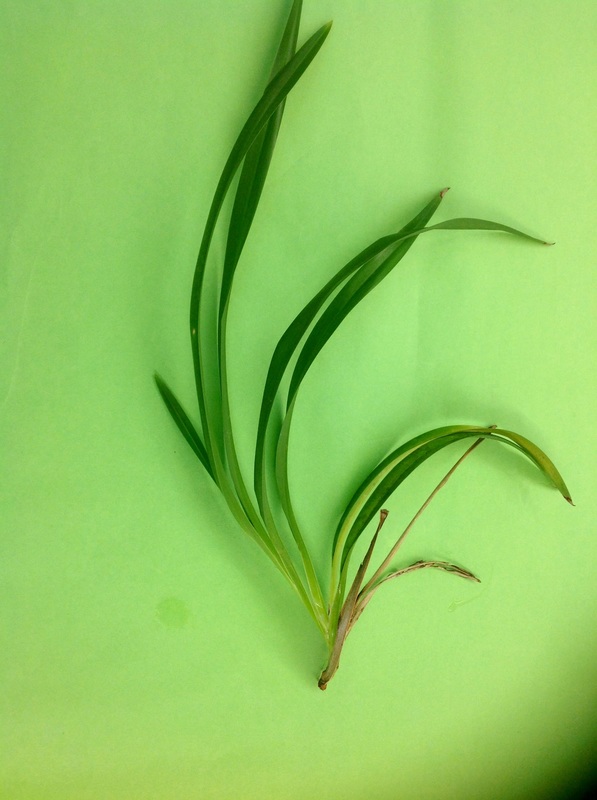
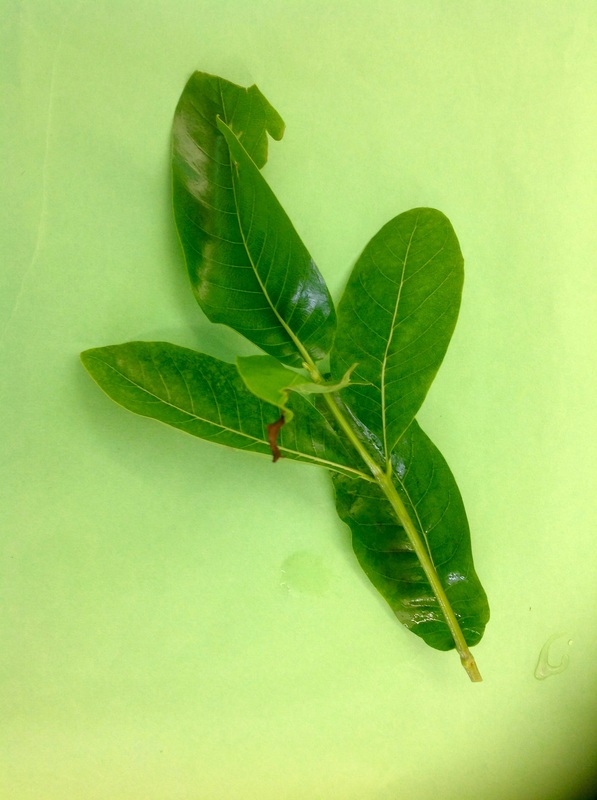
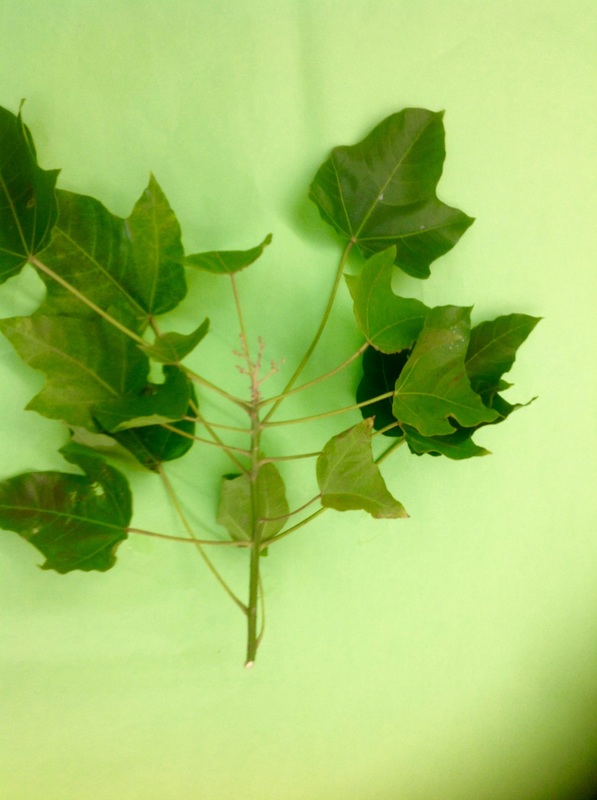
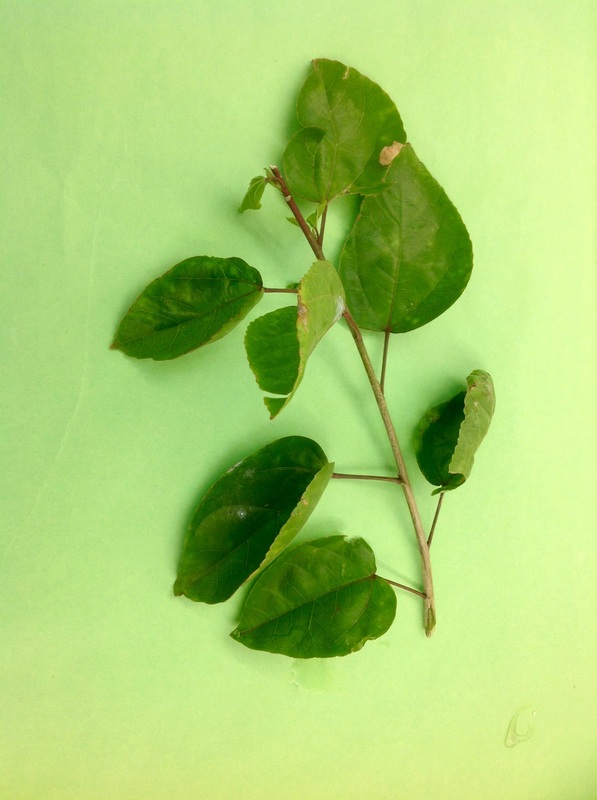
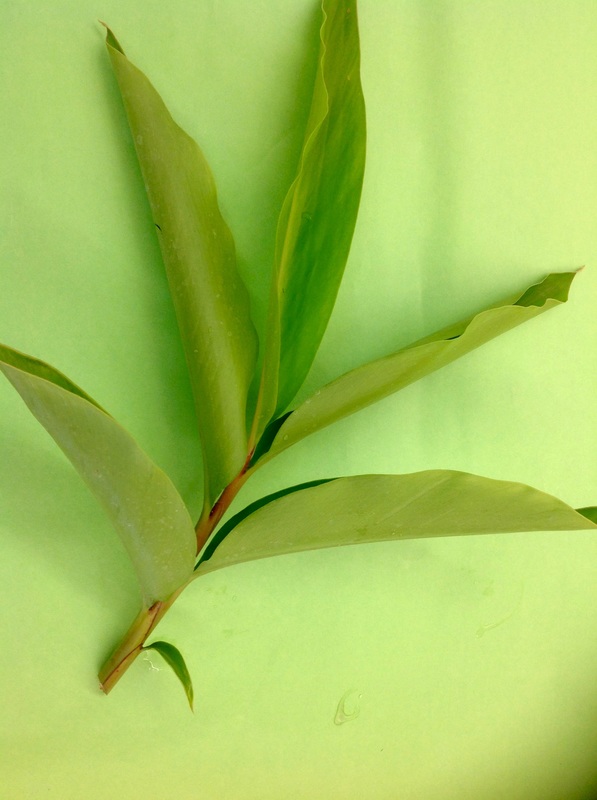
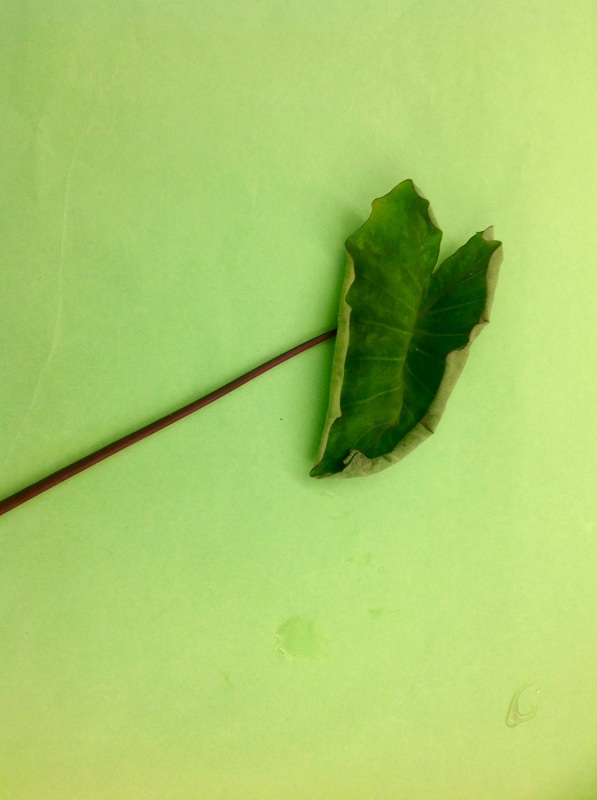
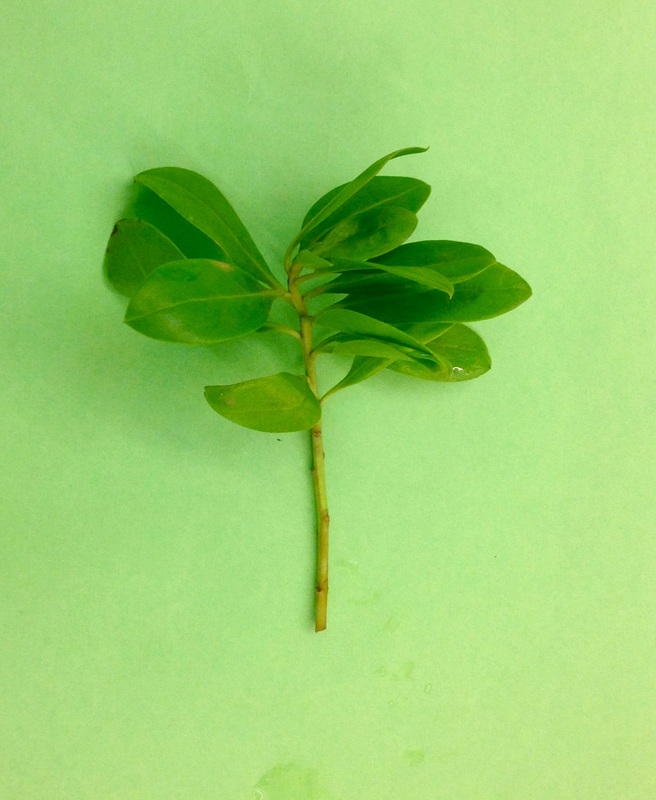
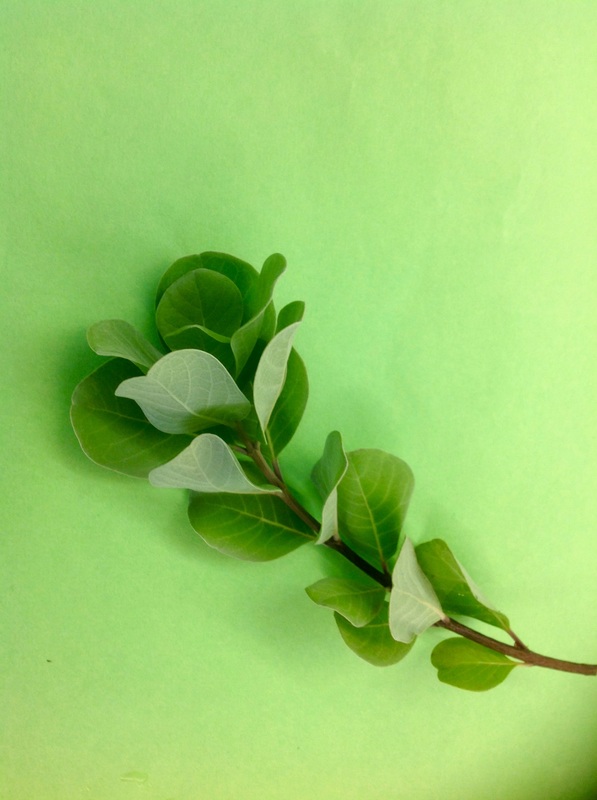
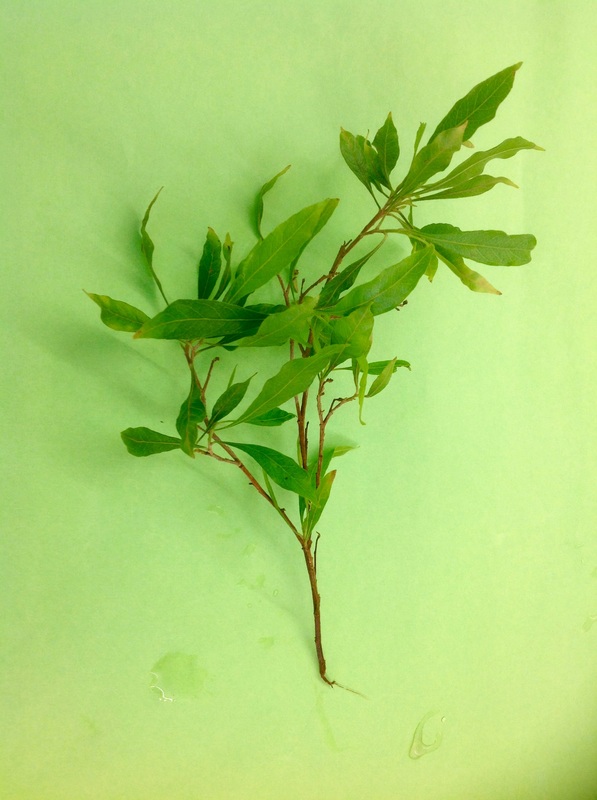
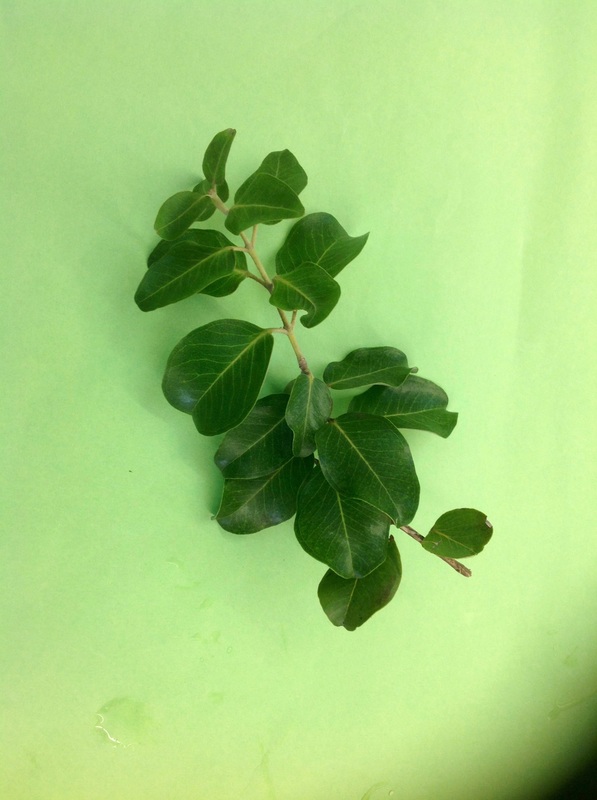
We noticed that not all of the leaves attached to the branches in the same way. Some attached directly to the stalk and others attached to the branches in an alternating pattern or in pairs. While the leaves were different they did have some things that were the same.
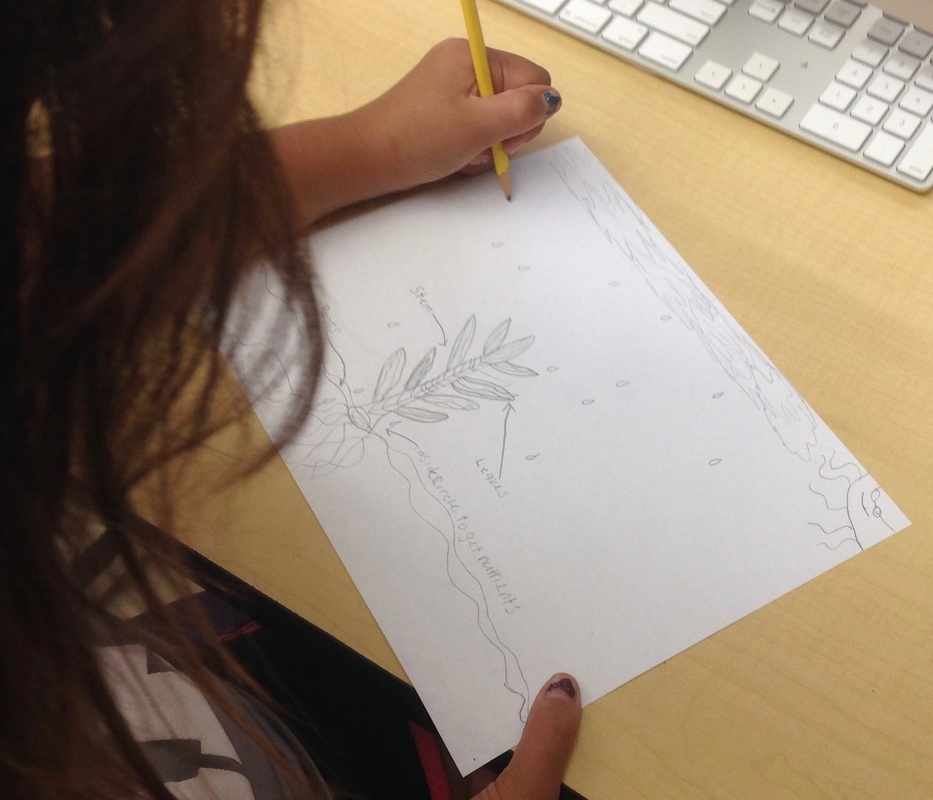
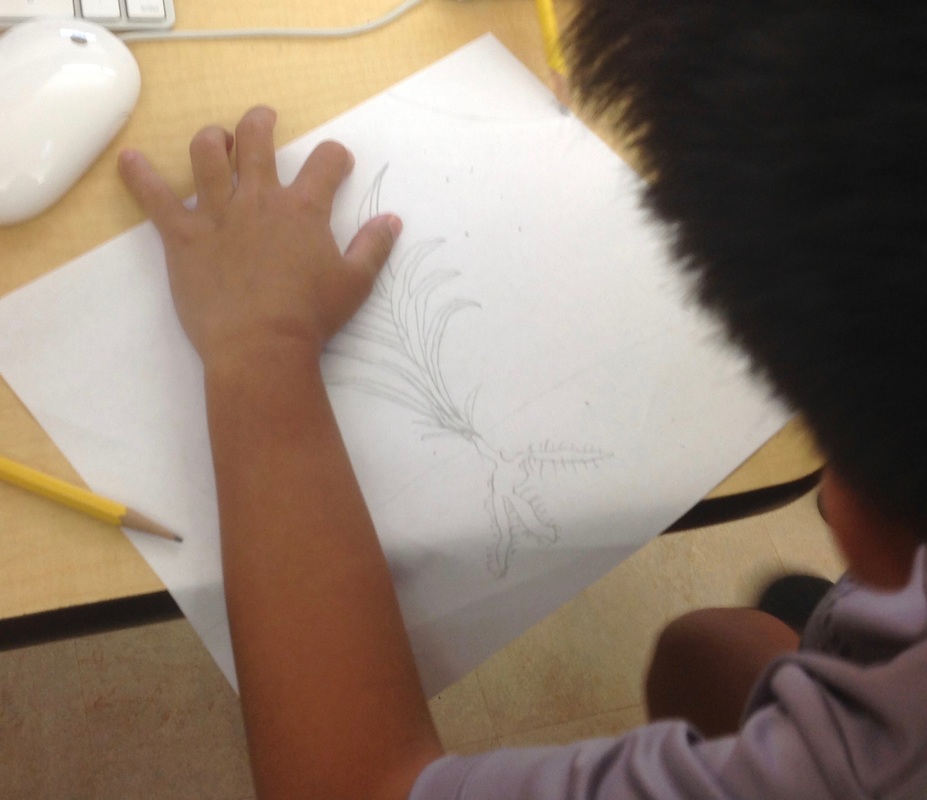
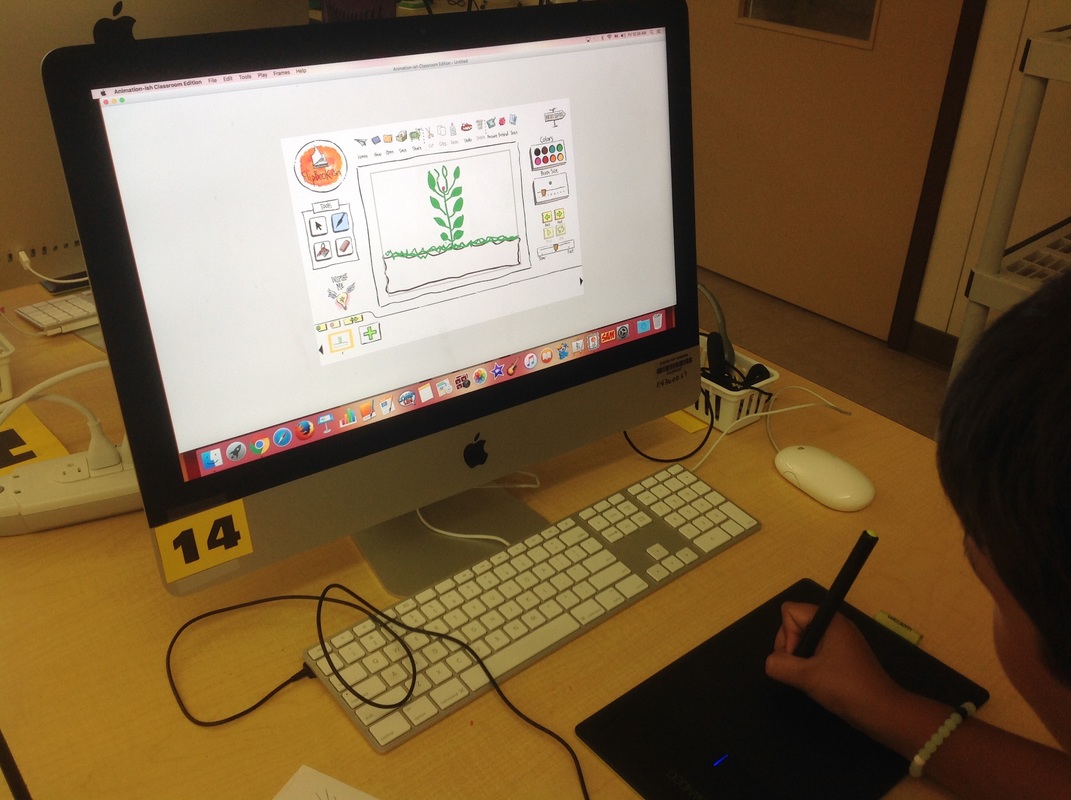
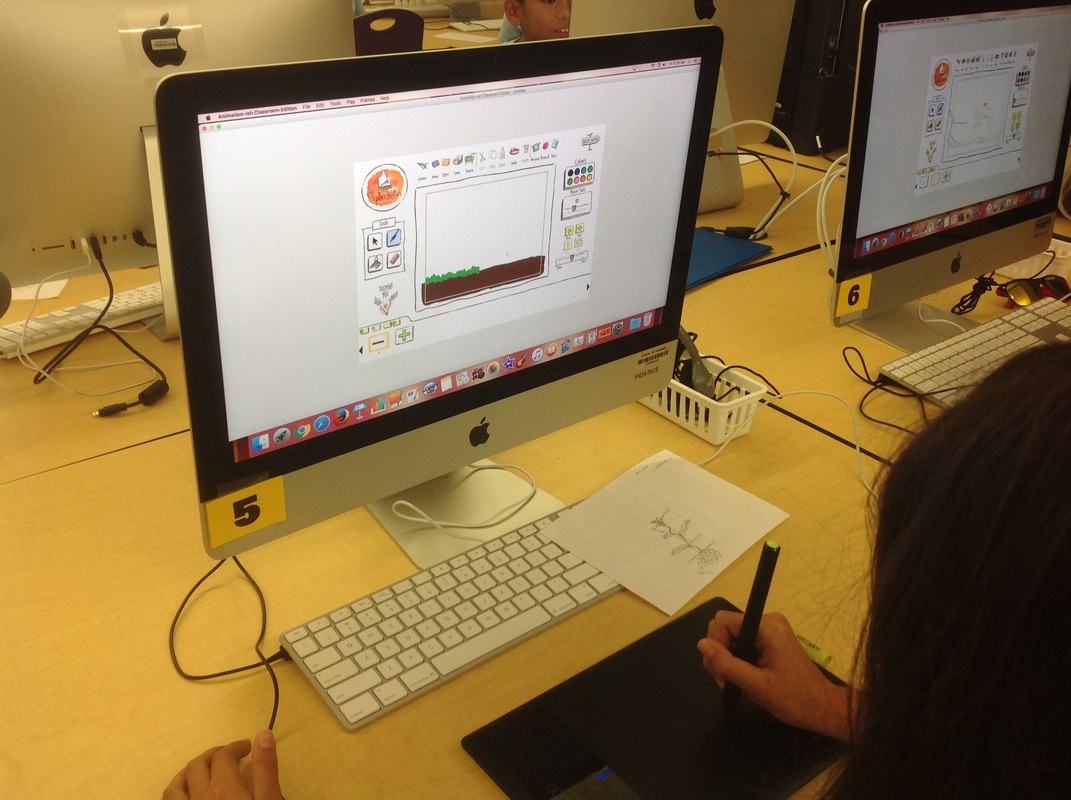
Each group chose a plant for their animation and practiced looking at the leaves "through the eyes of a scientist" and drew a sketch of their plant and then began labeling the different parts.
We finished by watching another Discovery Education video and watched how the editors annotated (added written comments) to the video to expain what was happening. This was to prepare us for doing our own animation.
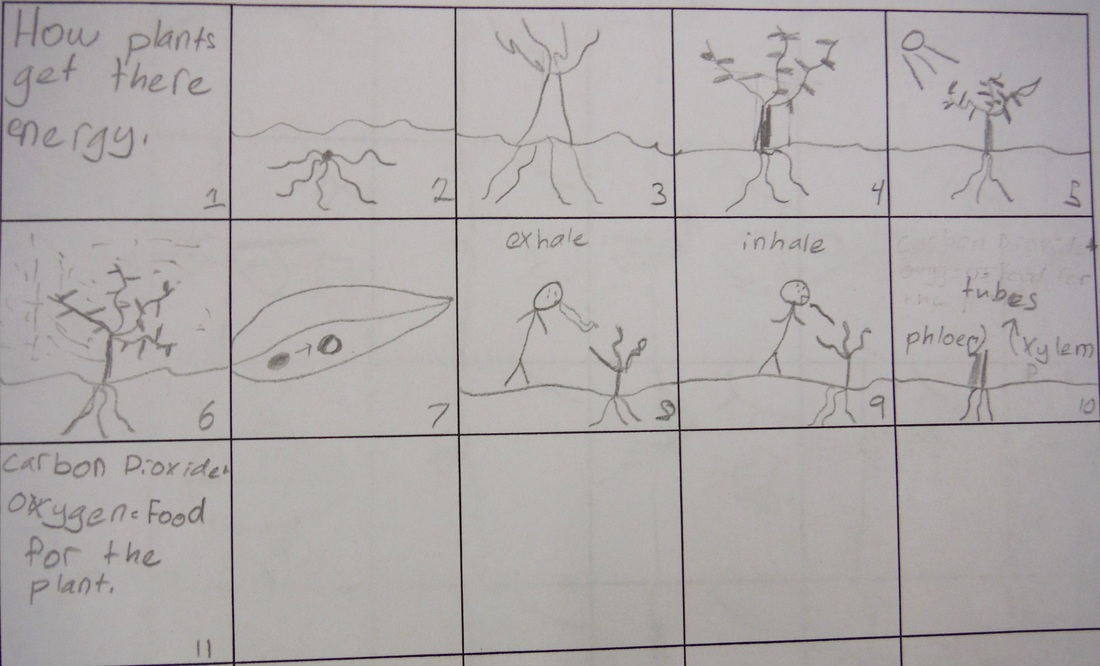
Day 3 - Planning and Storyboarding - Mrs. Miyamotoʻs class
Today we began by reviewing what we did the last two times we met and we watched two more short video clips explaining about how plants get their energy from the sun and what they do with that energy. We kept track of important words in the movies. As a class we made a storyboard showing how that might look when we animate it. Our goal is to create an animation showing how plants get their energy. Weʻre going to make sure that we show what happens in the leaves of the plant.
Today we began by reviewing what we did the last two times we met and we watched two more short video clips explaining about how plants get their energy from the sun and what they do with that energy. We kept track of important words in the movies. As a class we made a storyboard showing how that might look when we animate it. Our goal is to create an animation showing how plants get their energy. Weʻre going to make sure that we show what happens in the leaves of the plant.


Mrs. Pauoleʻs Class
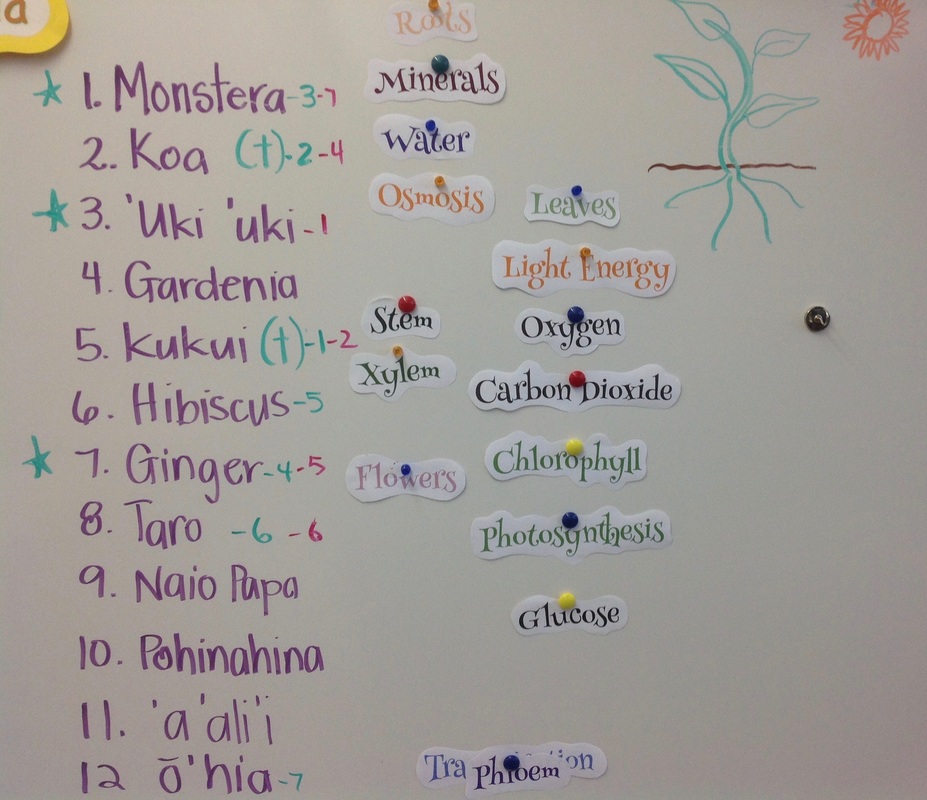
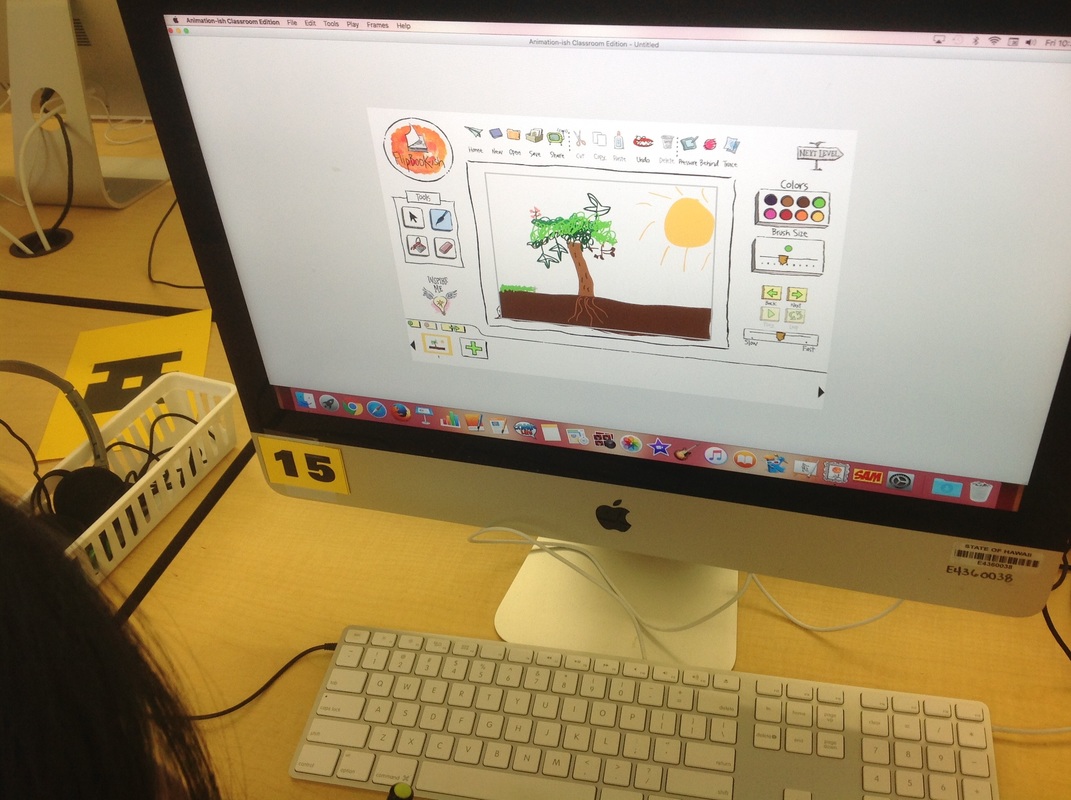
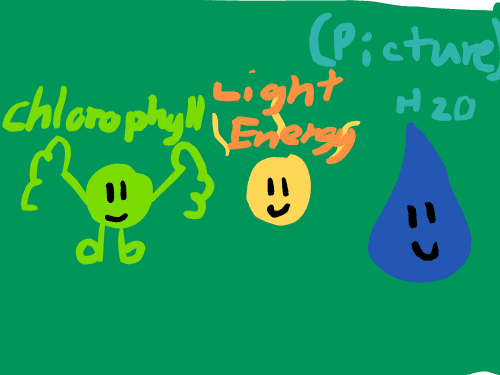
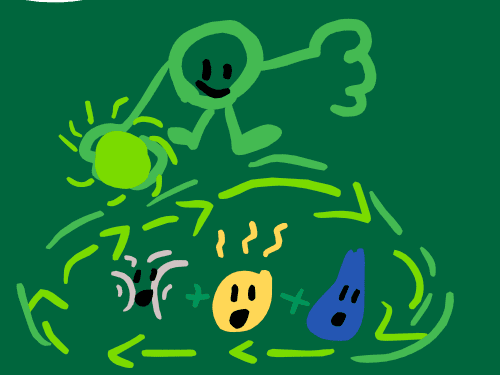
Today we learned two new tools in Animation-ish (the Duplicate tool and the Select tool). We looked closely at what happens inside a leaf for photosynthesis and we began working on our animation. We need to have:
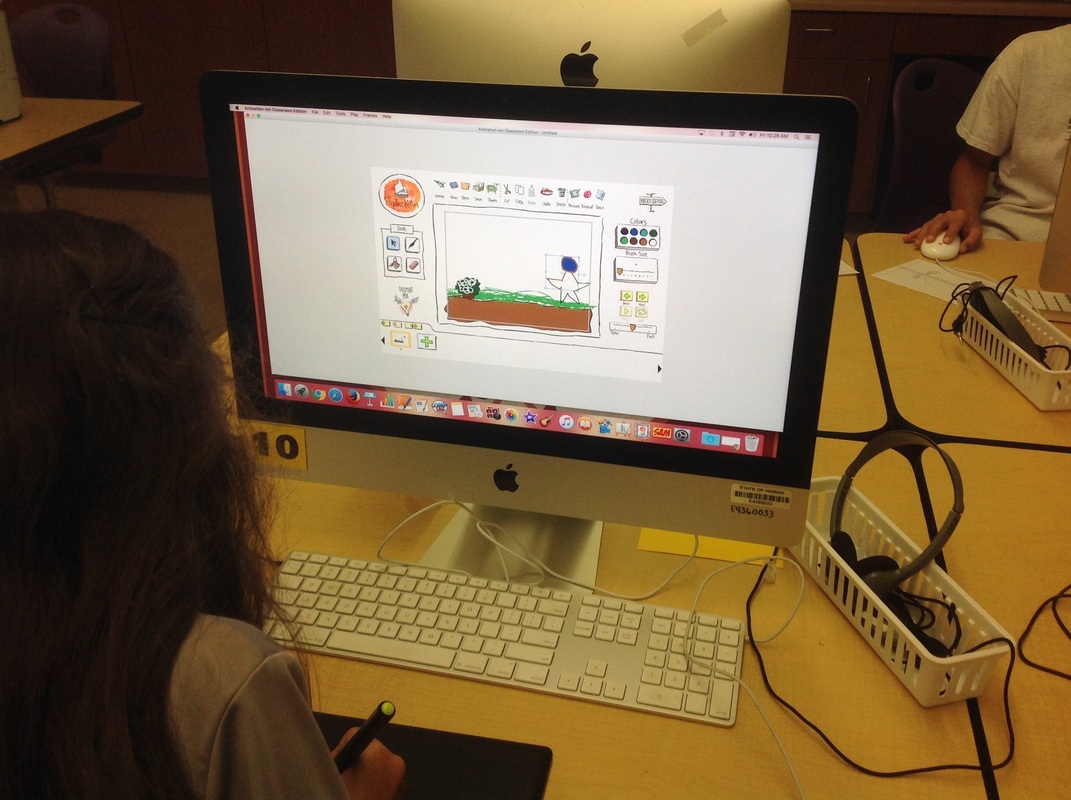
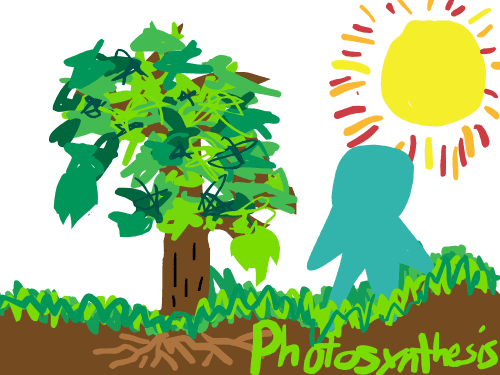
- Title (saying something about Photosynthesis and showing the plant, animal, sun and the title - spelled correctly)
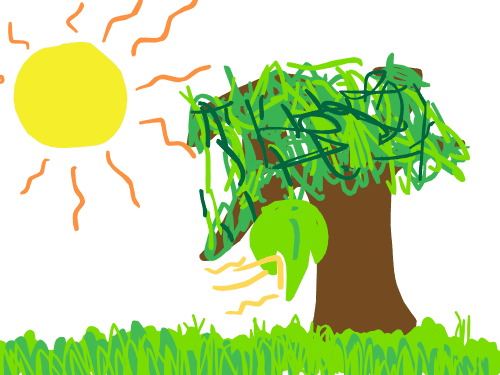
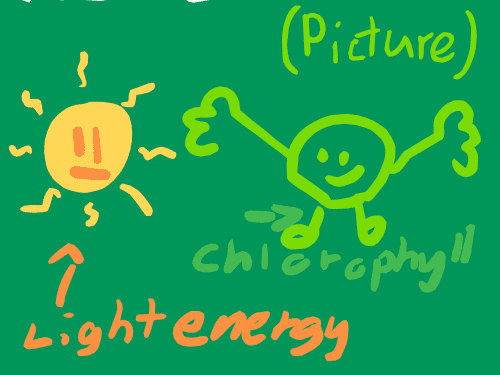
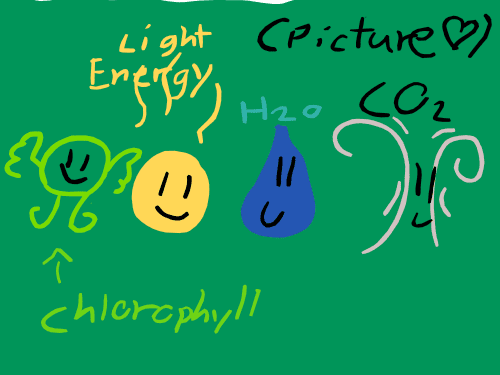
- Sun (showing the light energy)
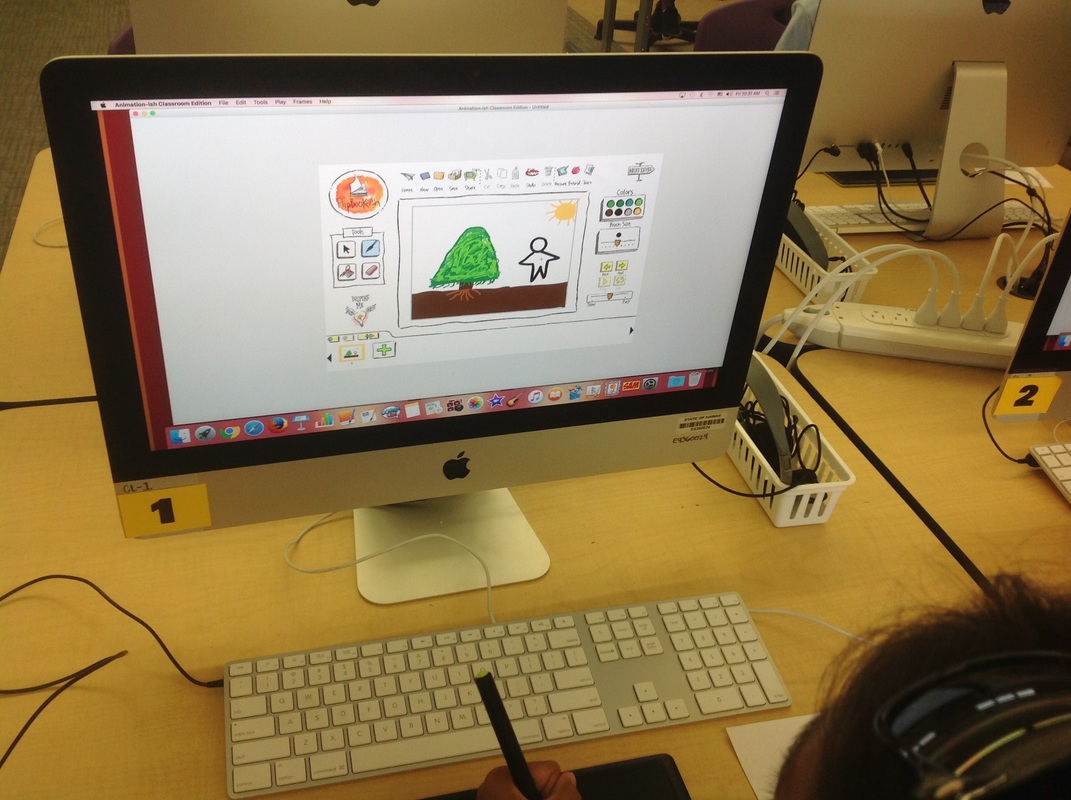
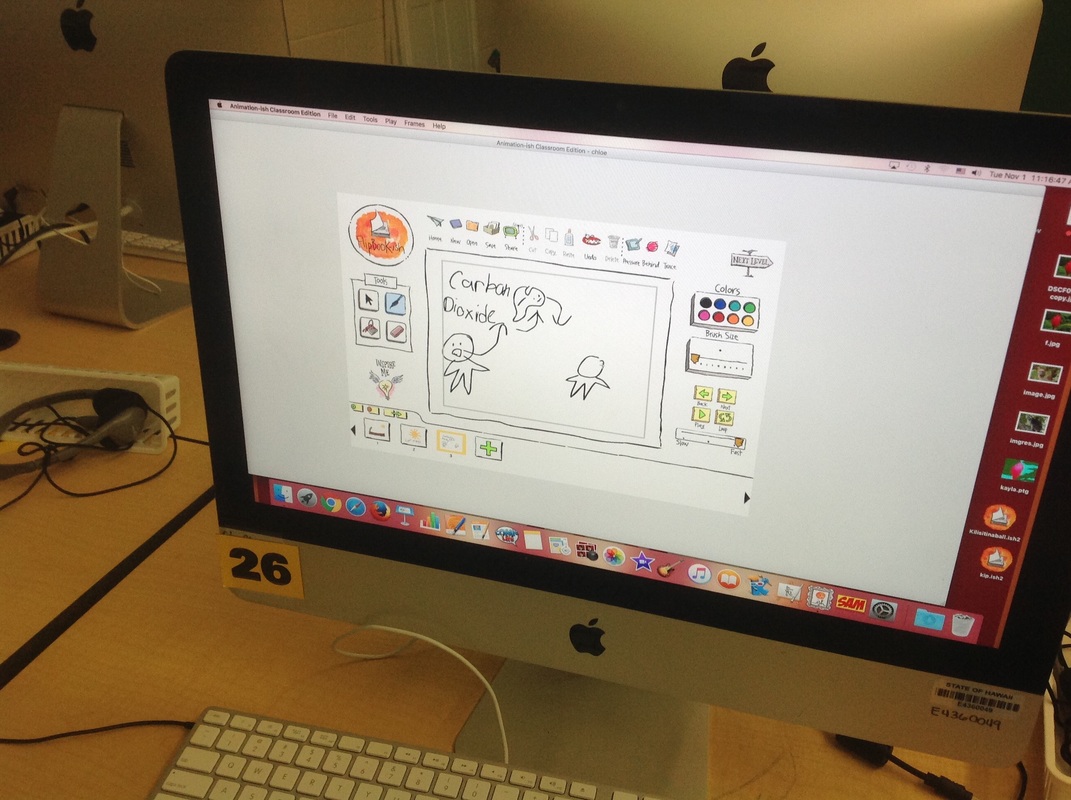
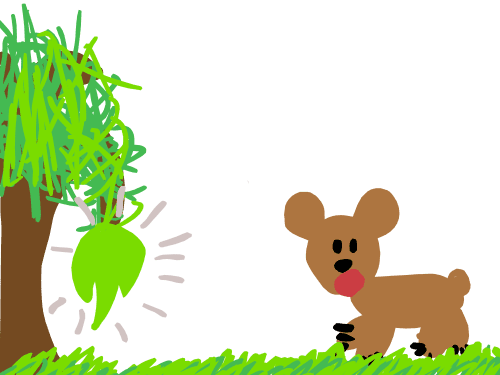
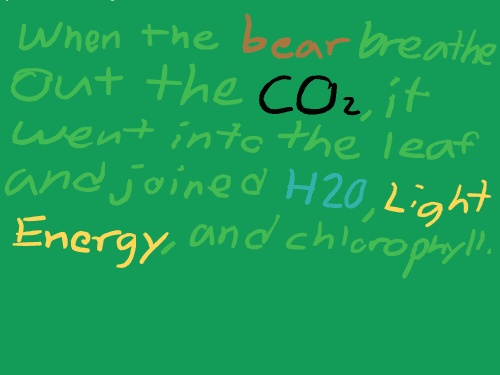
- Animal (showing how the animal breathes oxygen in and breathes out carbon dioxide)
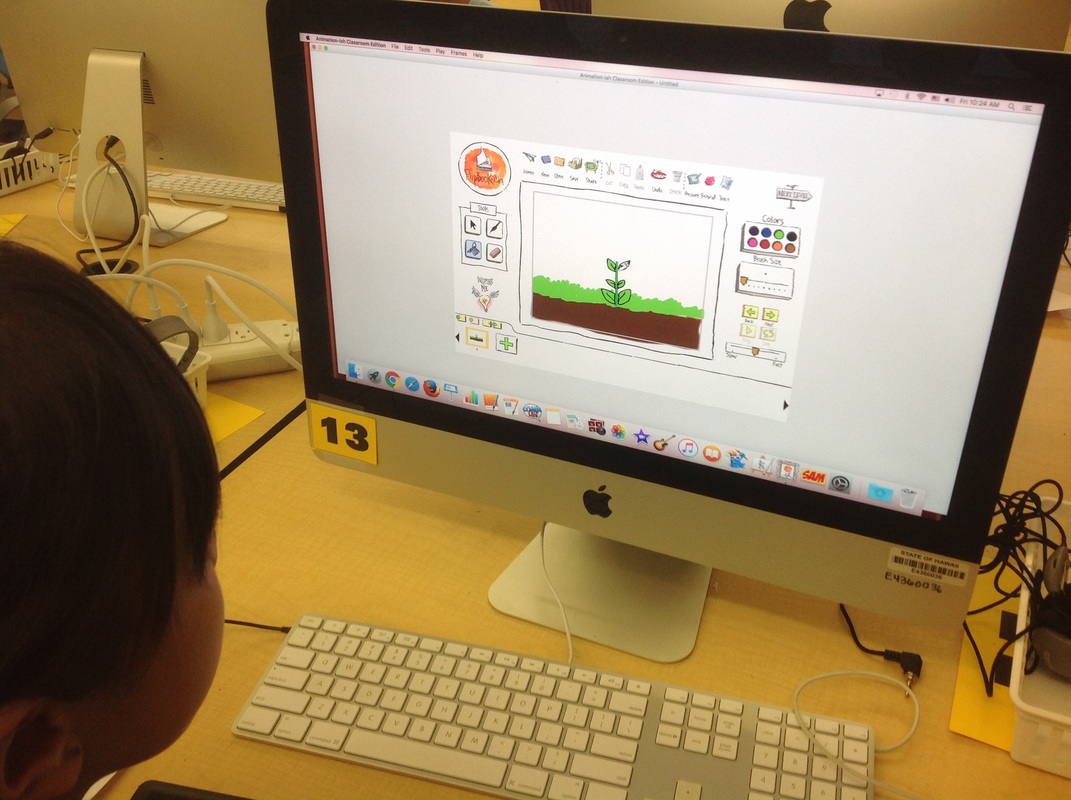
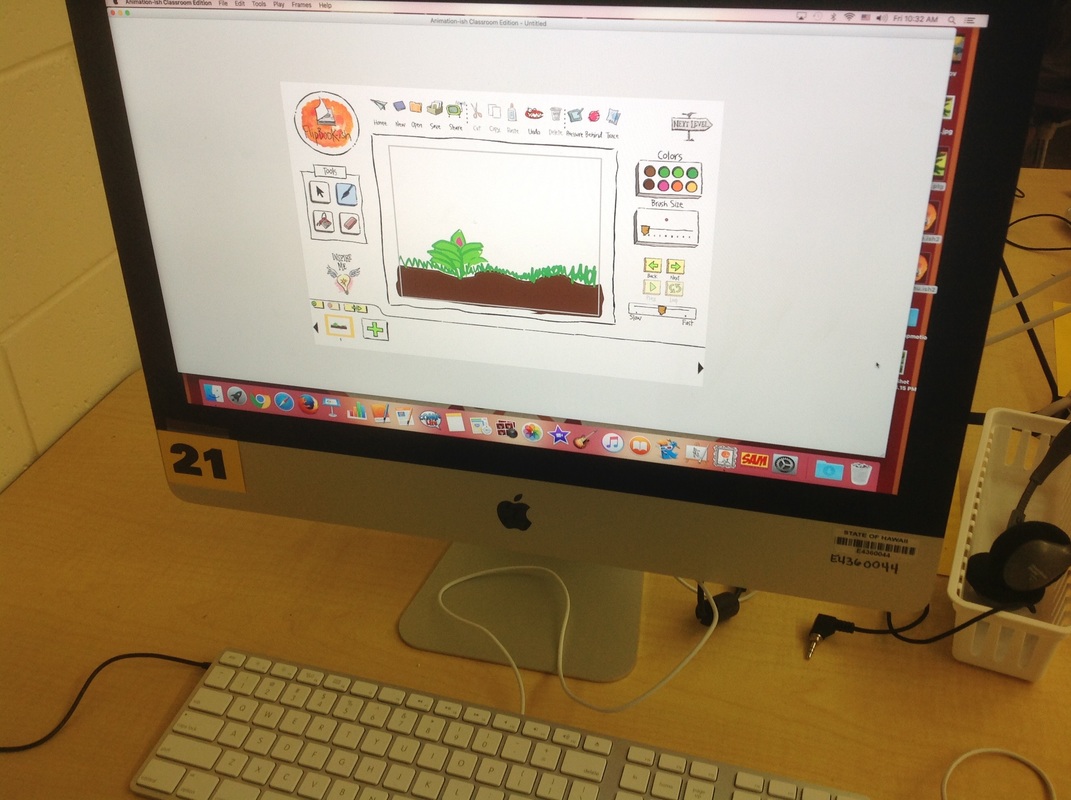
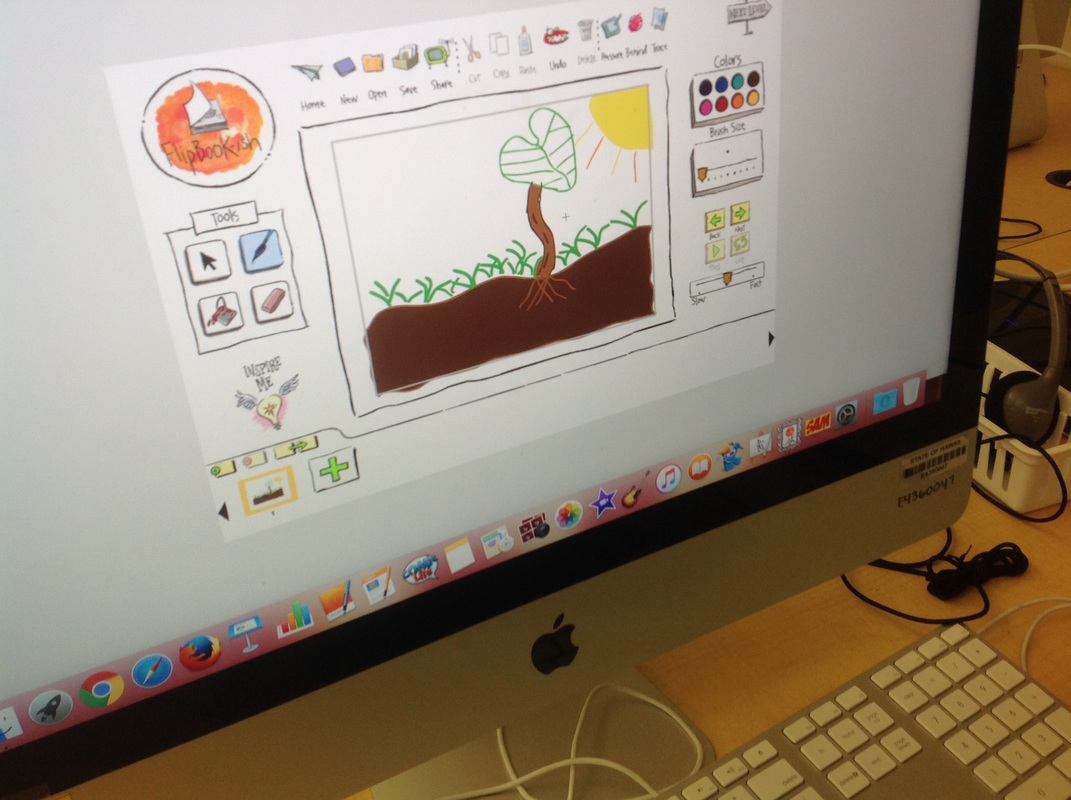
- Plant (showing all parts of the plant and what happens)
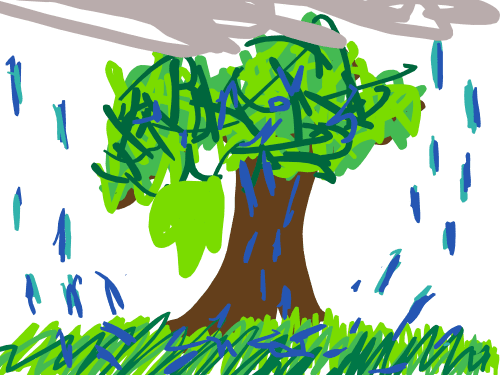
- root (stores food, water and nutrients are absorbed)
- stem (structure, transport from and to the roots
- leaves (top, inside, bottom)
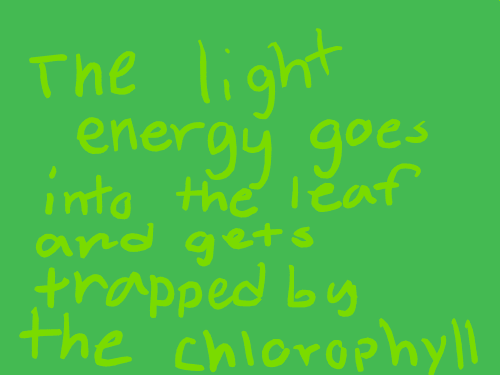
- top-light energy moves through the leaves
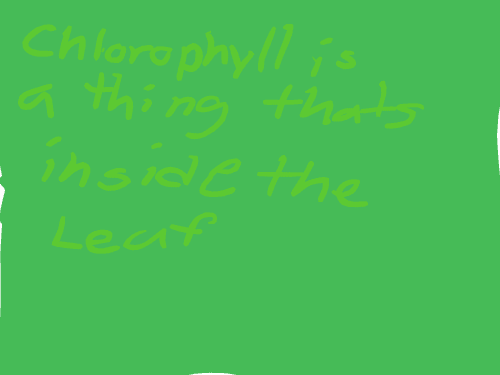
- inside - chloroplasts
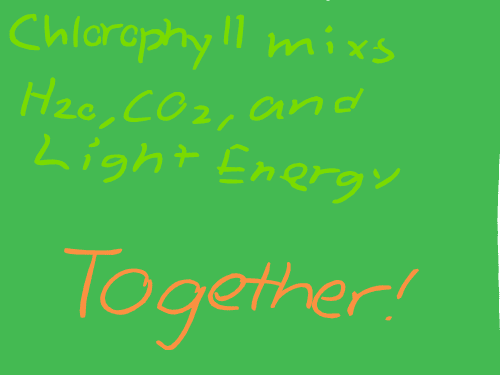
- chlorophyll - gives leaves the green color, grabs the light energy
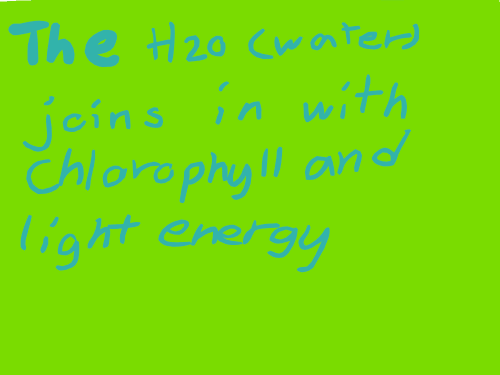
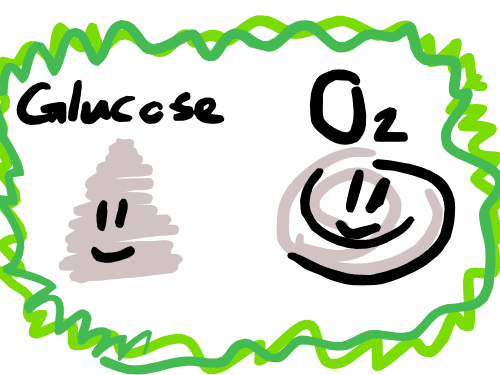
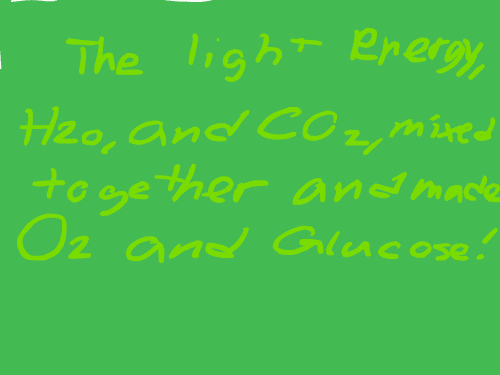
- chemical reaction - water + carbon dioxide + light energy = glucose (sugar) + oxygen
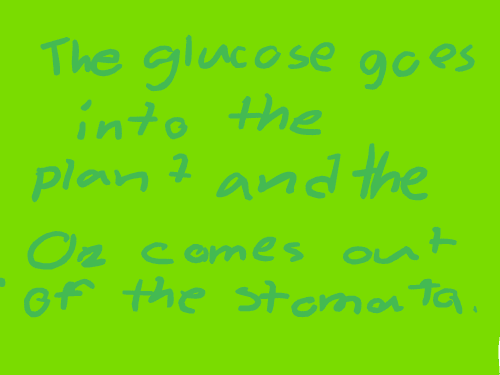
- glucose is used by the plant and extra is stored in the roots
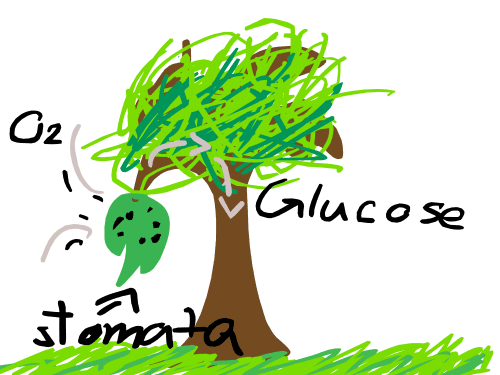
- oxygen is released through the stomata
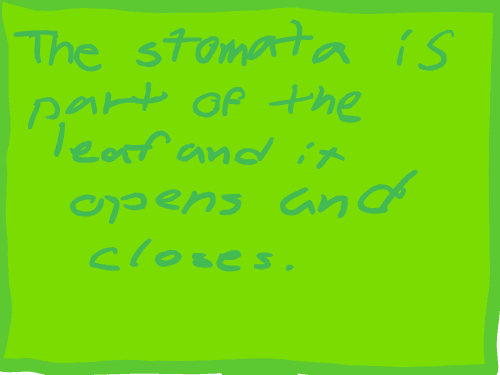
- bottom - stomata
- open and close
- carbon dioxide comes in
- oxygen goes out and so does water vapor
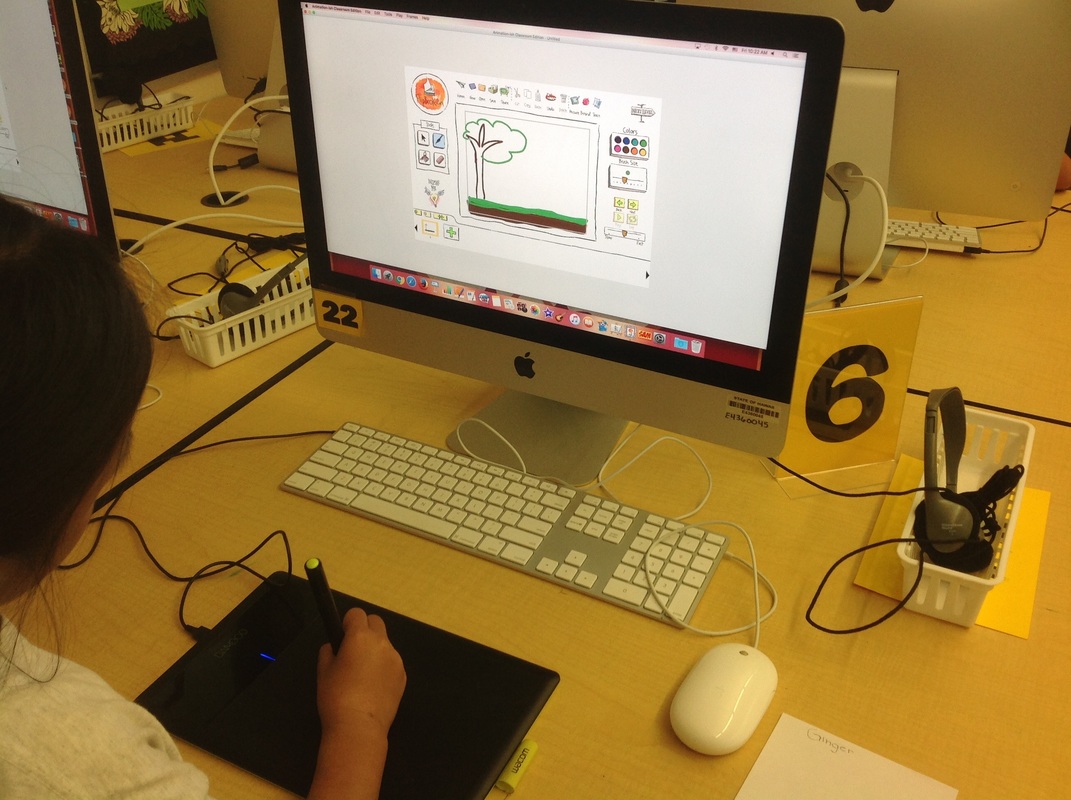
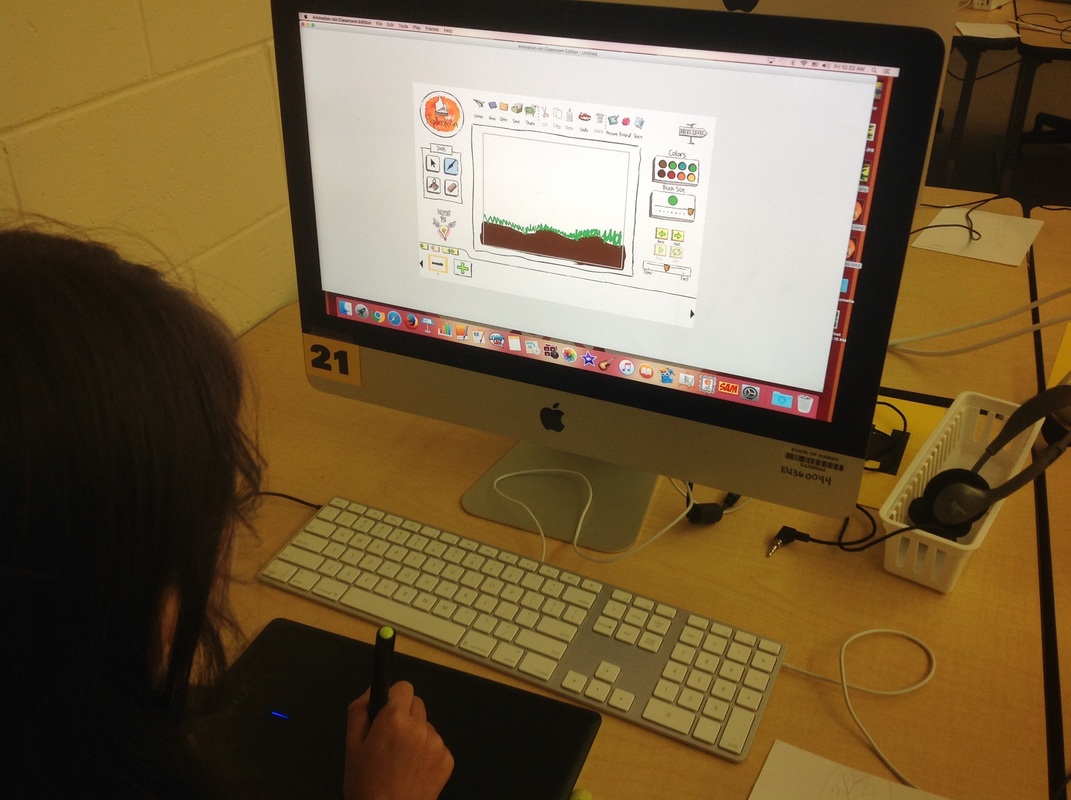
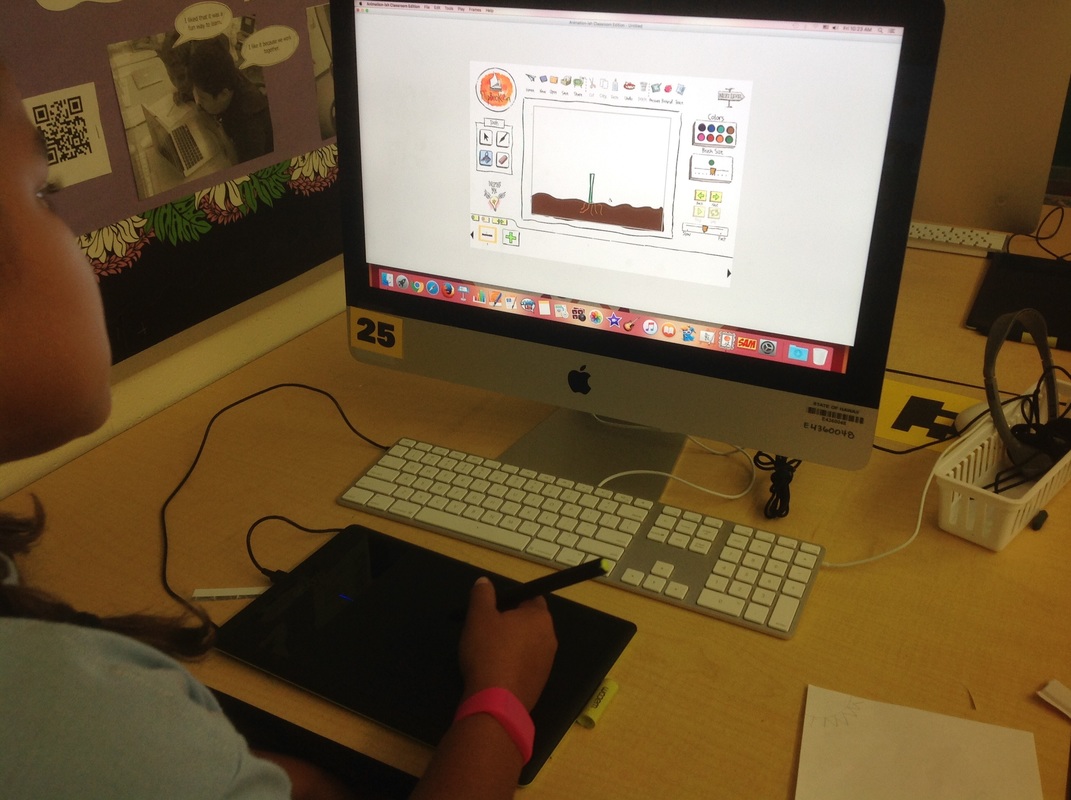
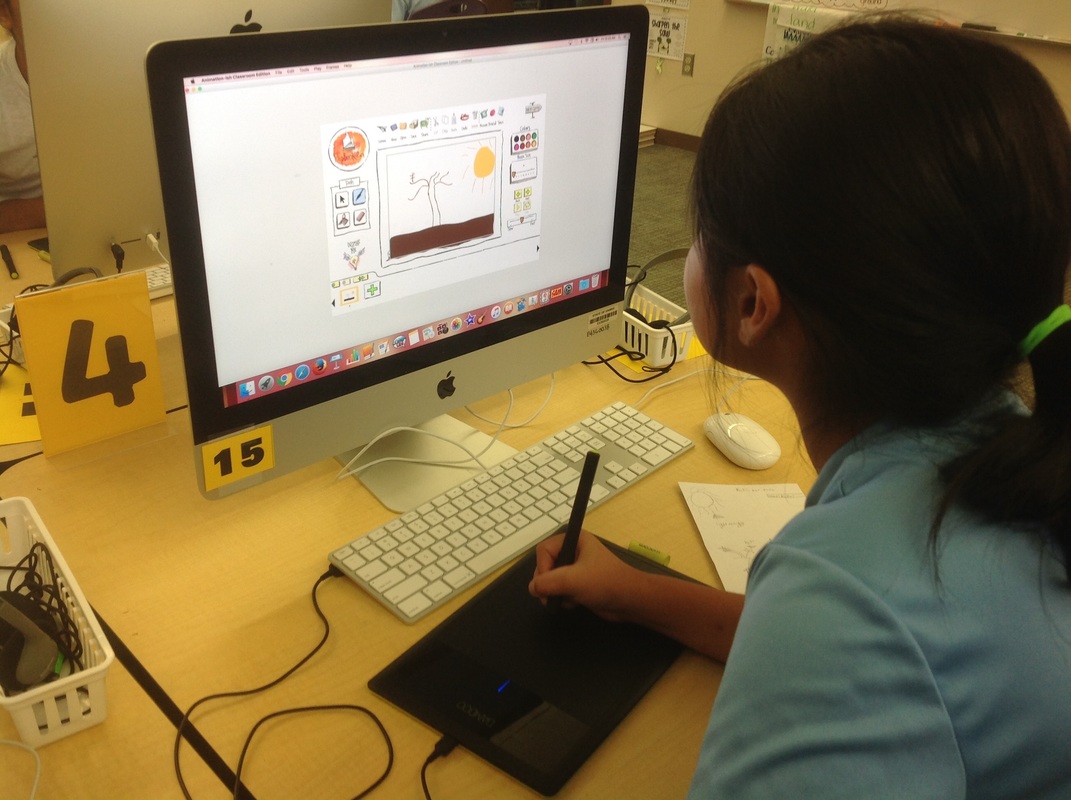
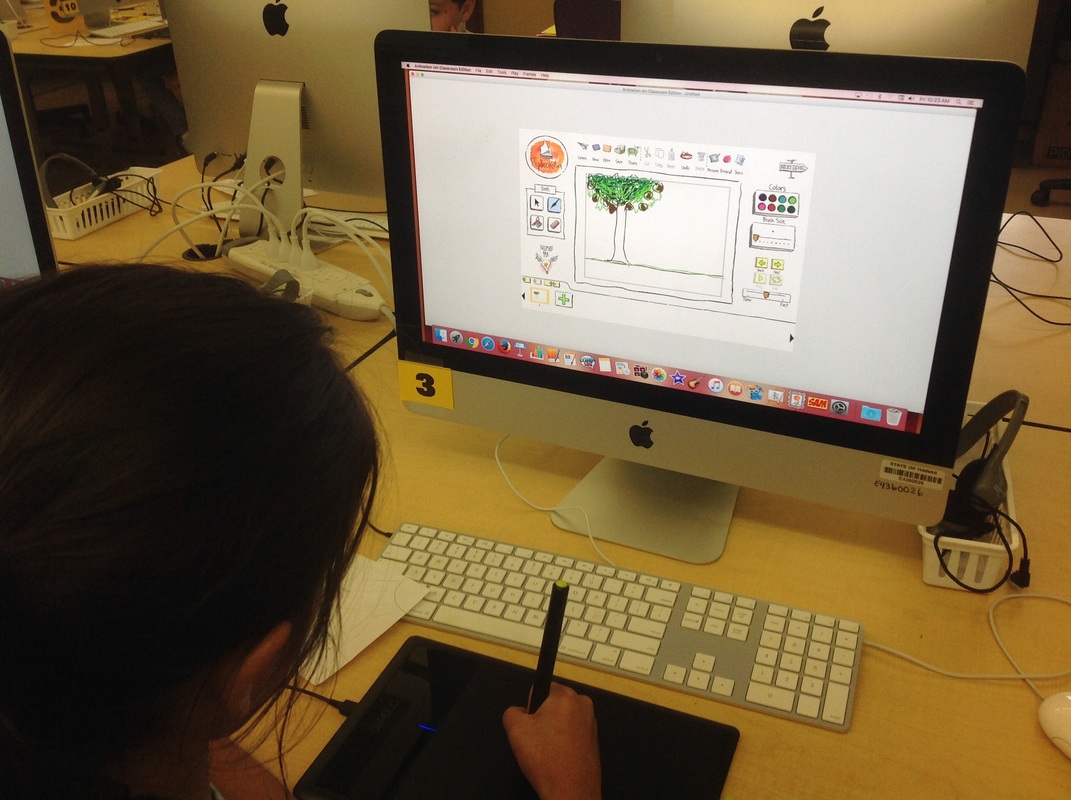
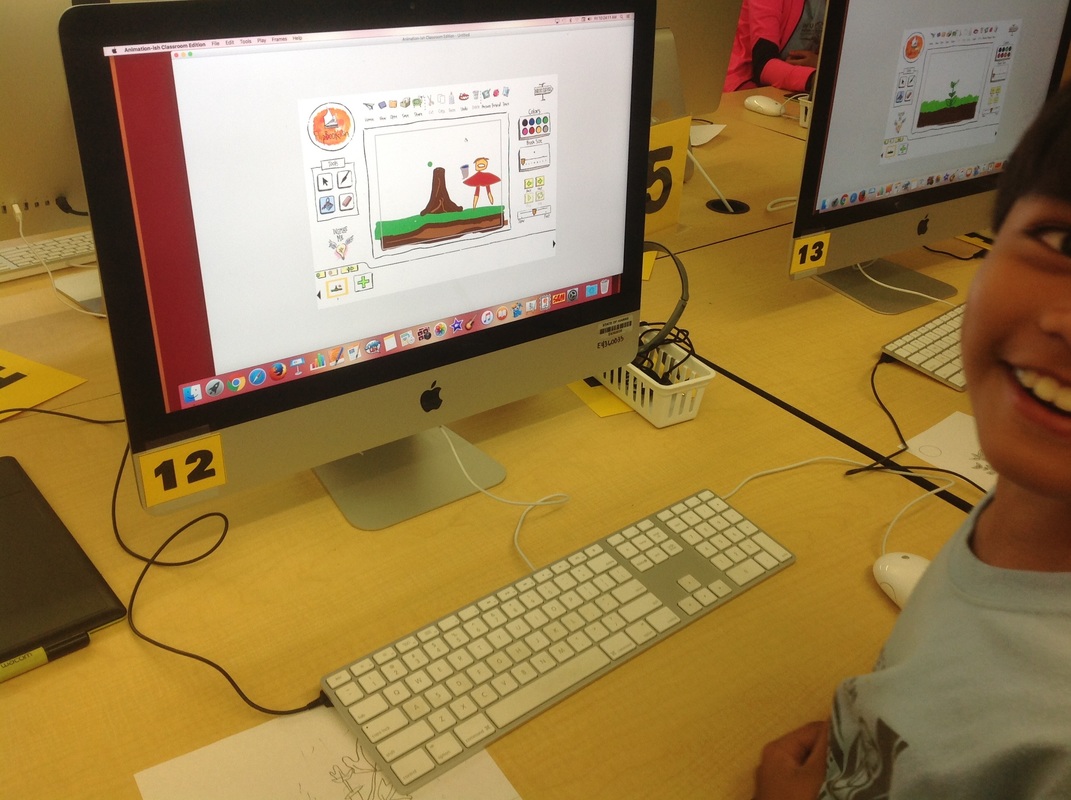
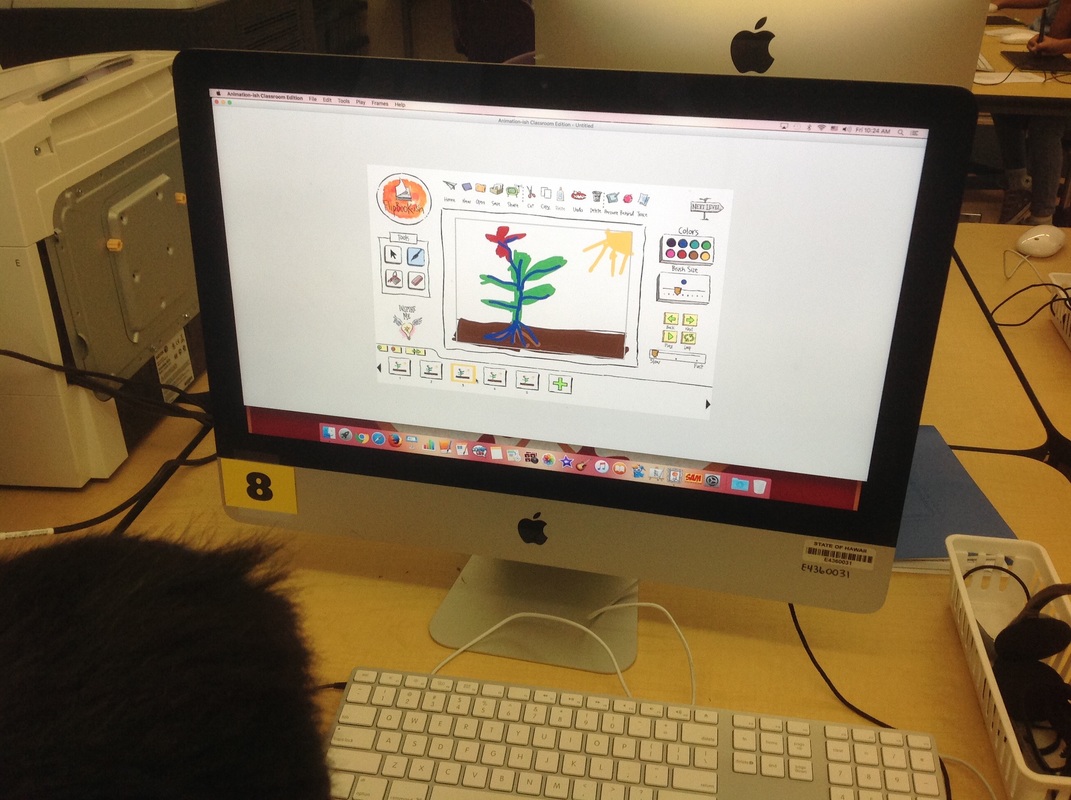

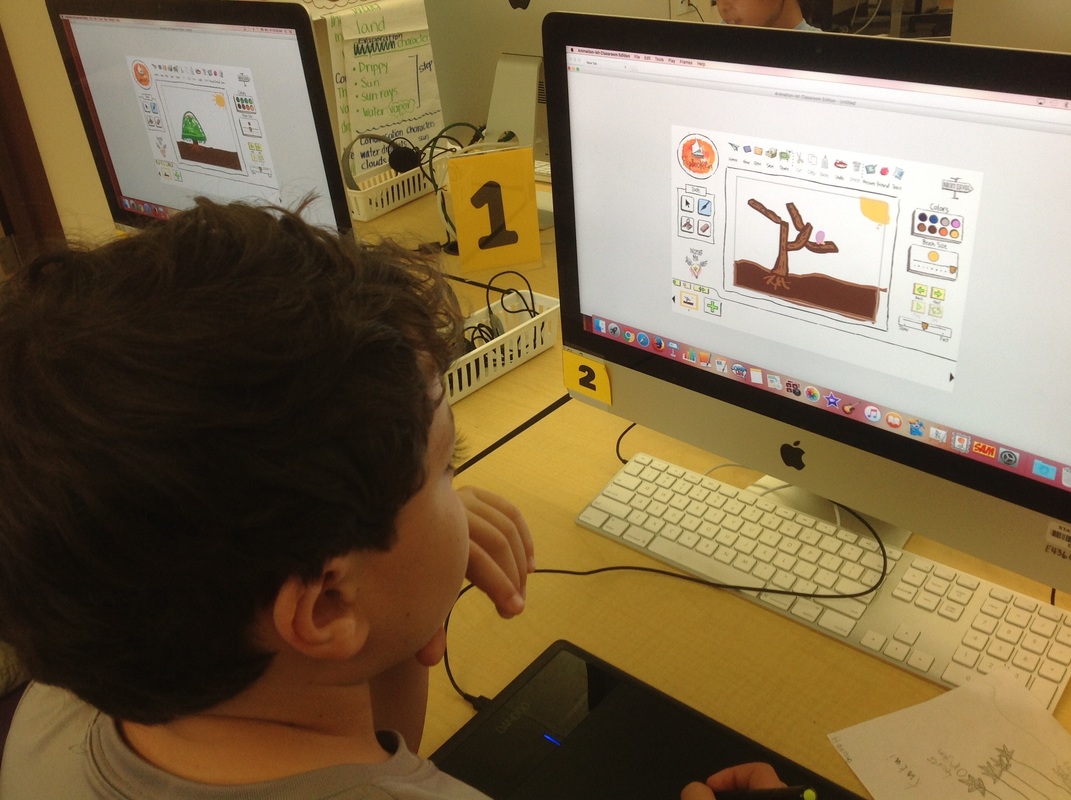
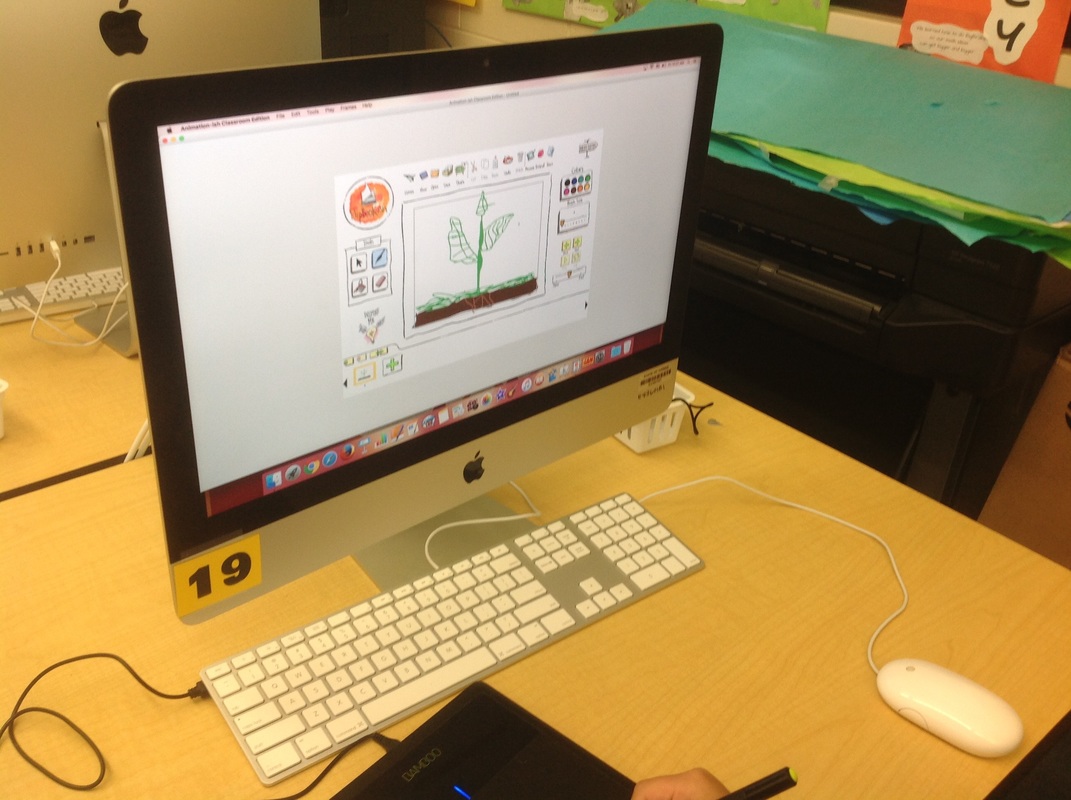
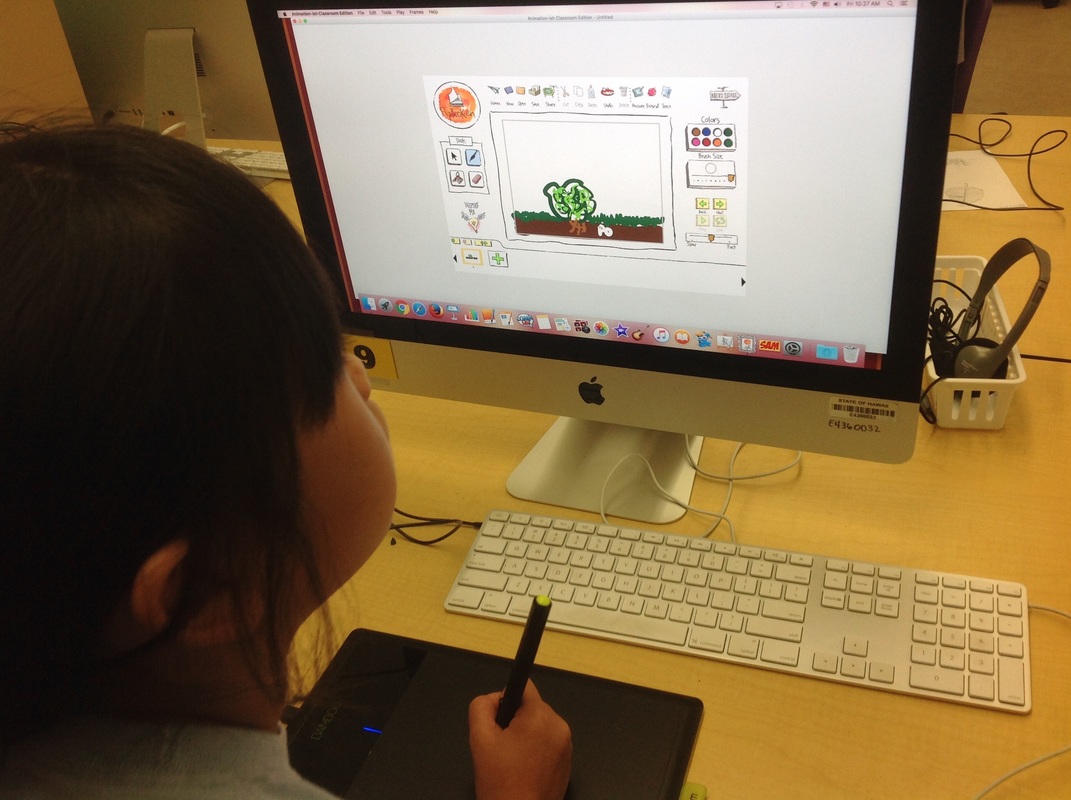
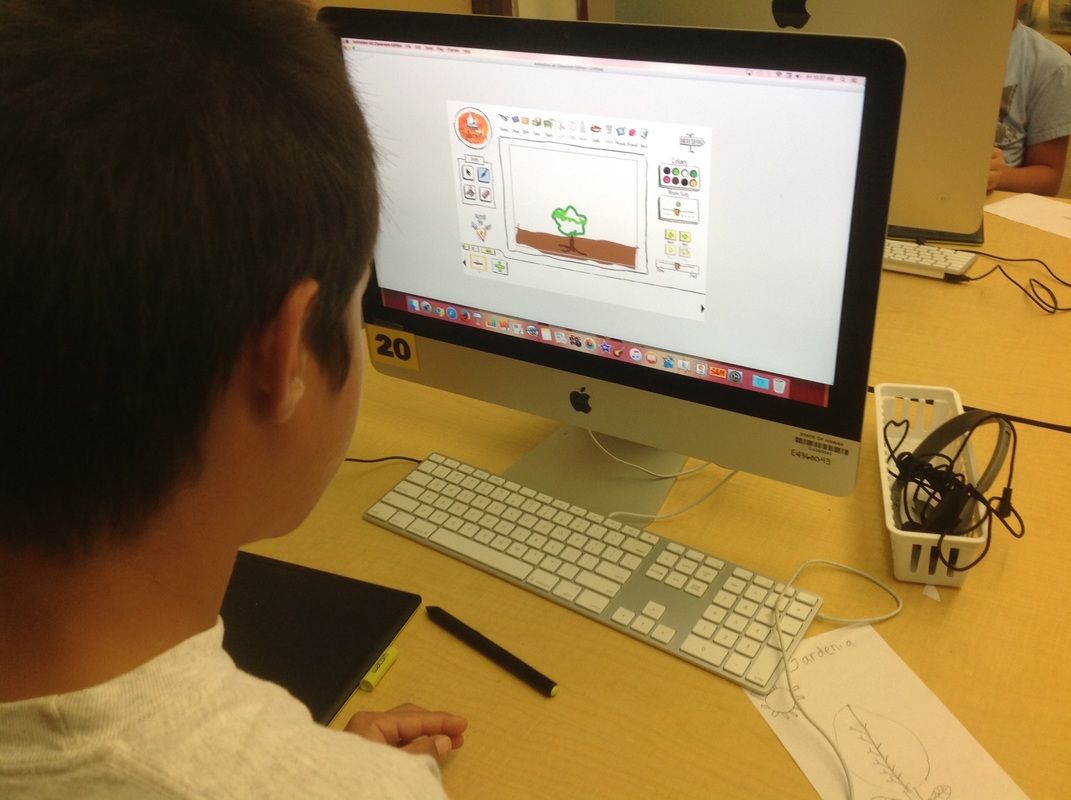

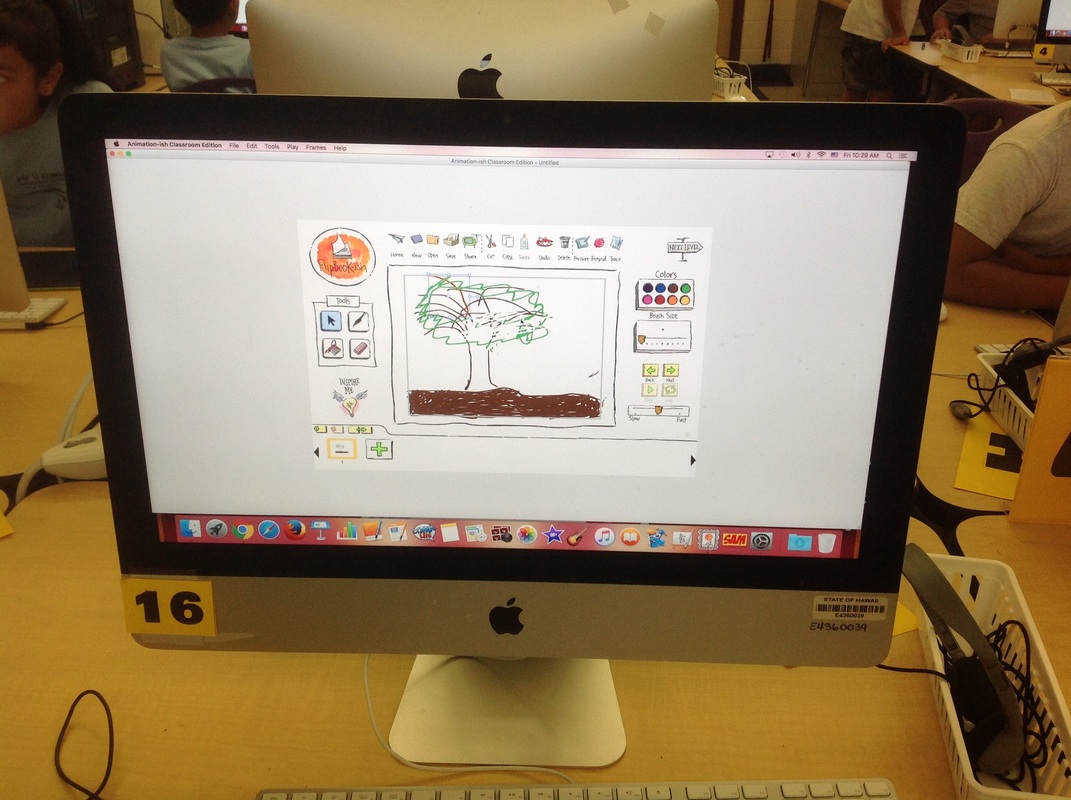
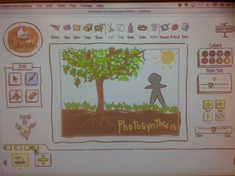
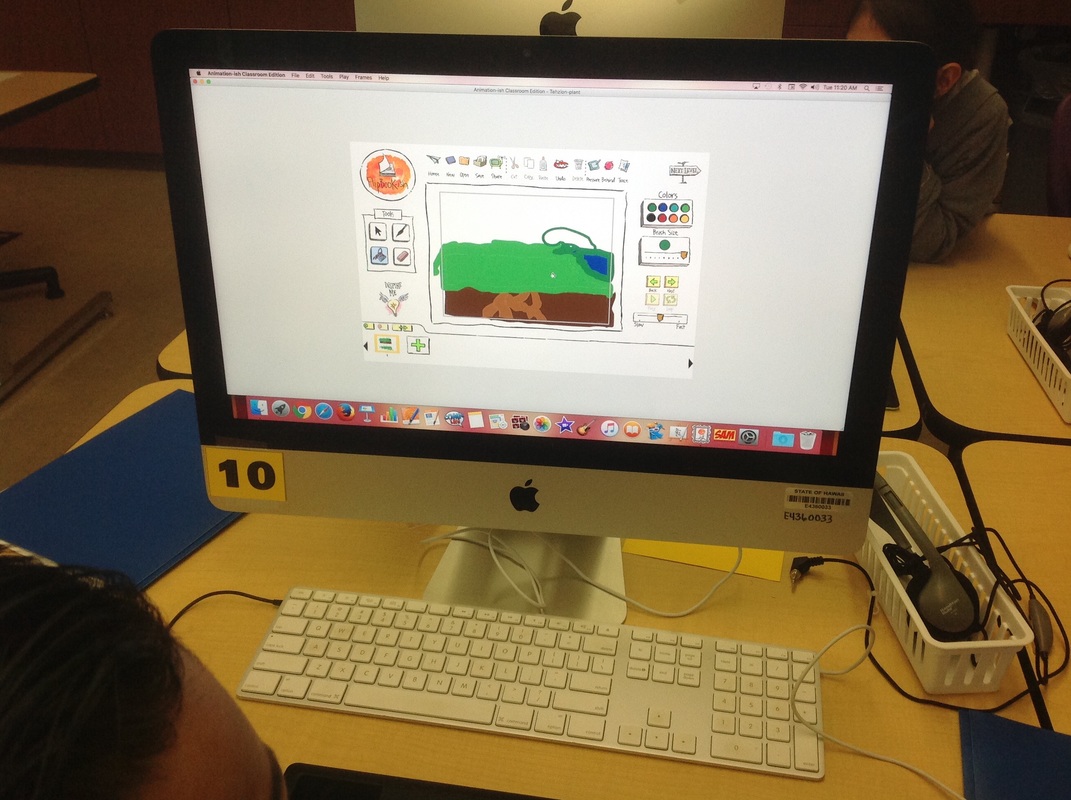
Mrs. Miyamotoʻs class working on their frames for their animation.
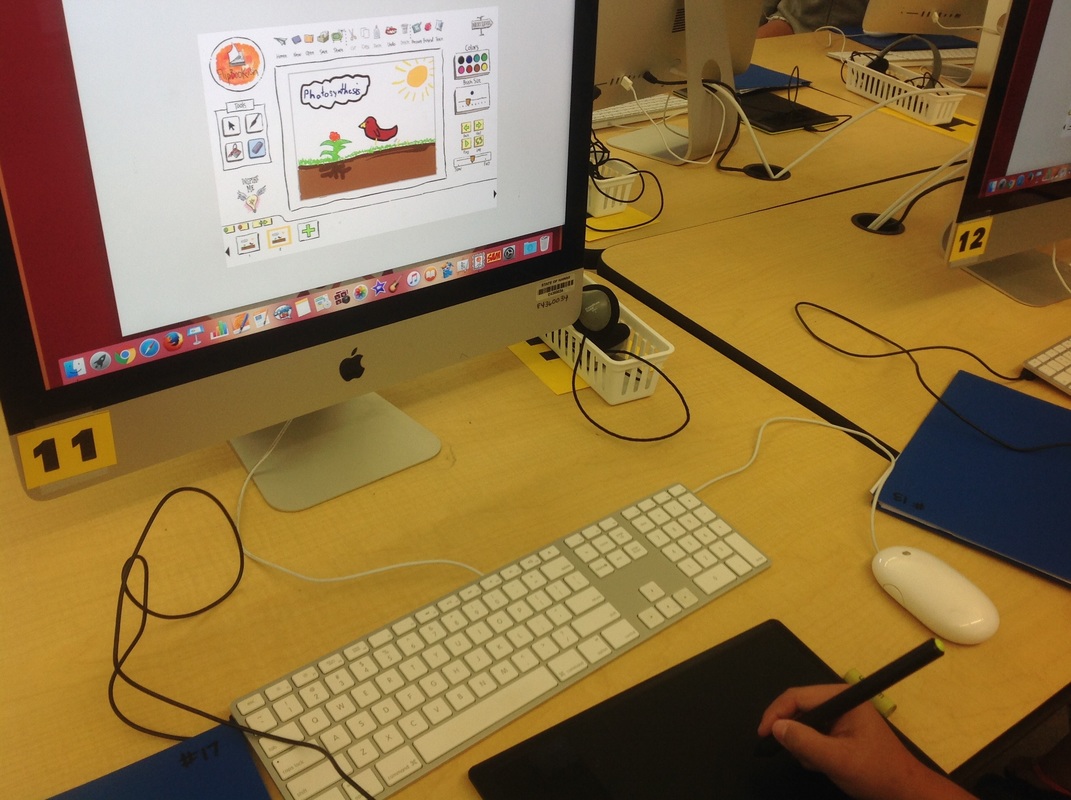
What is Photosynthesis? (illustrated by Jillian) <see our animations>


2013-2014

Working with your individual plants
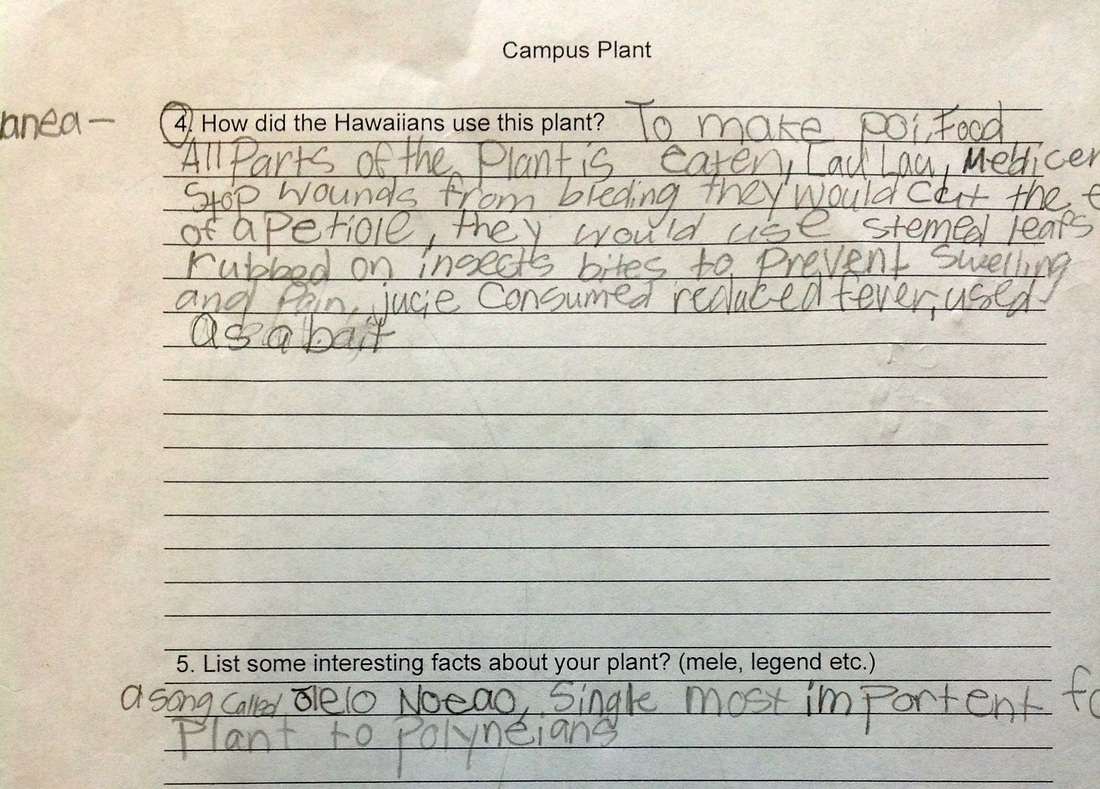
Taking notes to answer research questions
Our fourth grade students broke up into collaborative groups and researched different plants that are on our campus.
Plant questions:
|
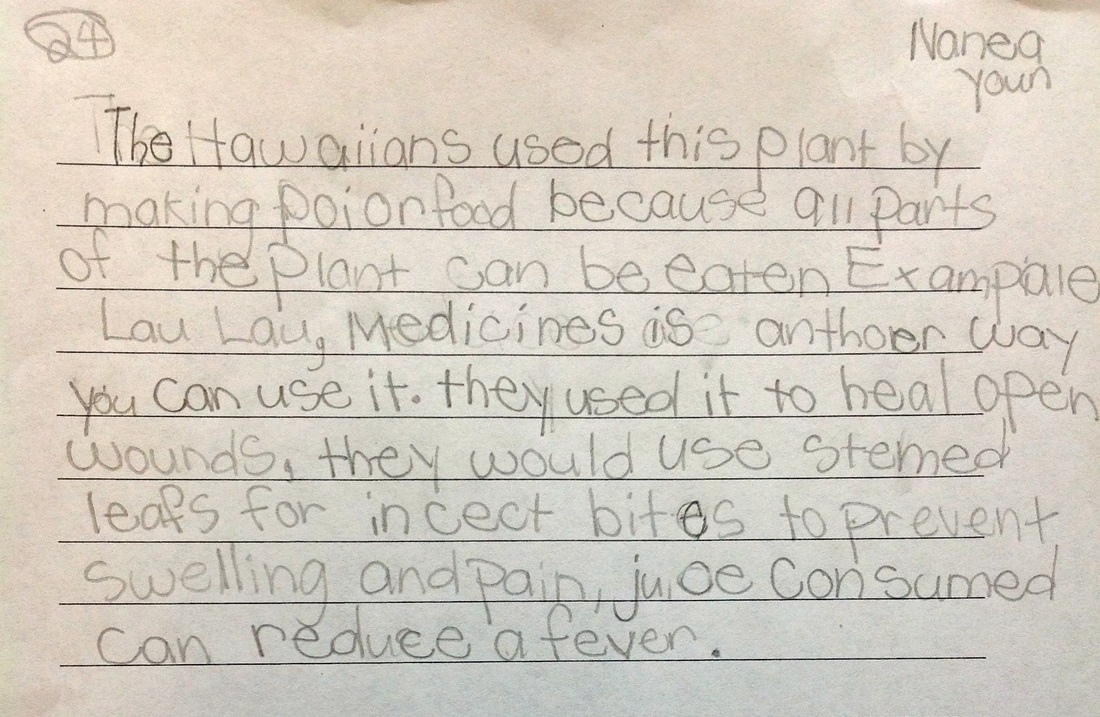
Putting notes into a paragraph answering a research question
Plant questions:
|
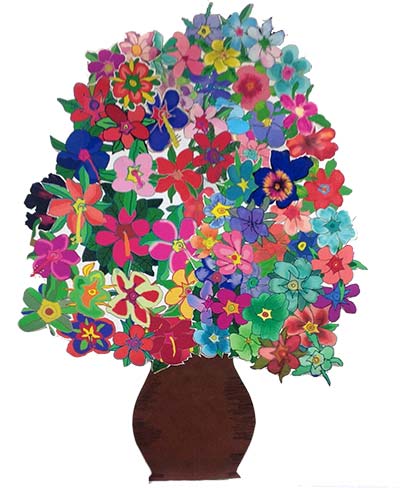
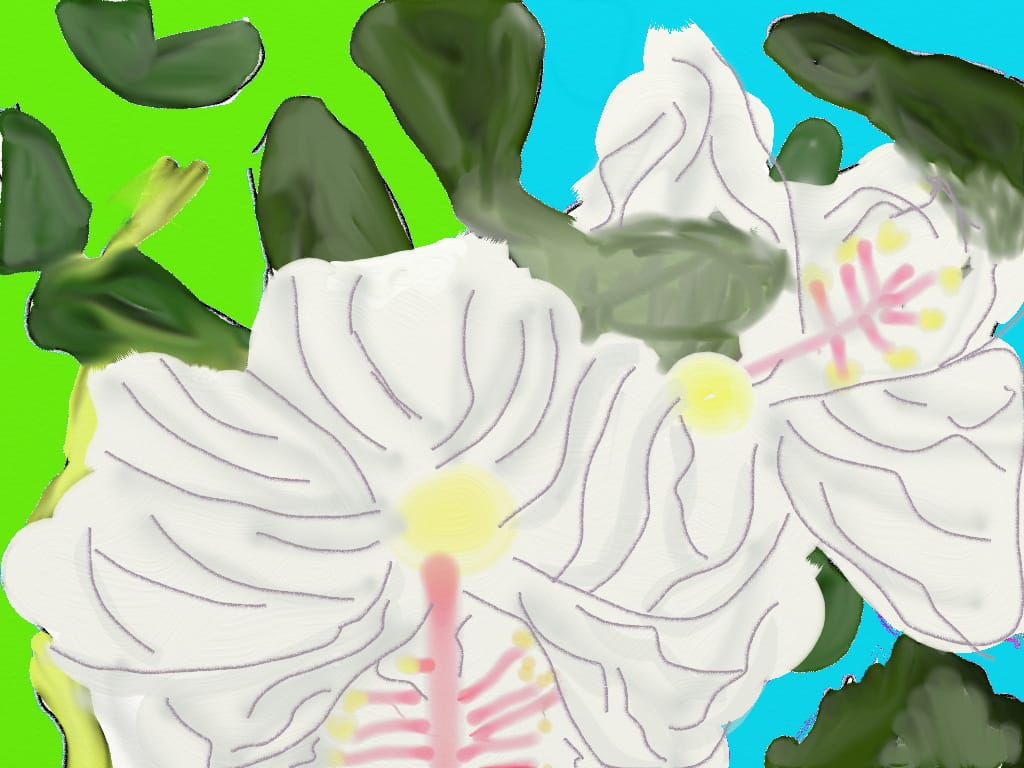
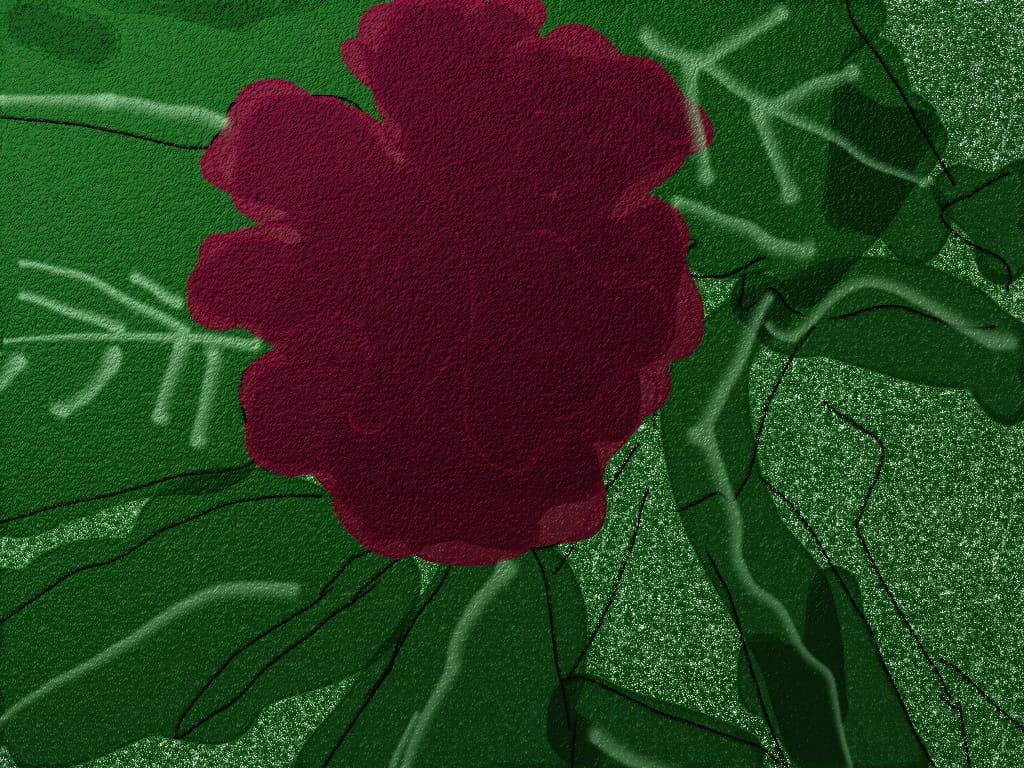
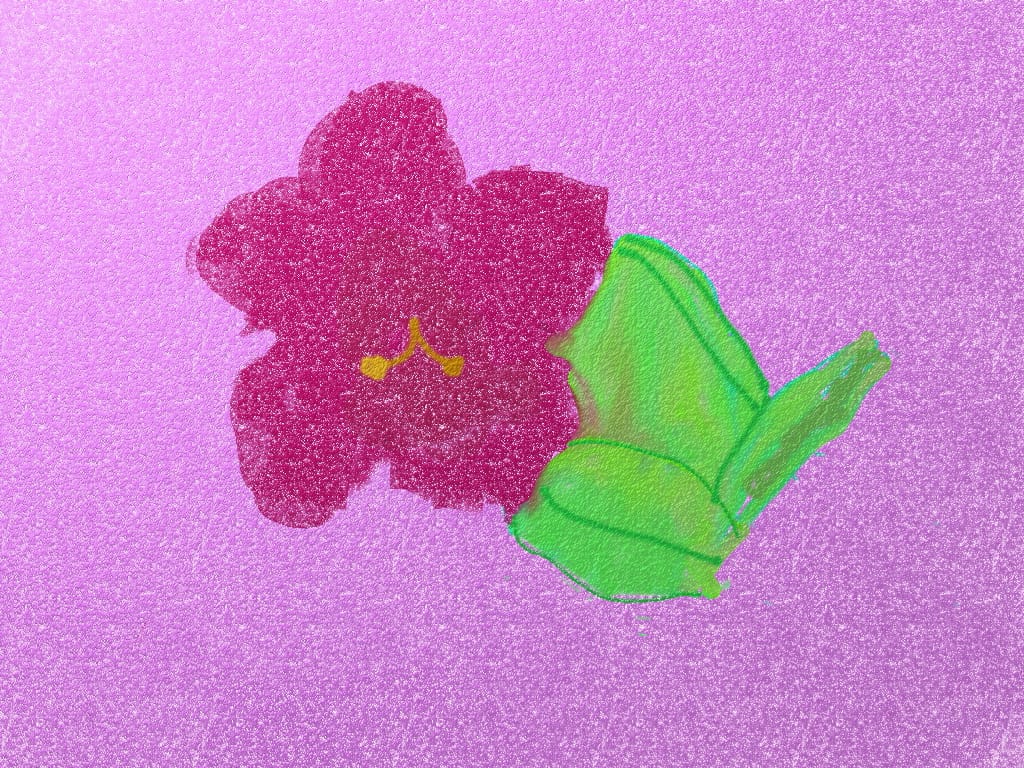
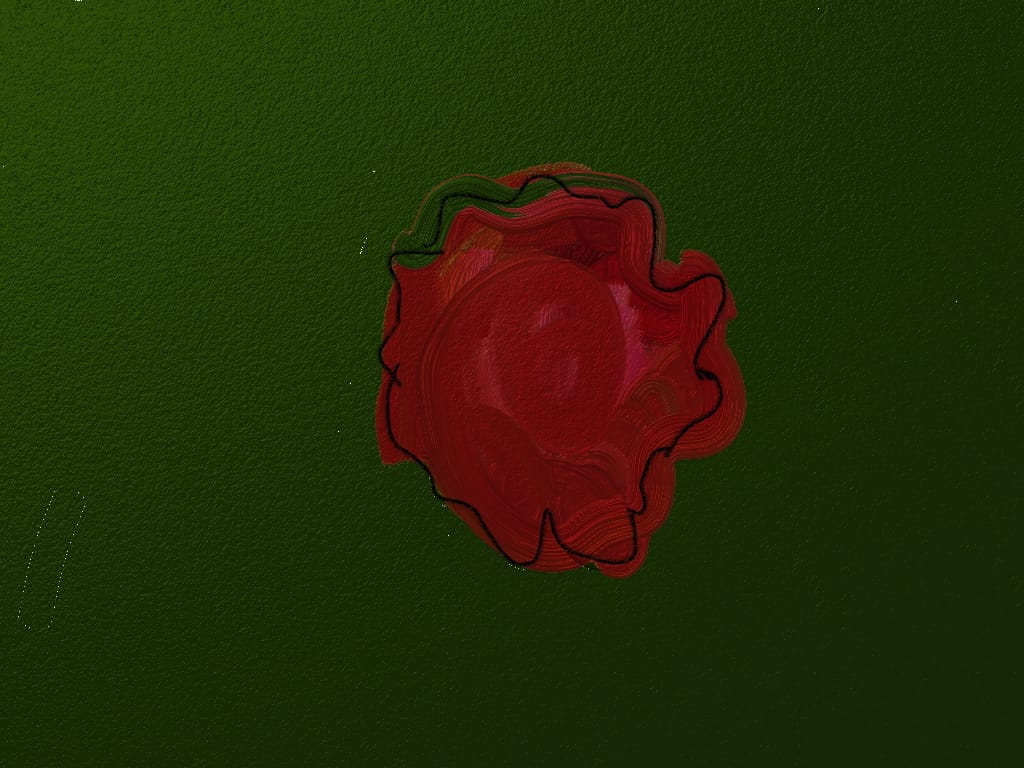
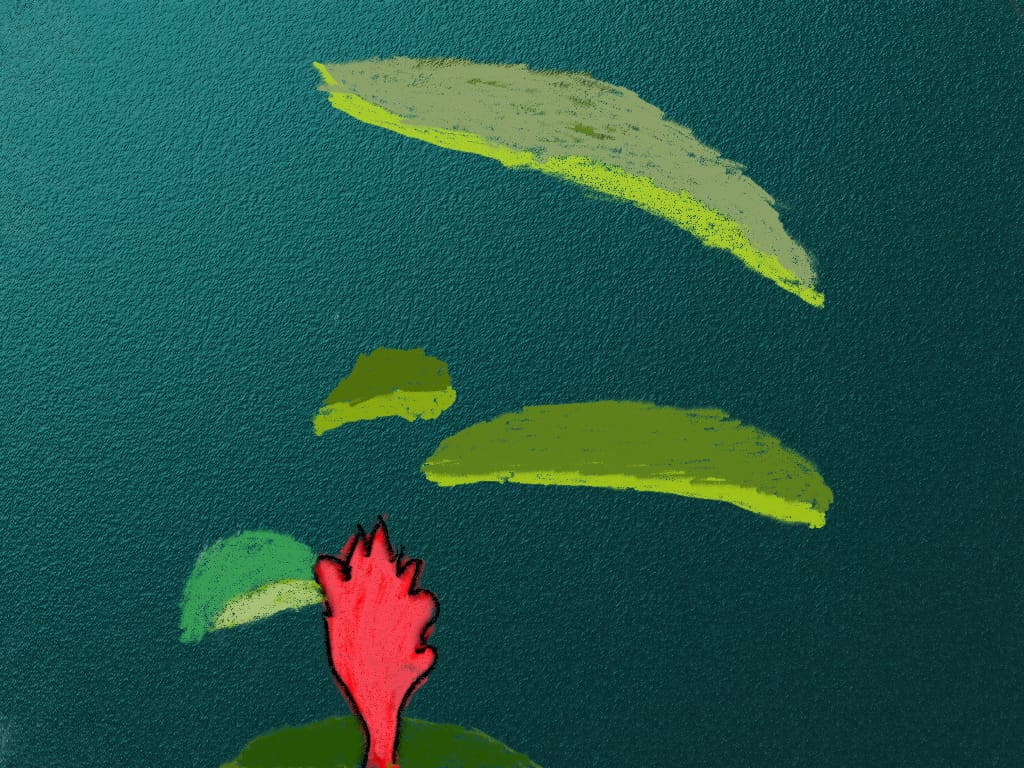
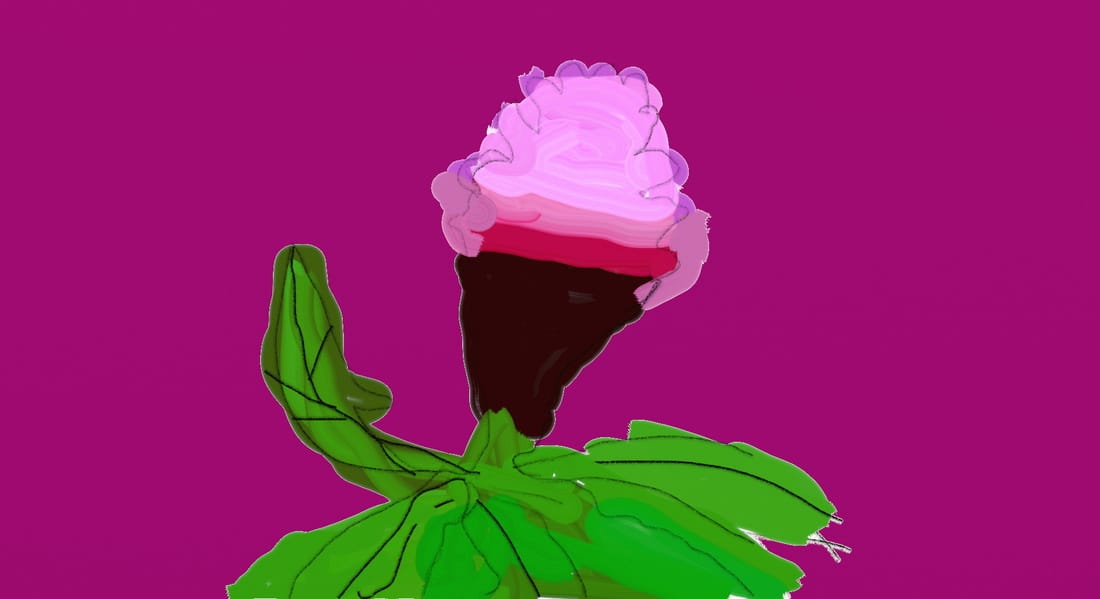
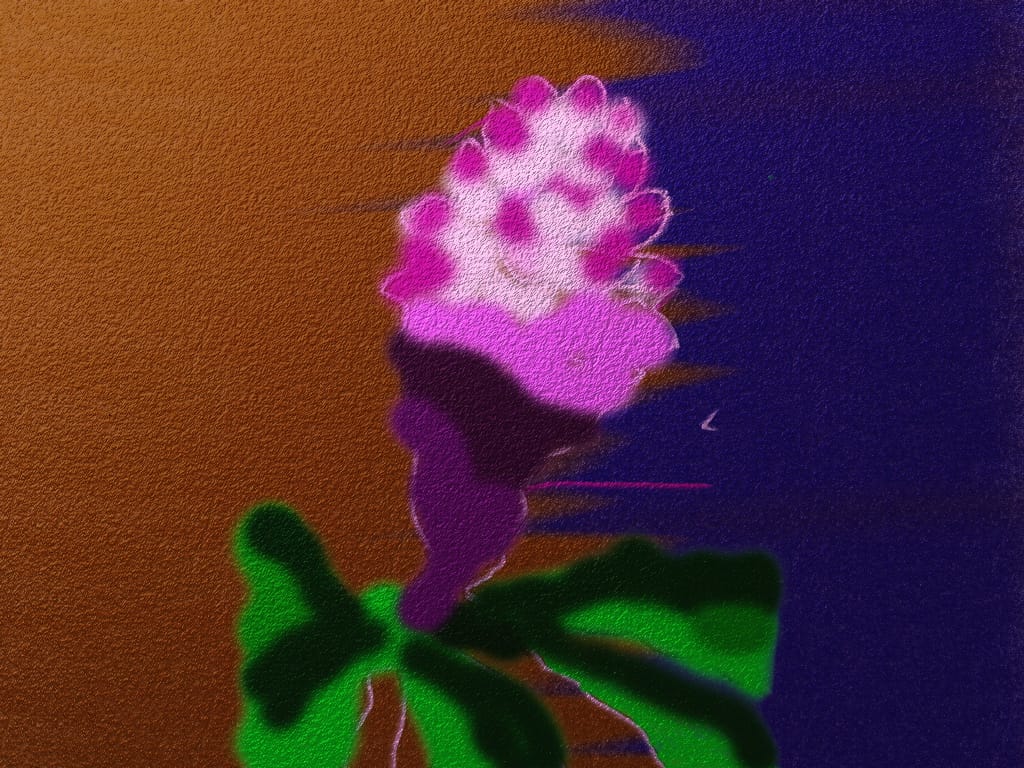
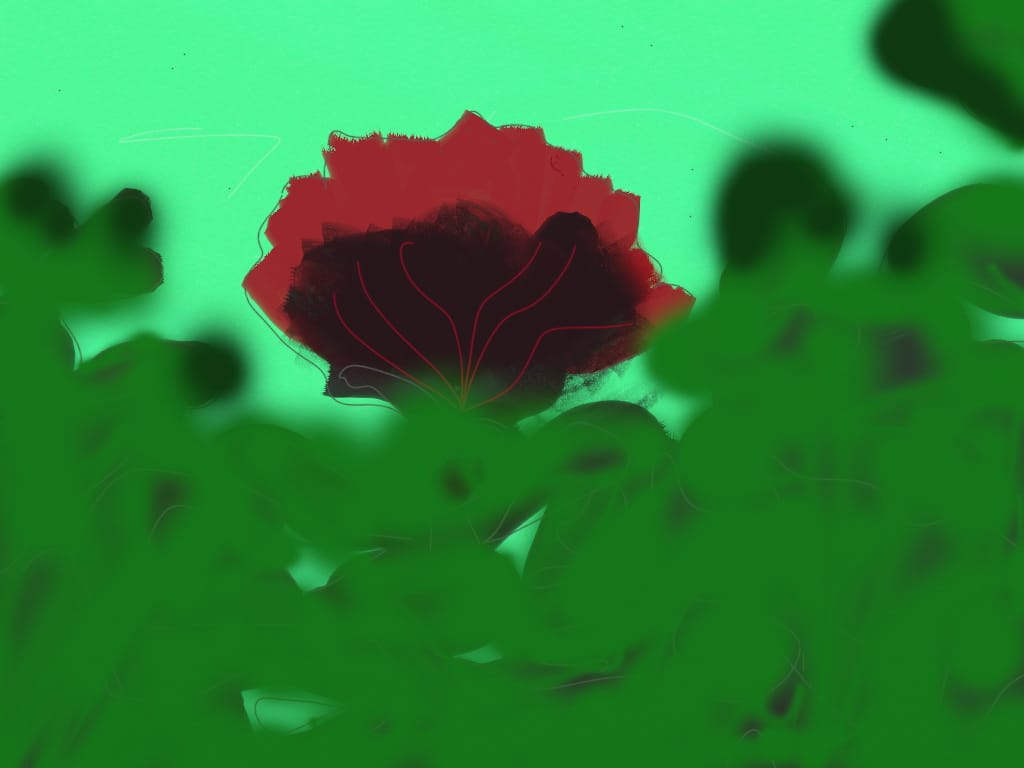
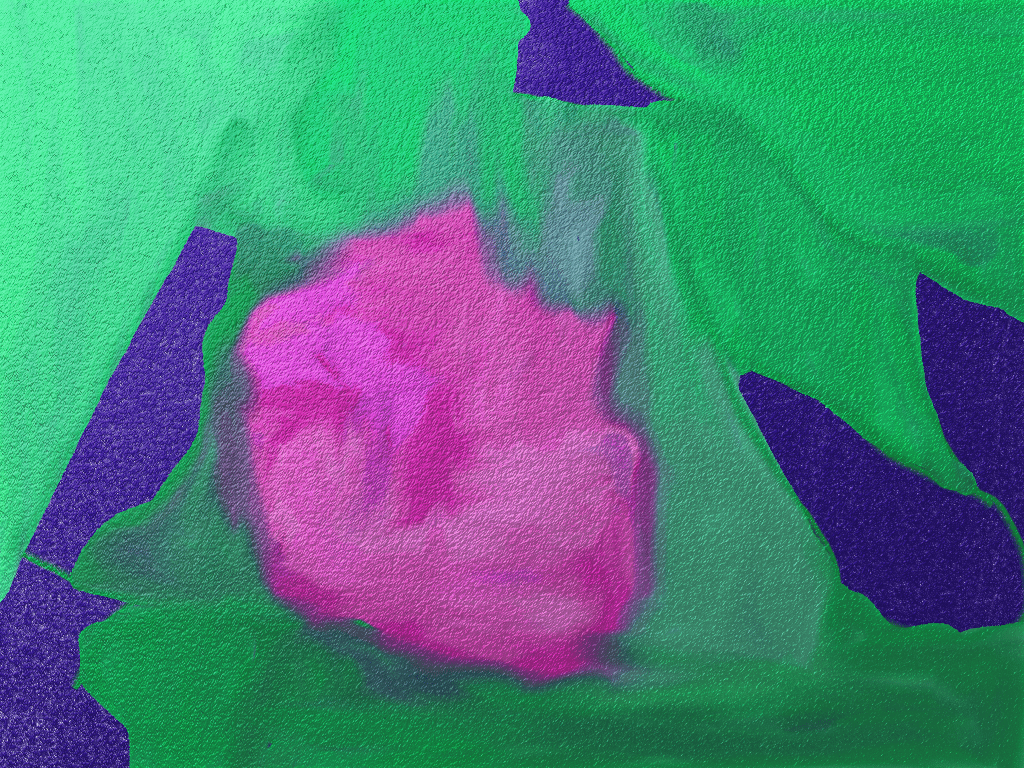
Working together using ArtRage, graphic tablets and Georgia O'Keeffe for inspiration, our fourth graders created a beautiful floral bouquet.
|
From sketch to finished image
Using photos of campus plants as reference pictures for painting
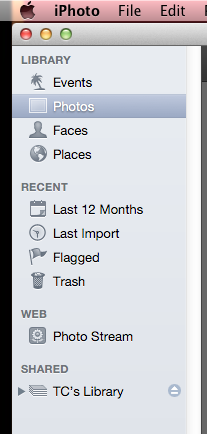
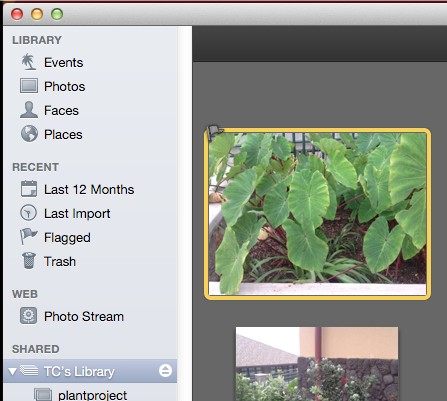
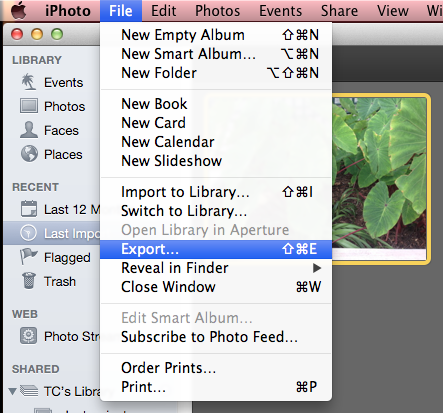
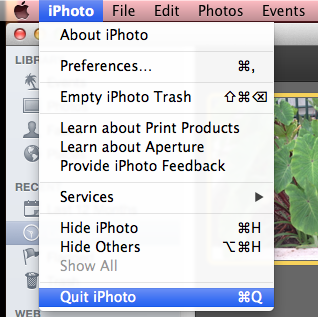
The directions below will work when you are at school and when Mrs. Tisdell has iPhoto open on her computer. You will be using the network to connect to an album of plant photos that are on Mrs. Tisdell's computer. Read the directions below and carefully look at the pictures before you begin. Once you have your plant picture imported into Art Rage as a Ref picture you will be ready to take color samples (like you practiced on your other flowers) and you'll be all set to begin your project painting.
Feel free to select a small area of your plant or flower to zoom in on and paint. You don't need to do the entire plant. Think about the images that we looked at that were painted by Georgia O'Keeffe.


Using Georgia O'Keeffe as a model
Drawing plants
We'll be using ArtRage to sketch and practice drawing plants. We'll begin with directions/practice for the Hibiscus and then you'll be able to work on your own plant.
1. How to draw botanical plants
2. How to draw a cartoon hibiscus
- Open up a web browser and copy and paste the following words into the search bar (or click on the link in #2)
- georgia o'keeffe flowers images
- Choose a flower that you'd like to practice painting (hold down the control key and click on the flower - choose Save image as - and choose to save it to the desktop)
- Open up Art Rage and set up your workspace (hide dock, get tablet ready)
- Click on the Ref. tab (by the color palette) and navigate to your image. Choose it and it will be placed into your document as a reference file.
- Use the eyedropper tool to create samples of your image colors. (Mrs. Tisdell will demonstrate how to do this)
- Draw the outline of your flower on one layer.
- Add a new layer and drag it below your outline. You will do your painting of your flower on this new layer .
Drawing plants
We'll be using ArtRage to sketch and practice drawing plants. We'll begin with directions/practice for the Hibiscus and then you'll be able to work on your own plant.
1. How to draw botanical plants
2. How to draw a cartoon hibiscus
