Using ArtRage to make tribal art
Our 5th graders in Miss Bartlett's class are beginning to look at how they can use a graphics tablet and ArtRage to create tribal art. With ArtRage you can choose different tools and you can add layers for your work.
How do we get started?
1. Hide your dock (use the Apple menu)
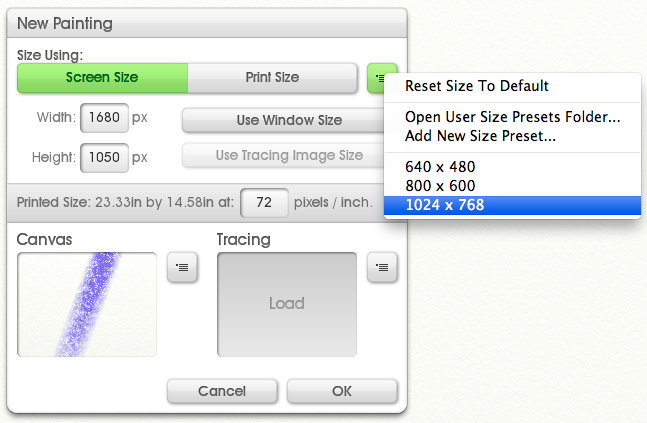
2. Adjust your paper size (File - New Painting - 1024x768)
3. Edit your preferences (Edit - ArtRage Preferences - cursors)
4. Edit - Clear Layer to erase everything
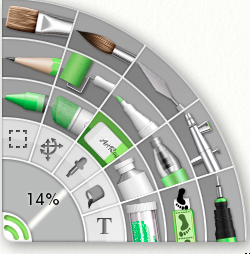
5. Settings - For every tool you have settings that you can adjust.
How do we get started?
1. Hide your dock (use the Apple menu)
2. Adjust your paper size (File - New Painting - 1024x768)
3. Edit your preferences (Edit - ArtRage Preferences - cursors)
4. Edit - Clear Layer to erase everything
5. Settings - For every tool you have settings that you can adjust.
Step 1 - Choose an image to work with and download it to your computer desktop. Hold down the control key and click on your image. Choose Save image as... and choose your desktop for the location.
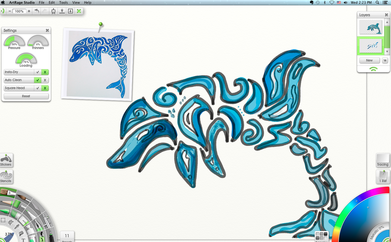
Step 2 - Click on the REF button (within ArtRage by the color wheel) and choose the image that you just downloaded. This will load the image on your workspace for you to see.
Step 2 - Click on the REF button (within ArtRage by the color wheel) and choose the image that you just downloaded. This will load the image on your workspace for you to see.
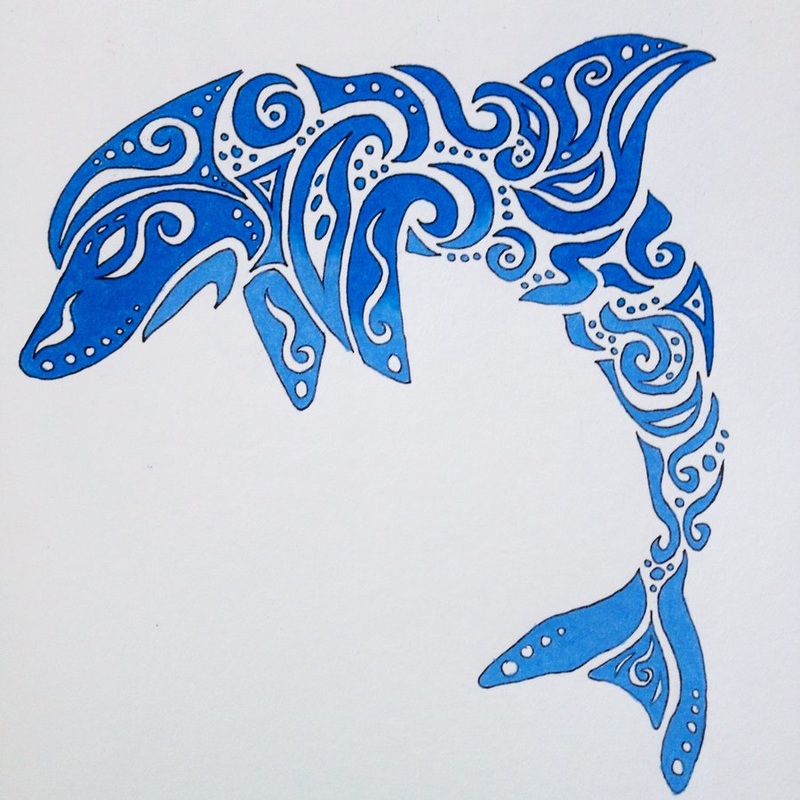
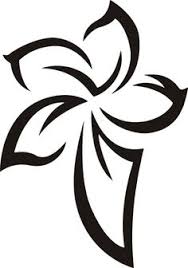
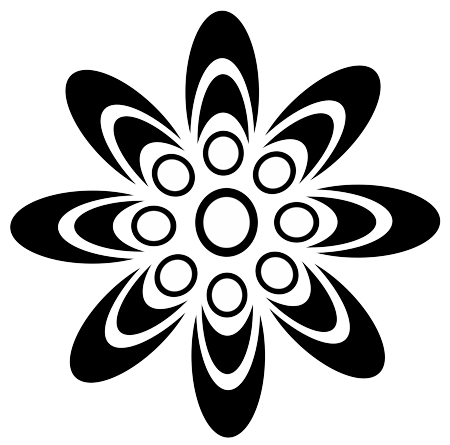
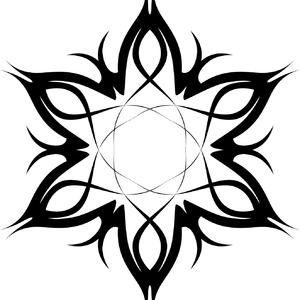
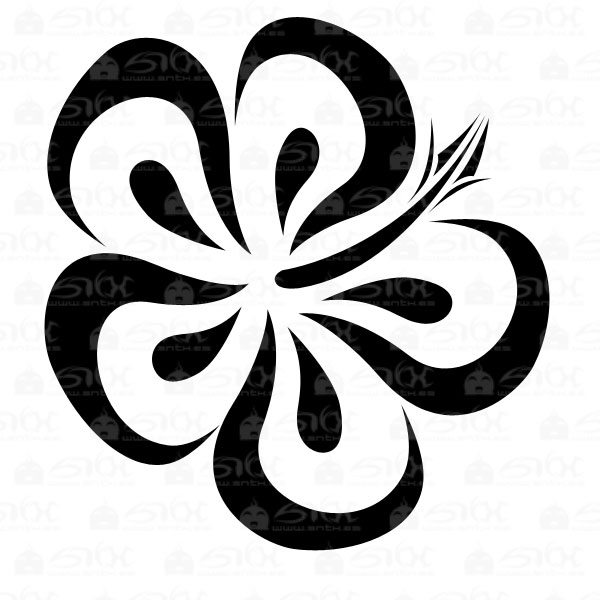
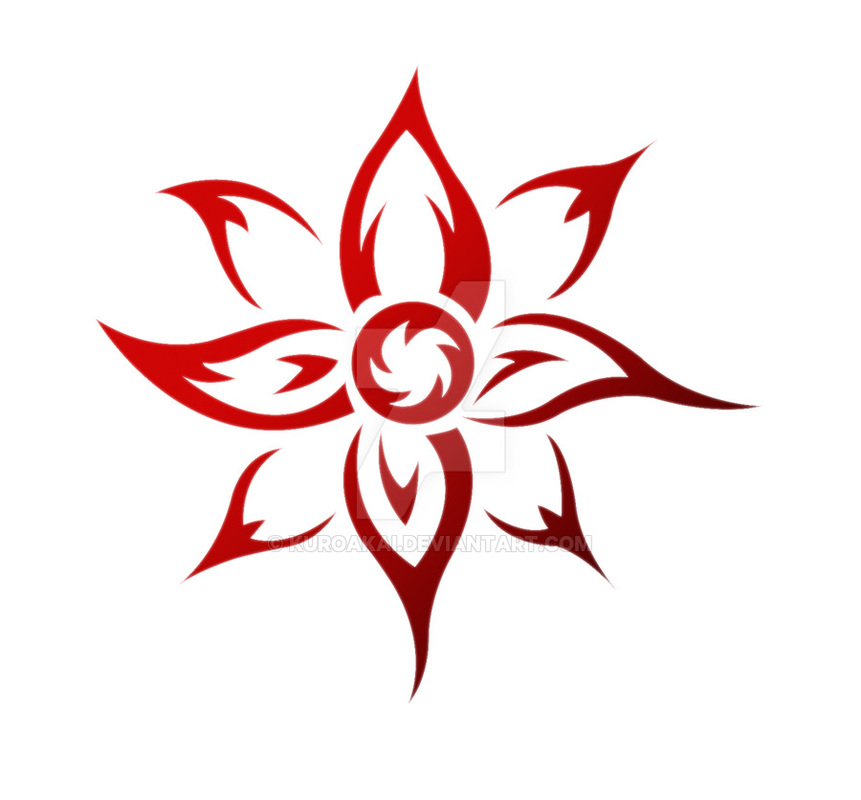
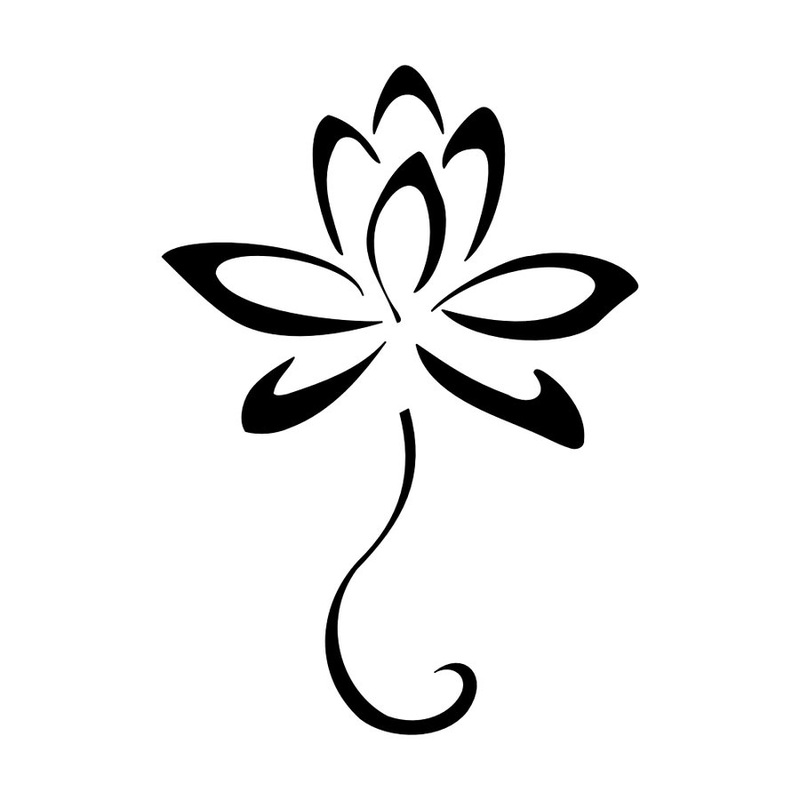
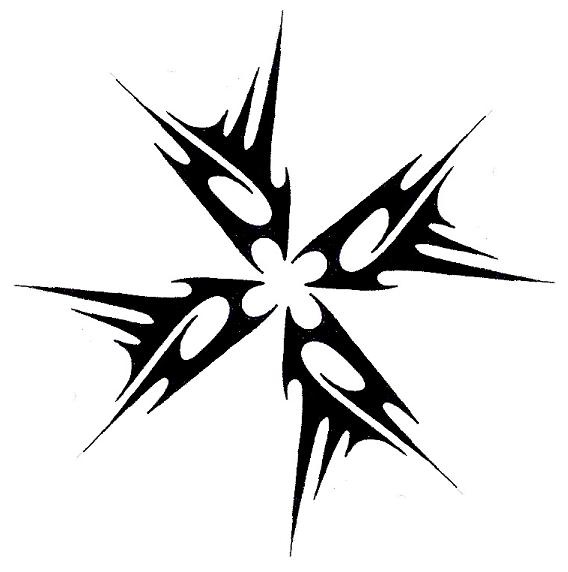
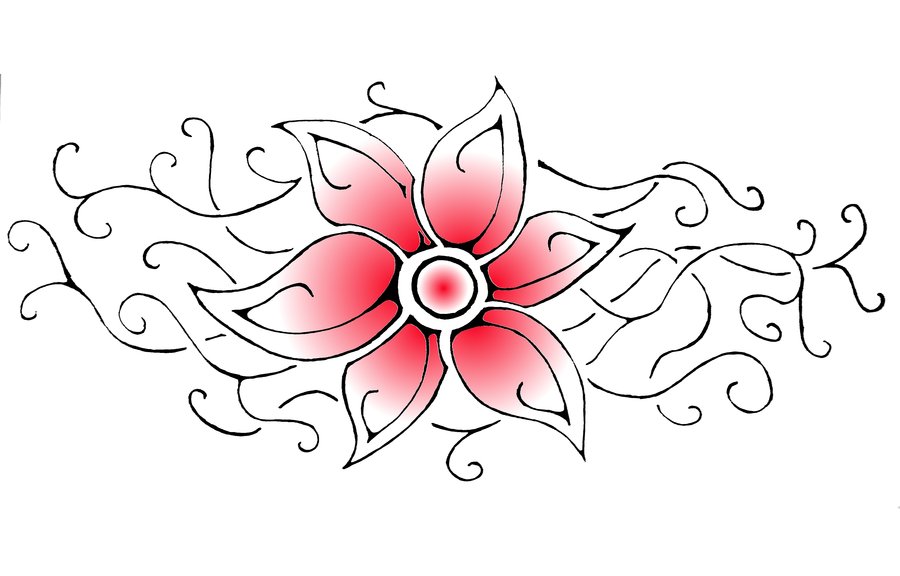
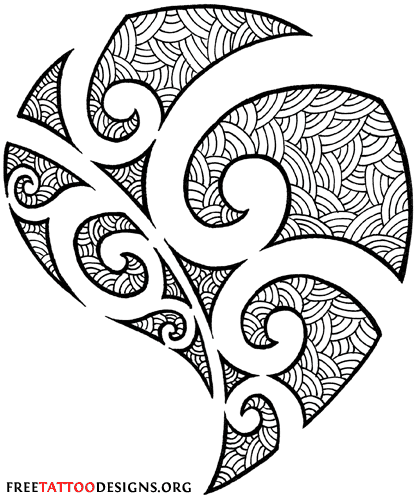
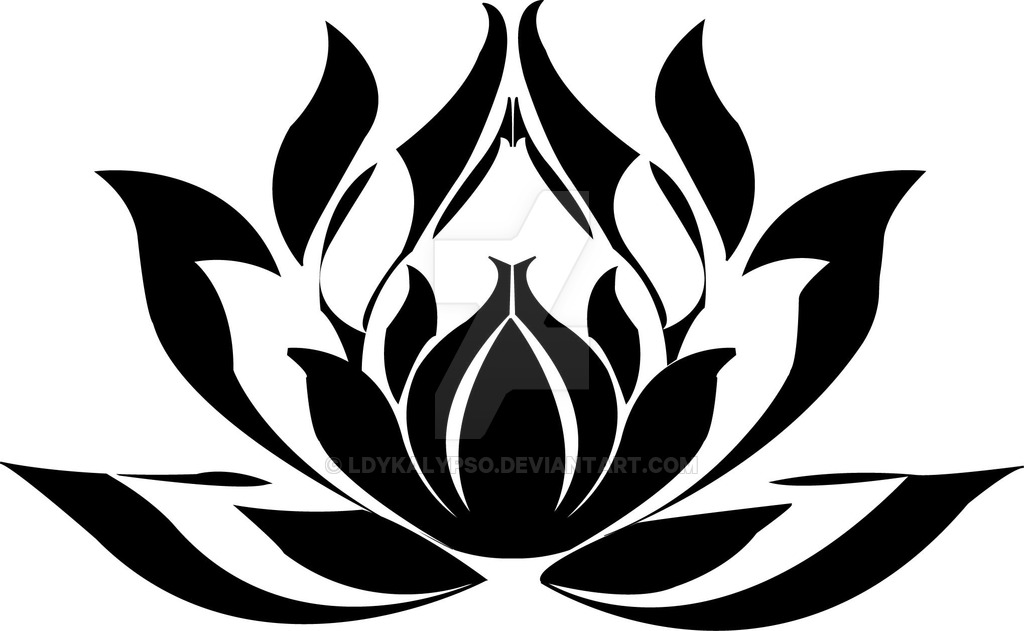
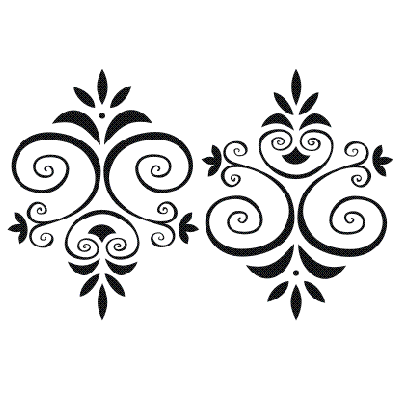
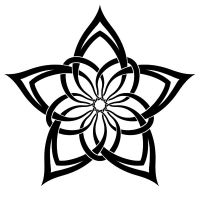
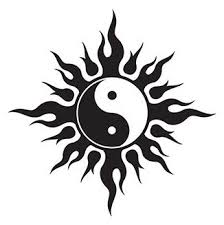
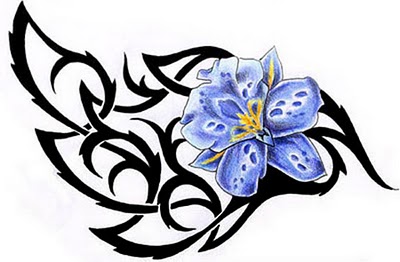
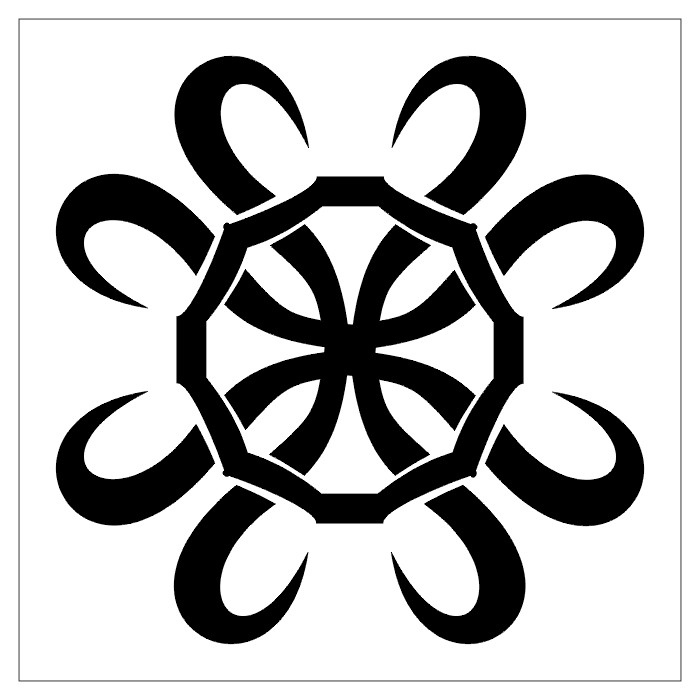
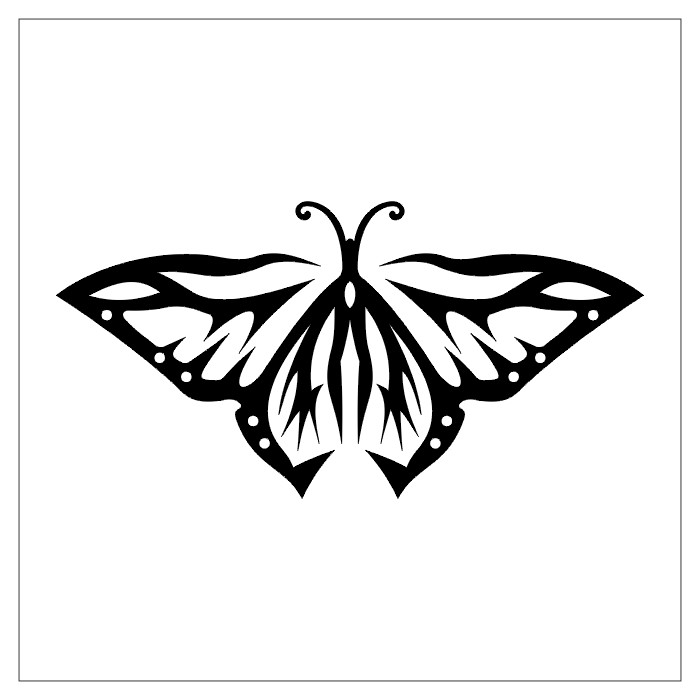
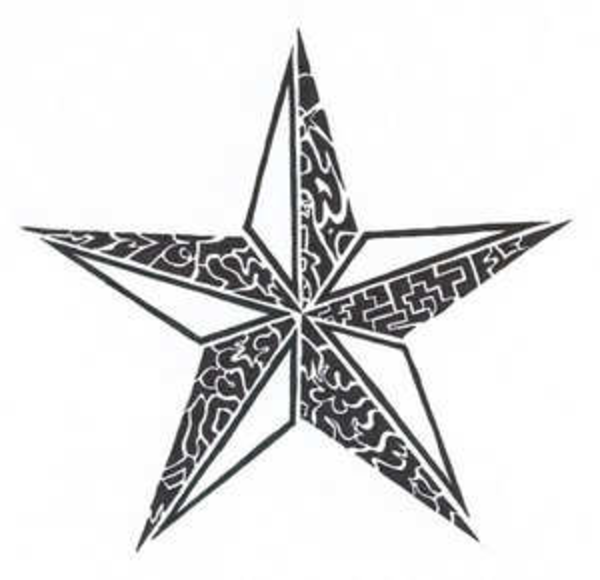
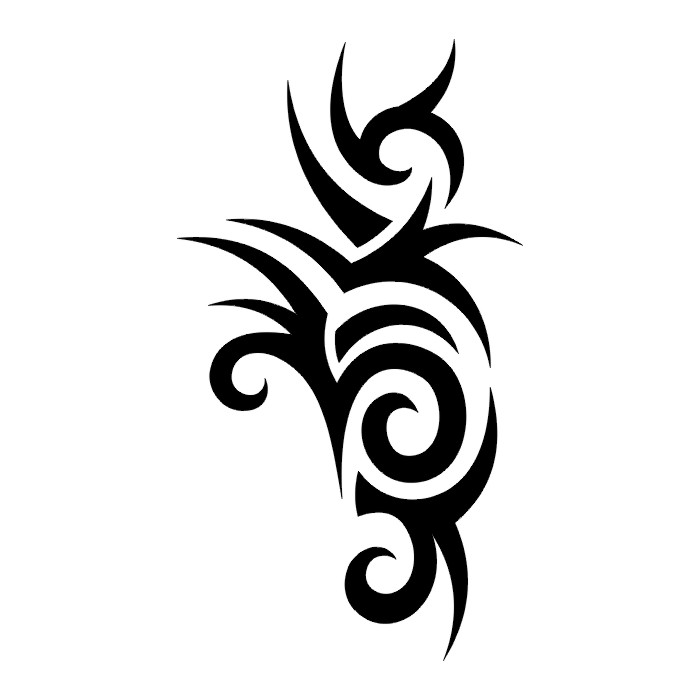
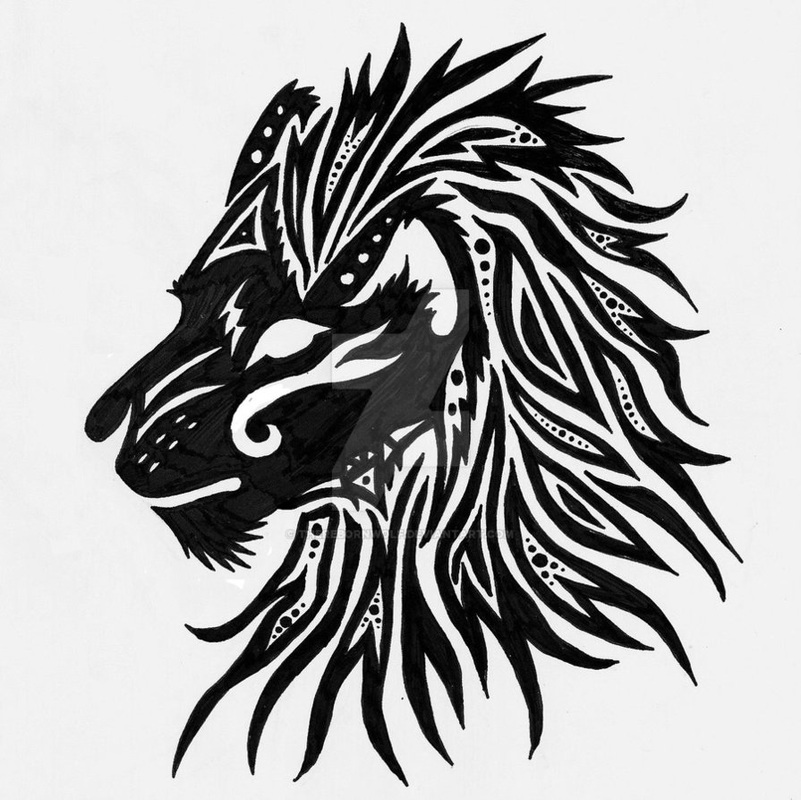
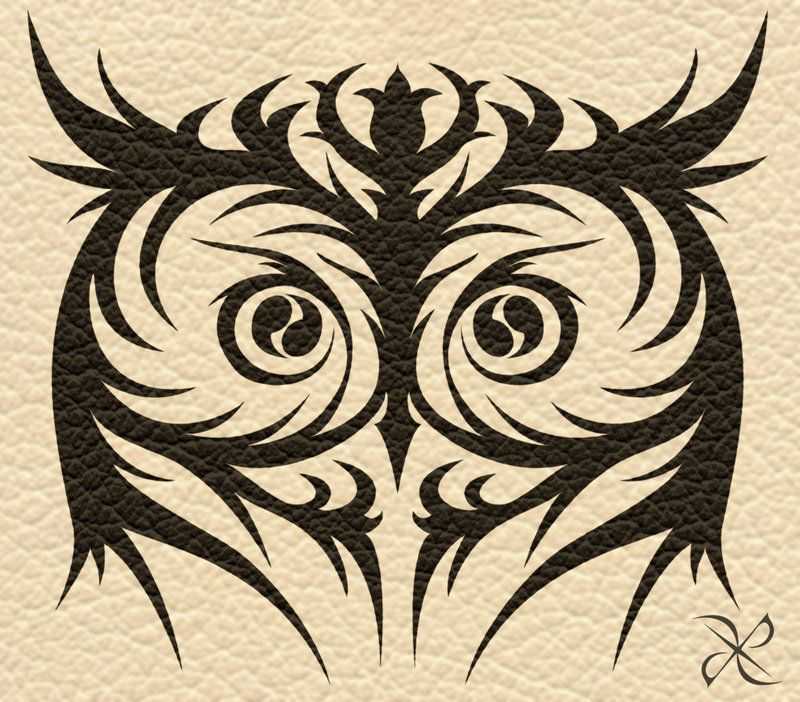
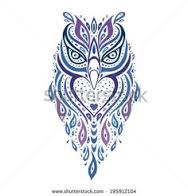
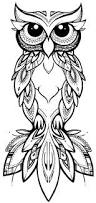
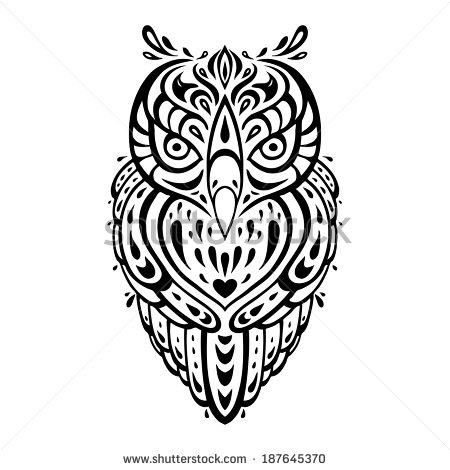
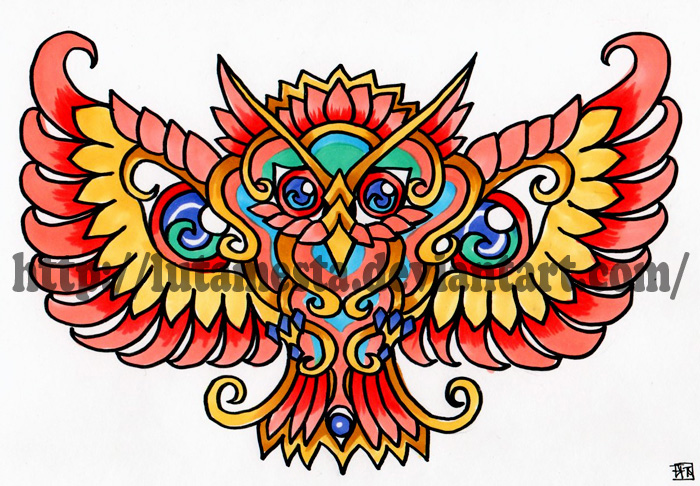
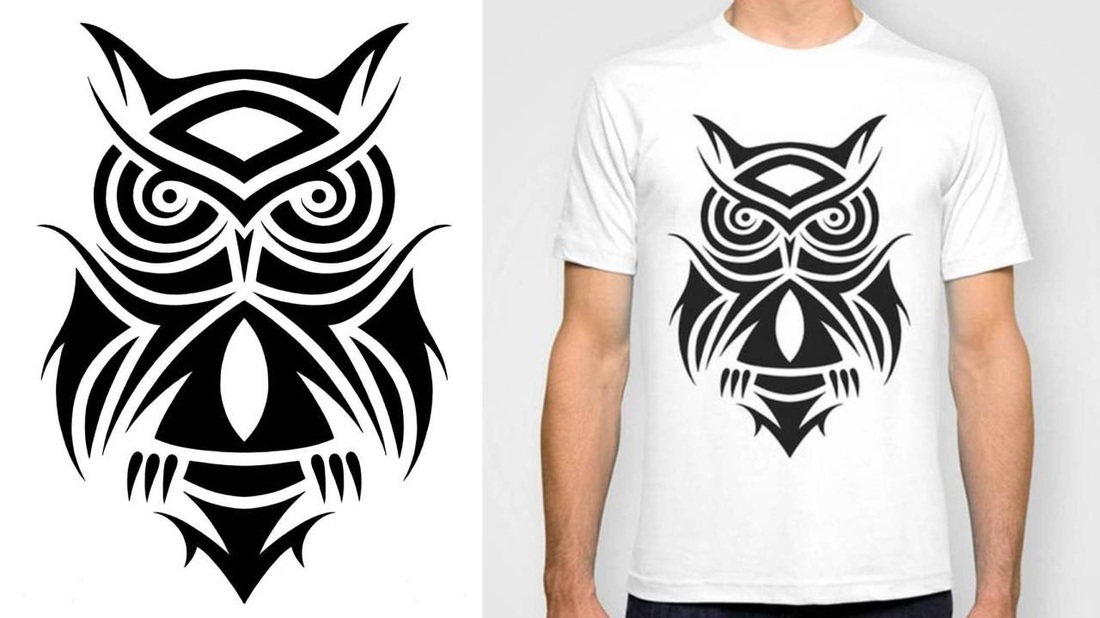
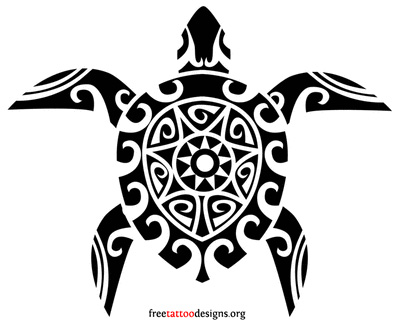
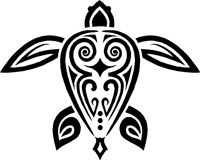
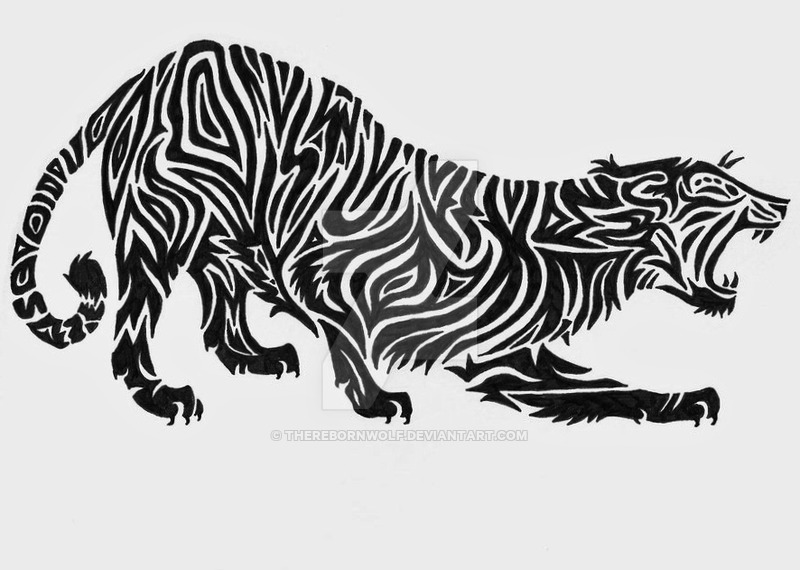
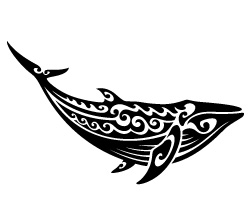
(all images below are from a Google search on tribal art )


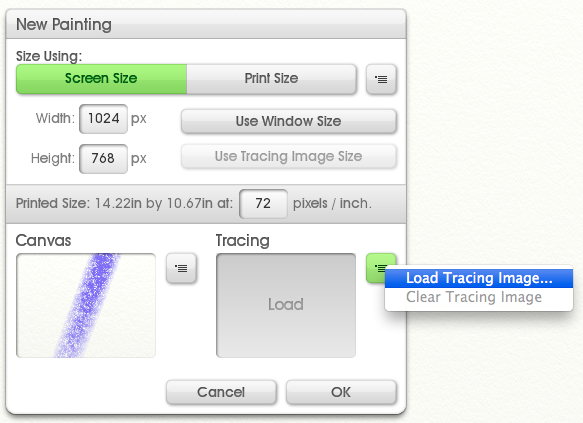
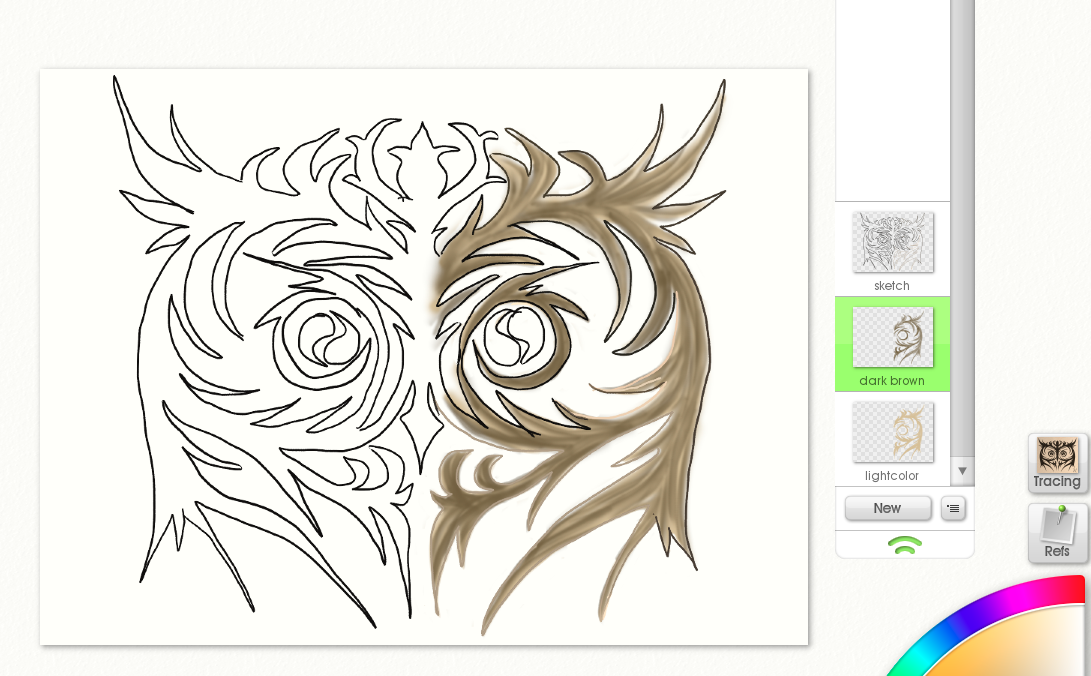
Step 3 - Choose a fine marker or a fine pencil to sketch your design. If you need help with sketching your design you can load your picture into the background by pressing the TRACING button. You can toggle the trace on or off. We don't want to trace the entire design, but it can help with the overall shape and as you practice adding details.
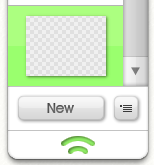
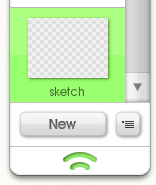
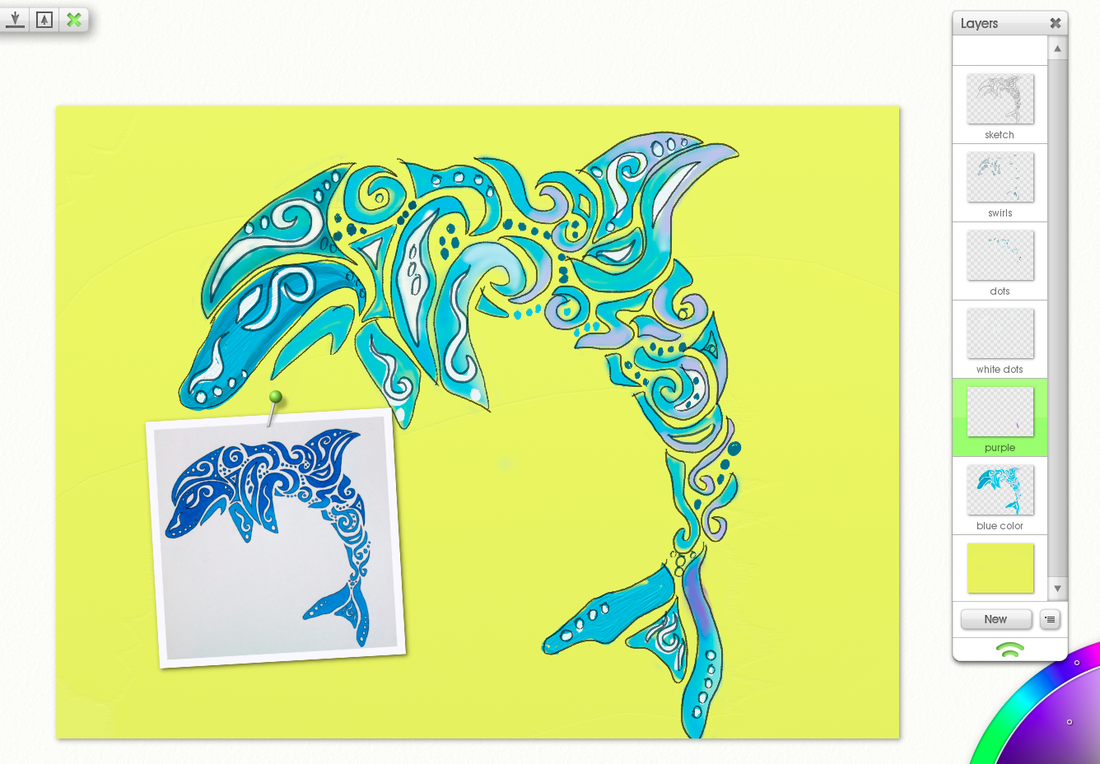
Step 4 - Work with layers. You can look at your layers and click New to add a new layer. You can also drag your layers around.
Step 5 - When you add a new tool, add a new layer first and click on the layer. This way you don't change what you have already done and if you don't like it, you can delete it. You can also be a little sloppy and just go back and erase the part that goes outside of the lines if you need to (because your outline is on a different layer).
Helpful tips:
Need to undo your last step? - use Command Z
Need to change the opacity (can you see through it?) of your canvas? - Layer - menu - Canvas - Opacity
You can choose a new layer for everything you do and you can drag the layers into a new order.
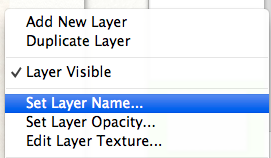
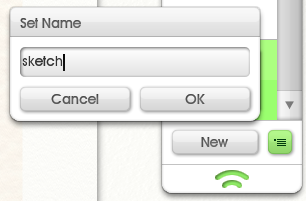
When you choose a new layer - give it a name - Layer - click on the new layer - click on the menu for that layer - choose Set Layer Name - this way you know which layer is which (makes editing and changes fast)
Need to reposition your image? - without touching the graphics tablet with the stylus, click on the top black button (hold it down) and move your stylus to reposition your image.
Need to zoom in to add detail or to erase? - Use the Zoom button on the top left toolbar.
Need to hide a layer? - Hover over the layer and click on the eye to turn visibility of the layer on or off.
Need to paint a background? - Add a new layer and name it background. Drag it to the bottom of the list of layers and then paint your background. Try using the roller set to a large size for a quick background. Use several colors for more interest.
Need to choose a color that you used before? - Use the color picker from the tool palette. It looks like an eye dropper. Click it on a color that you want to use and it will put load that color.
Step 4 - Work with layers. You can look at your layers and click New to add a new layer. You can also drag your layers around.
Step 5 - When you add a new tool, add a new layer first and click on the layer. This way you don't change what you have already done and if you don't like it, you can delete it. You can also be a little sloppy and just go back and erase the part that goes outside of the lines if you need to (because your outline is on a different layer).
Helpful tips:
Need to undo your last step? - use Command Z
Need to change the opacity (can you see through it?) of your canvas? - Layer - menu - Canvas - Opacity
You can choose a new layer for everything you do and you can drag the layers into a new order.
When you choose a new layer - give it a name - Layer - click on the new layer - click on the menu for that layer - choose Set Layer Name - this way you know which layer is which (makes editing and changes fast)
Need to reposition your image? - without touching the graphics tablet with the stylus, click on the top black button (hold it down) and move your stylus to reposition your image.
Need to zoom in to add detail or to erase? - Use the Zoom button on the top left toolbar.
Need to hide a layer? - Hover over the layer and click on the eye to turn visibility of the layer on or off.
Need to paint a background? - Add a new layer and name it background. Drag it to the bottom of the list of layers and then paint your background. Try using the roller set to a large size for a quick background. Use several colors for more interest.
Need to choose a color that you used before? - Use the color picker from the tool palette. It looks like an eye dropper. Click it on a color that you want to use and it will put load that color.